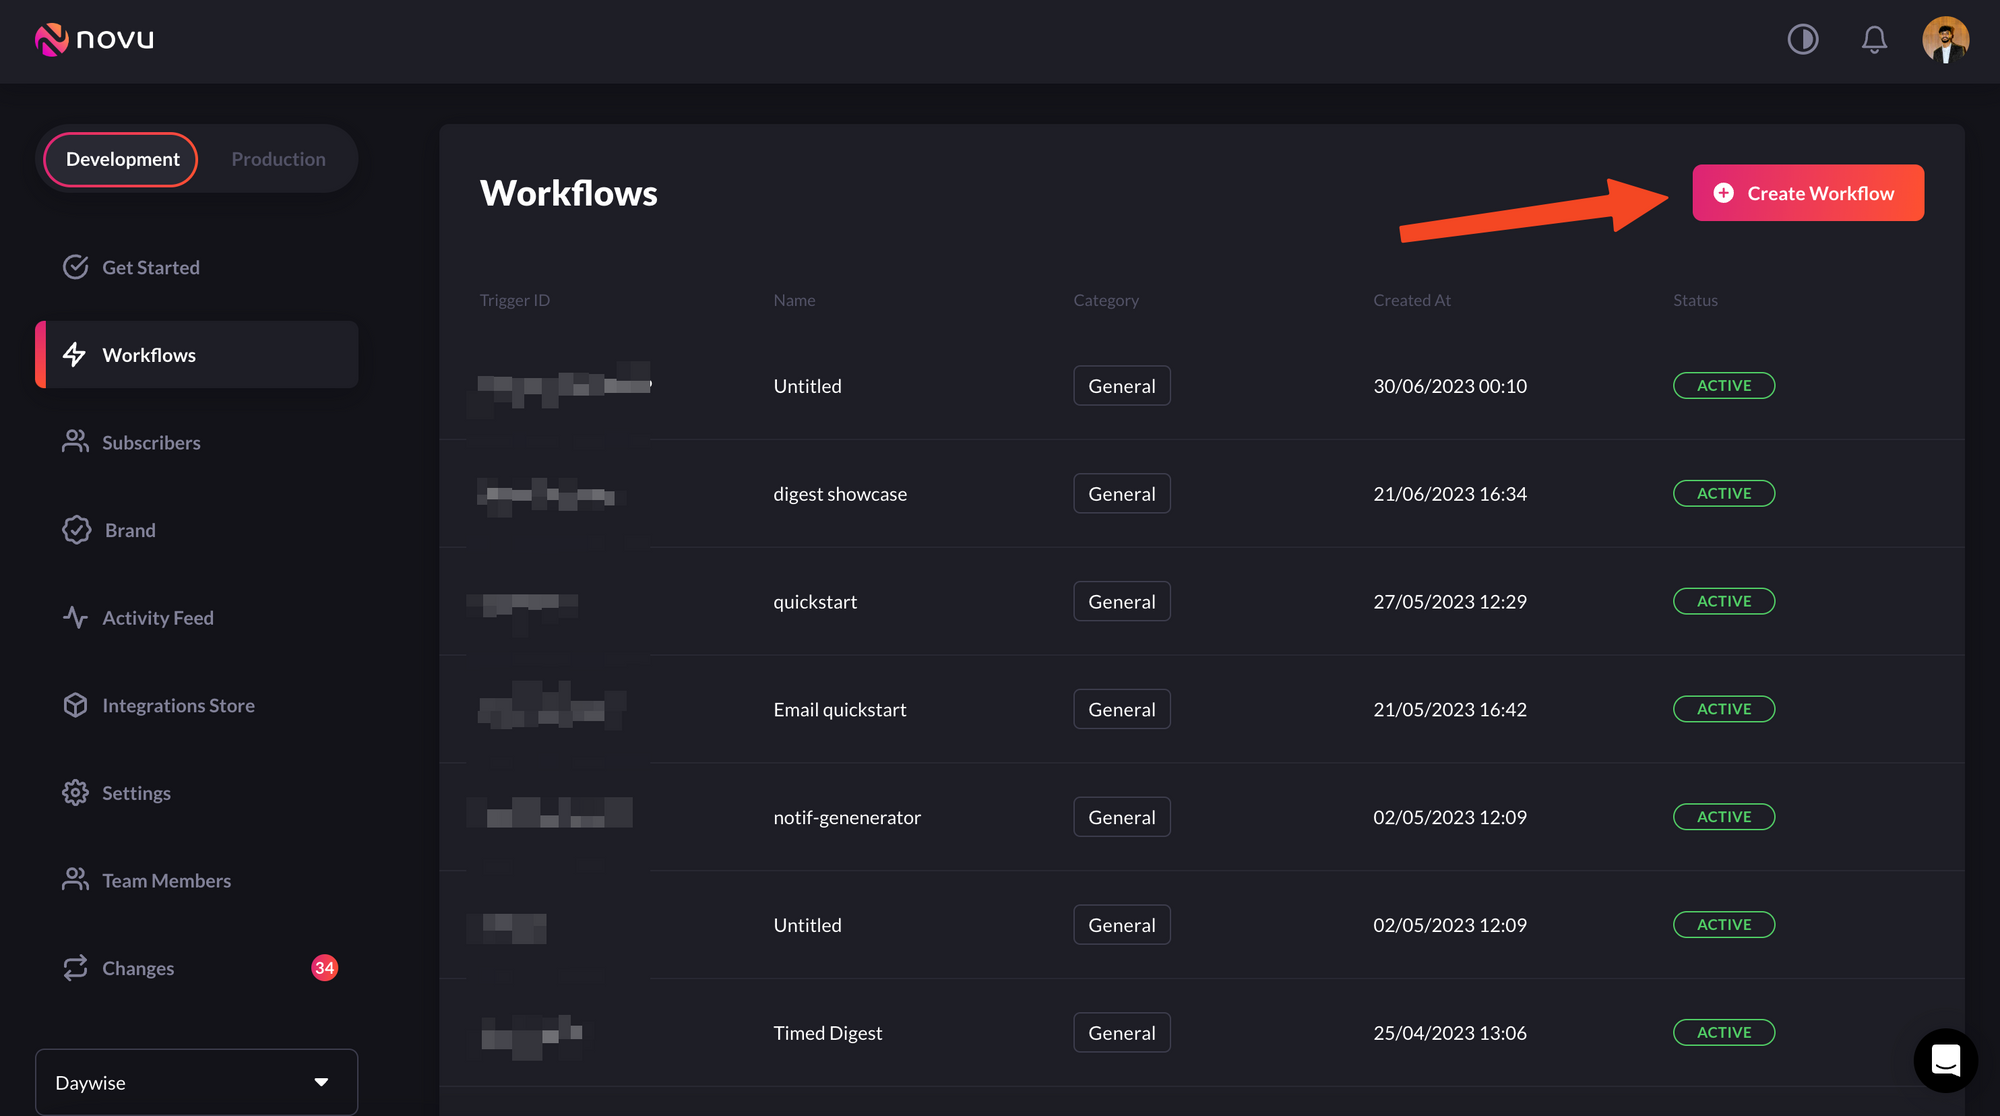
 Once you click the `create workflow` button, you’ll see a dropdown. Select `blank workflow` from the dropdown:
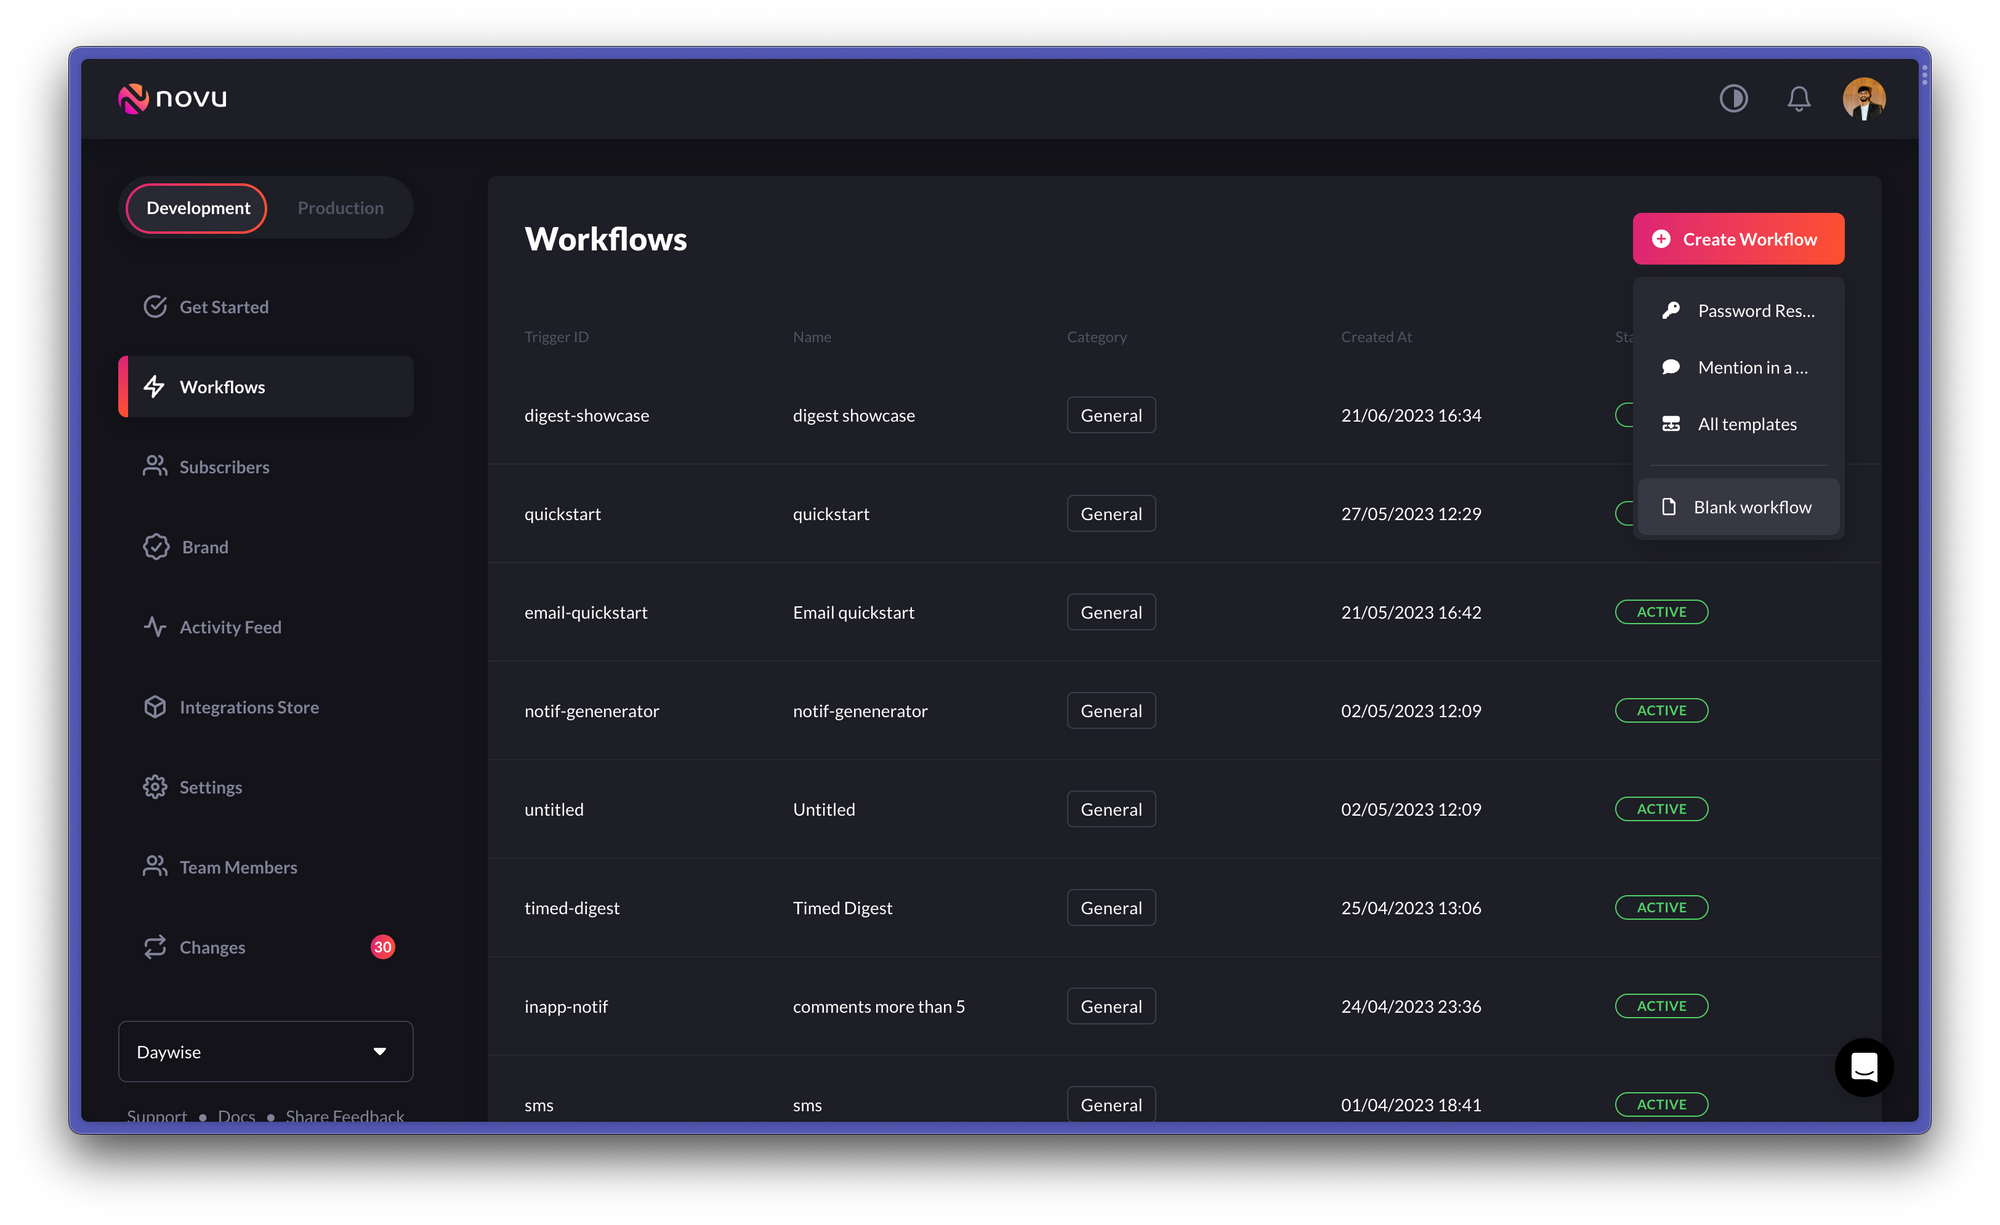 You’ll now be taken to the workflow editor:
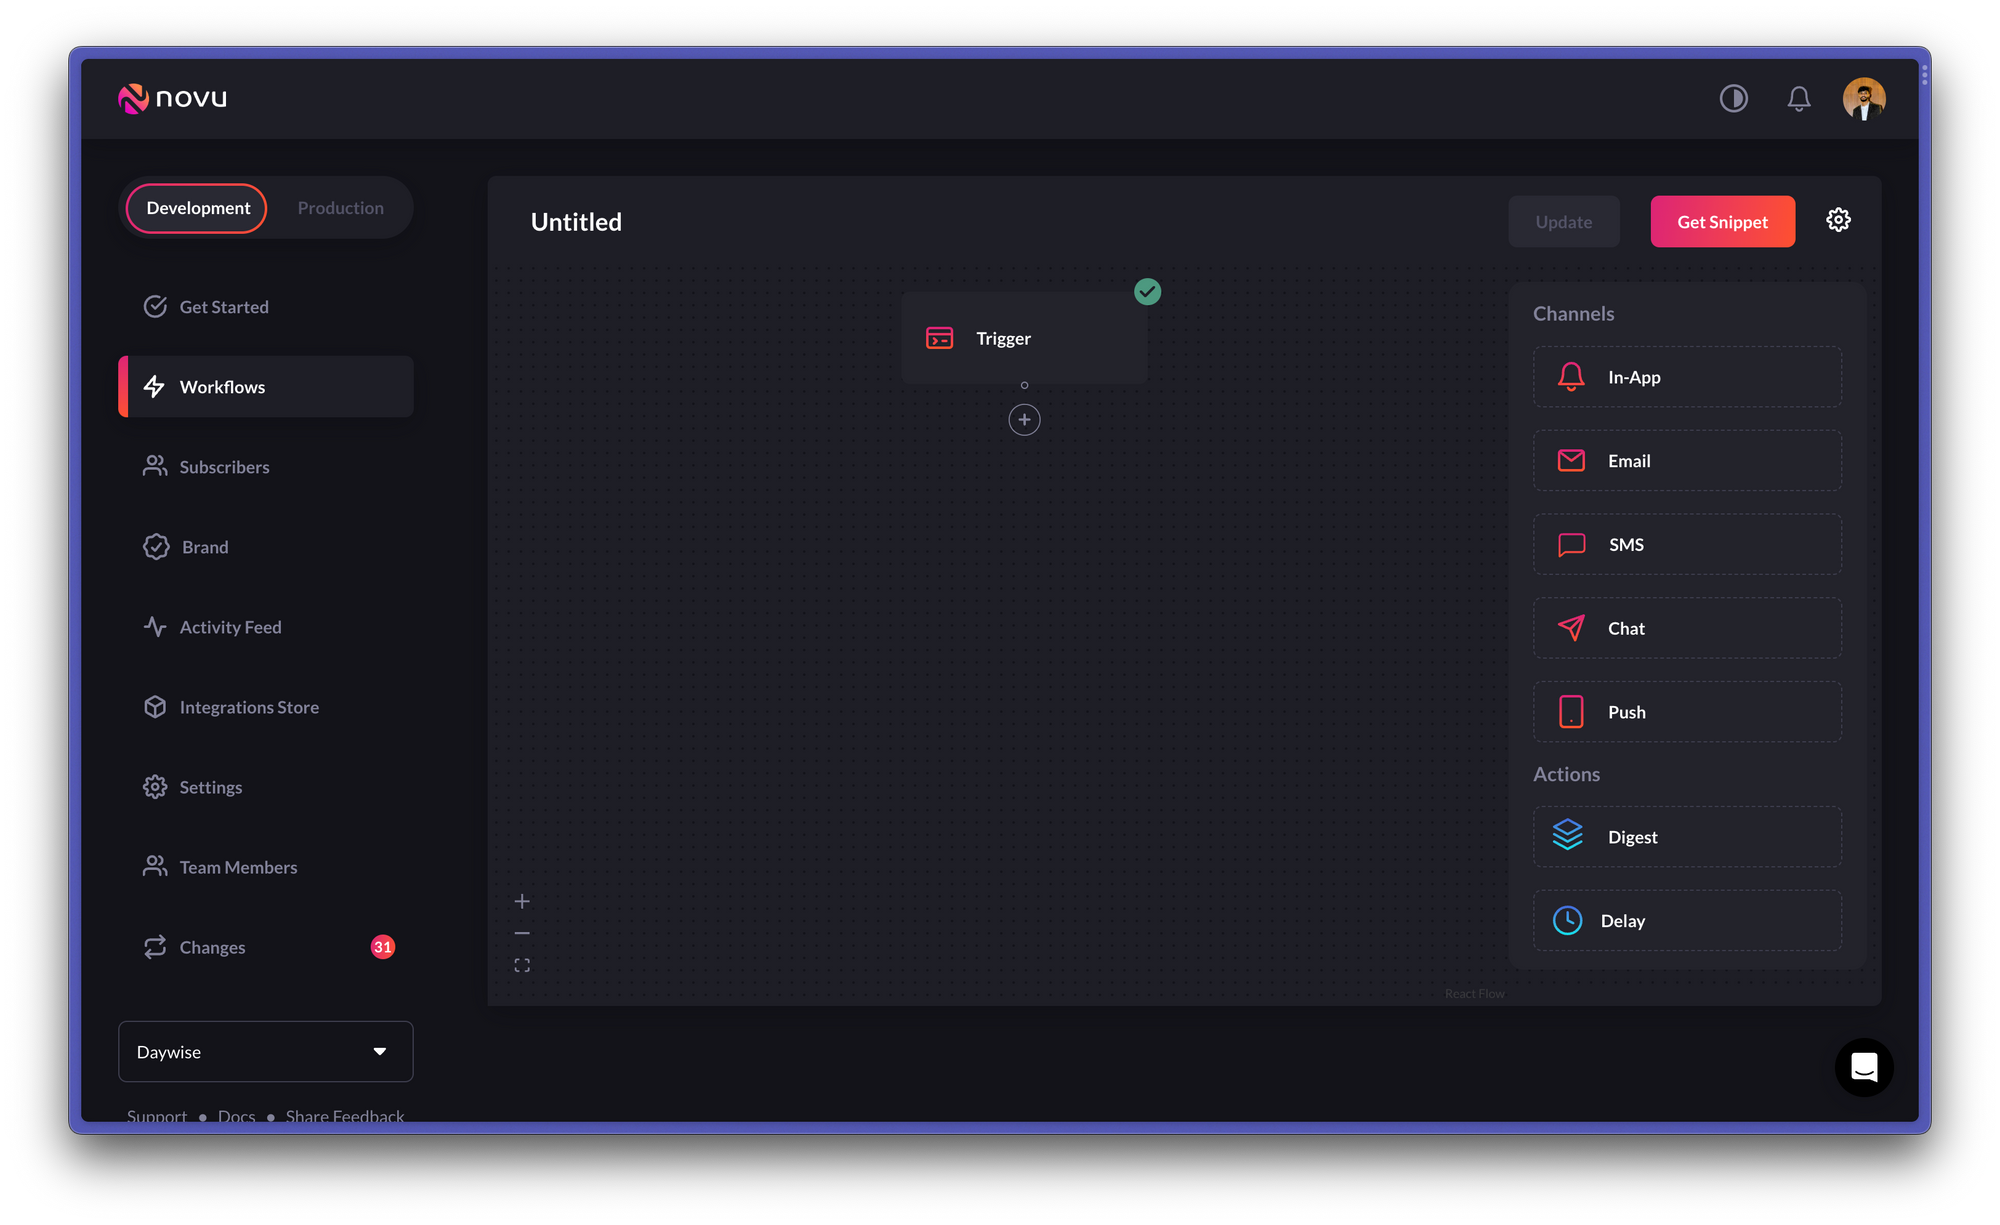 Once here, you can add the channels you want to use for sending notifications and configure them. For this guide, we’ll use the `In-App` channel. You’ll also see the `Digest` action on the right sidebar.
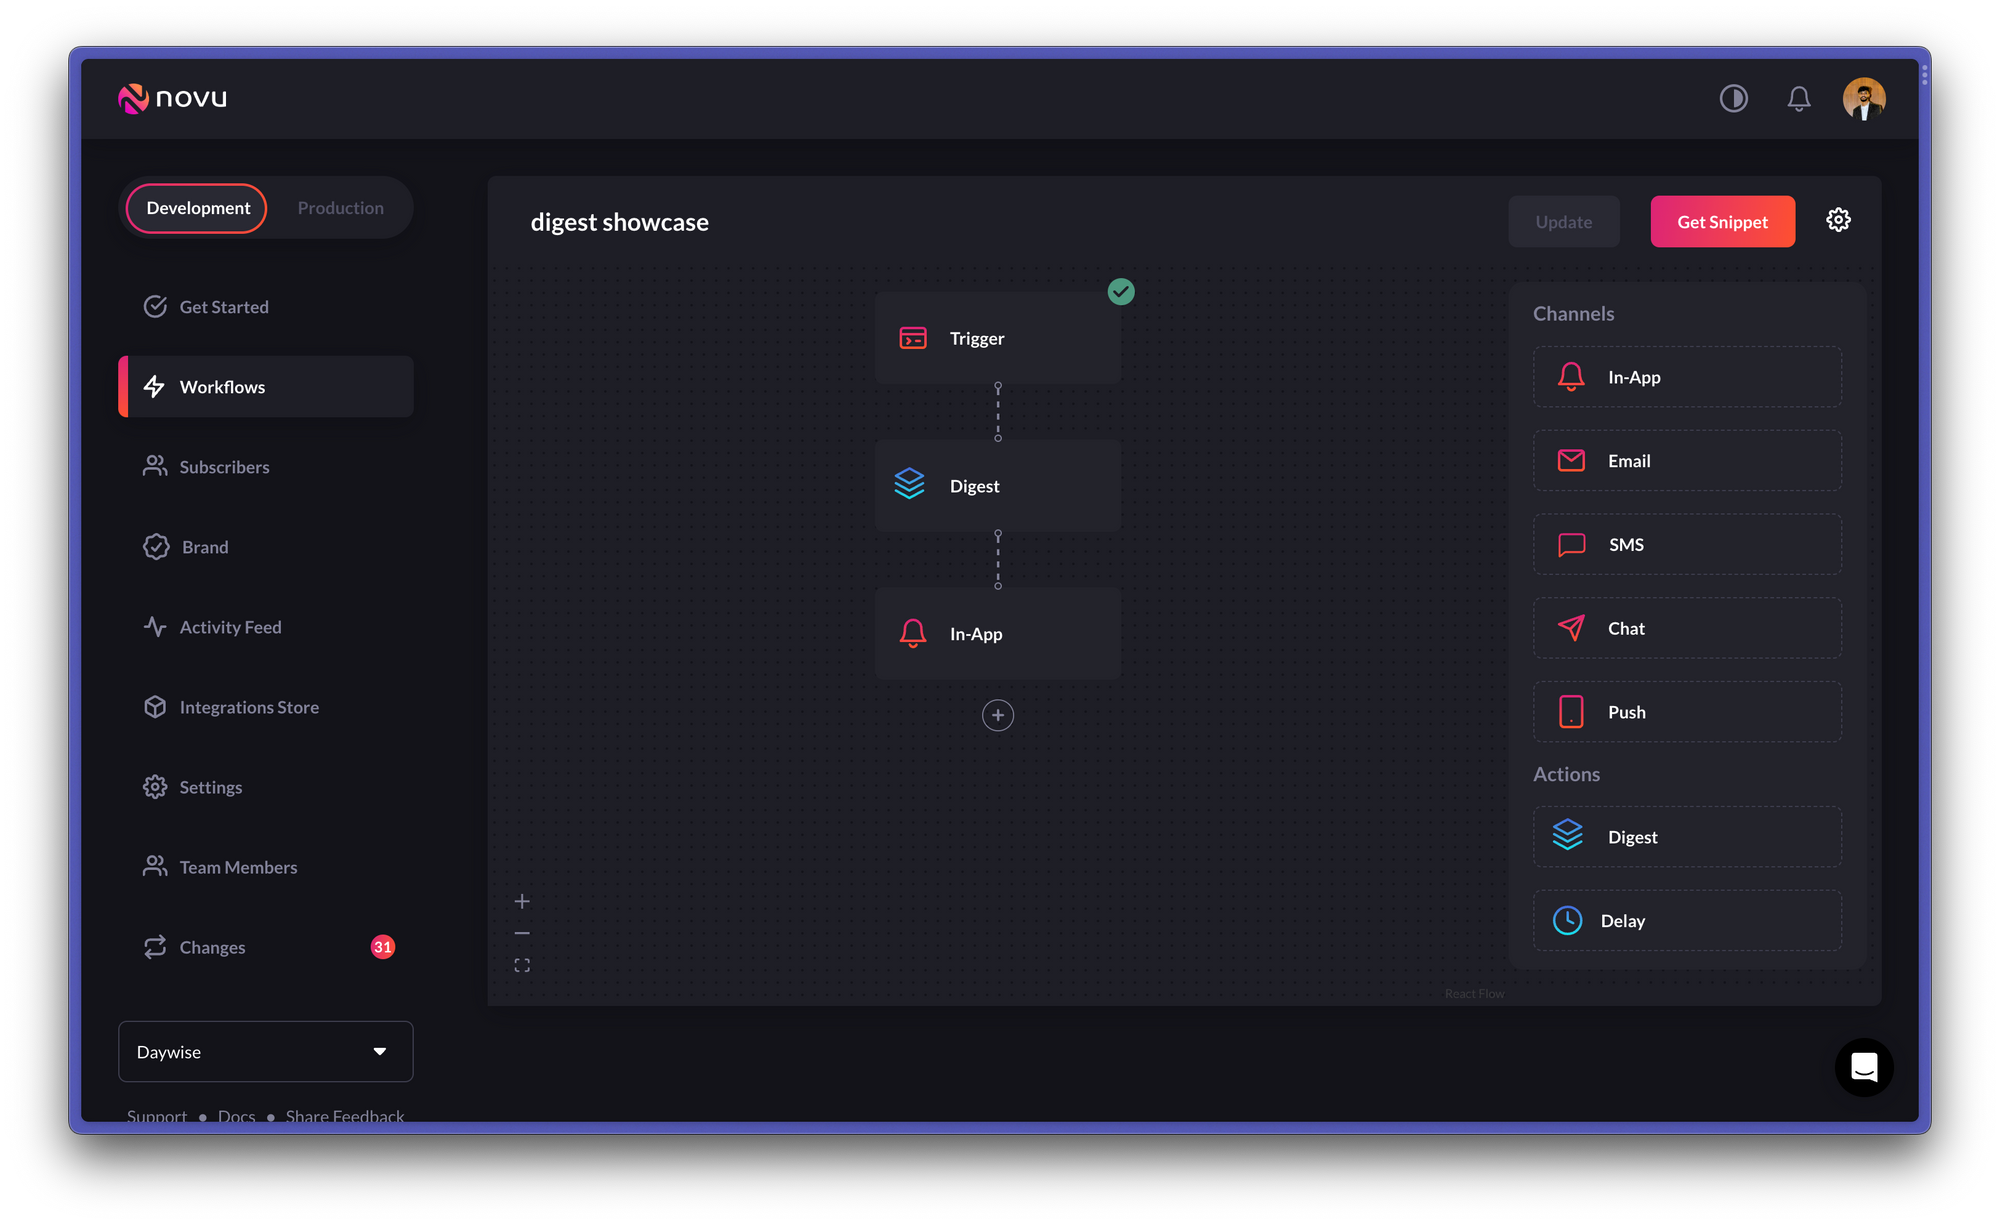 The `digest` node allows you to set a specific time interval for when notifications should be sent:
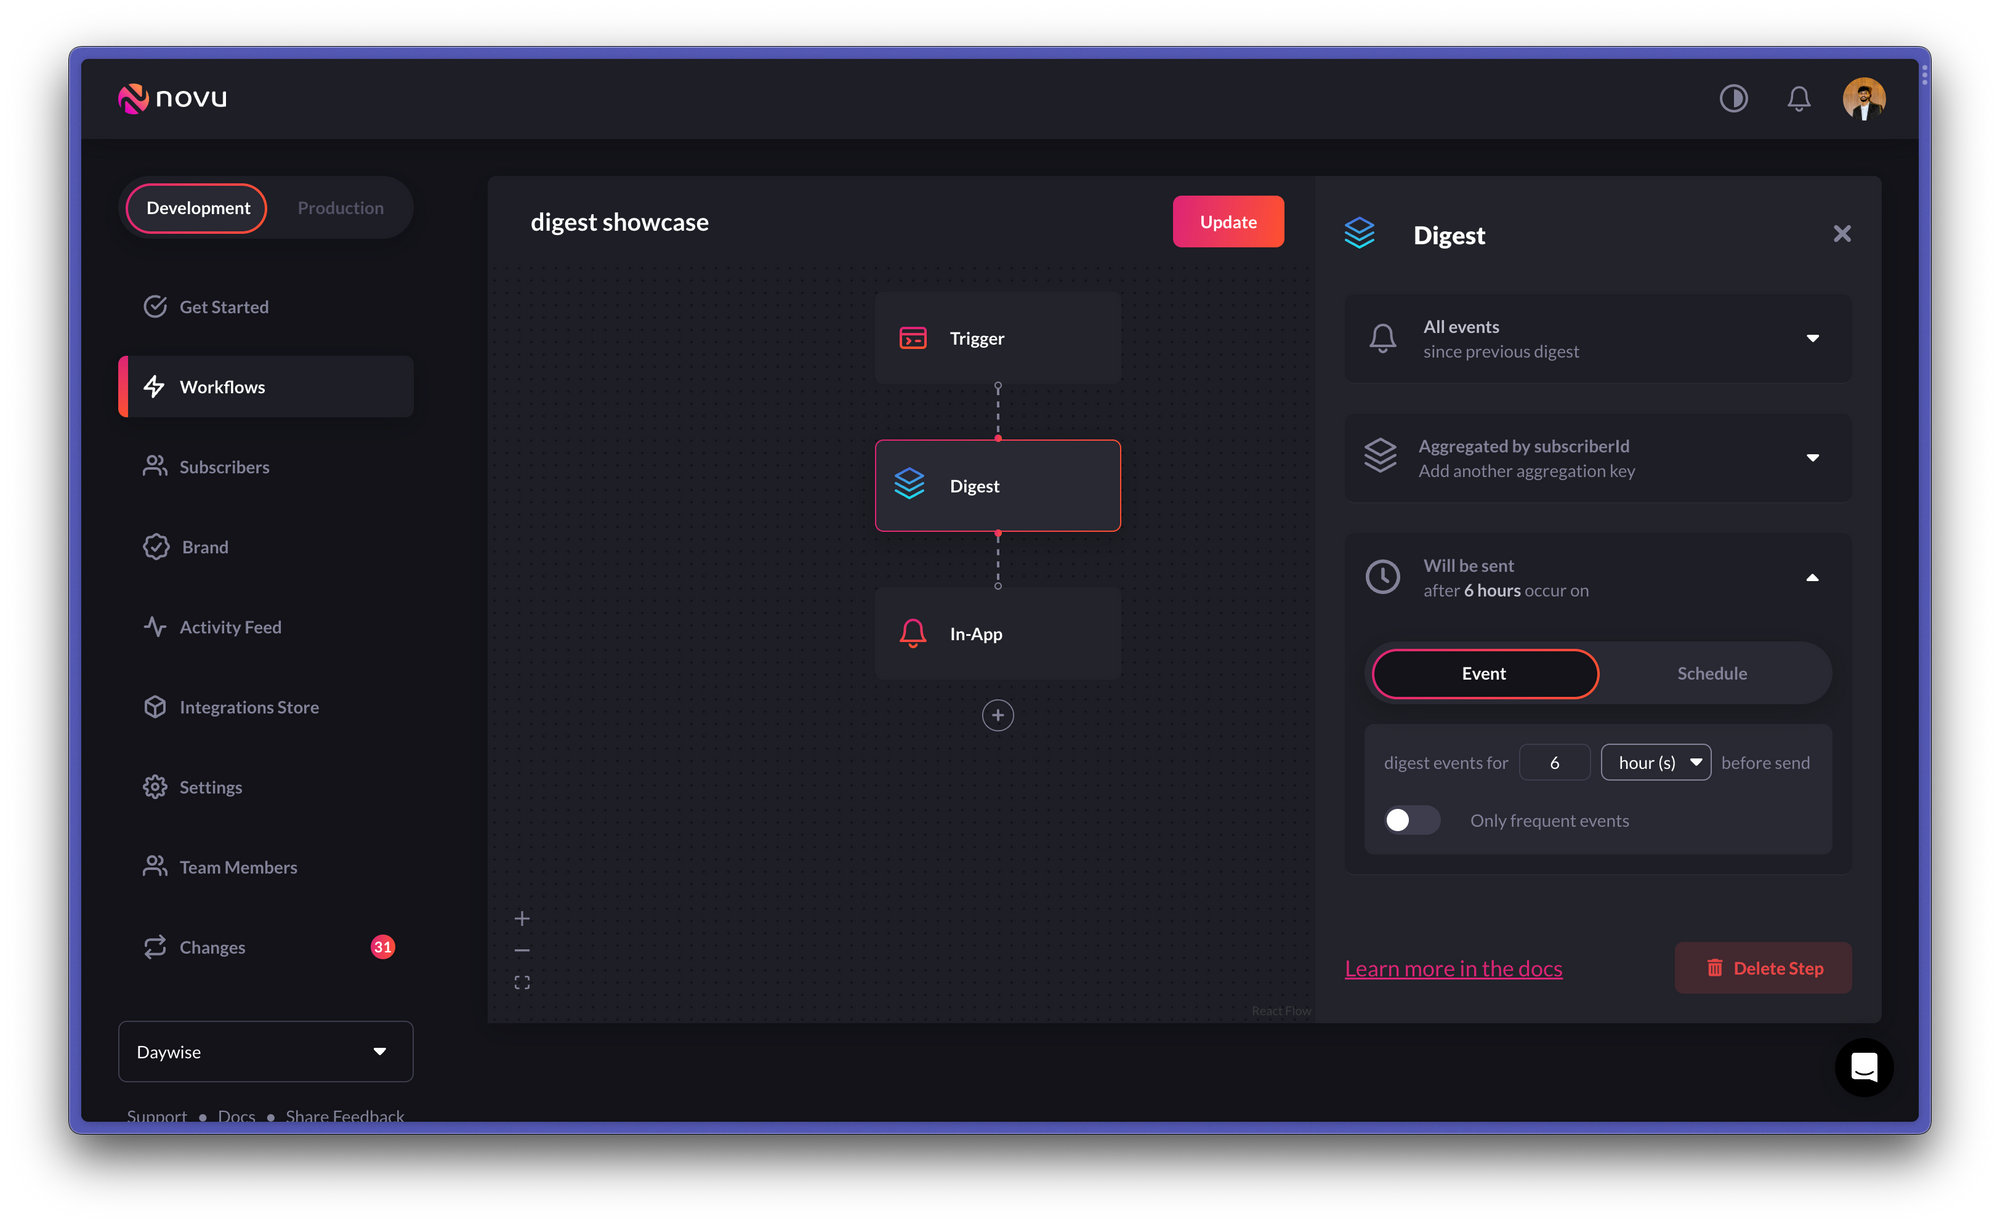 Once, you’ve configured it. Go ahead and configure the `in-app` channel as per your need:
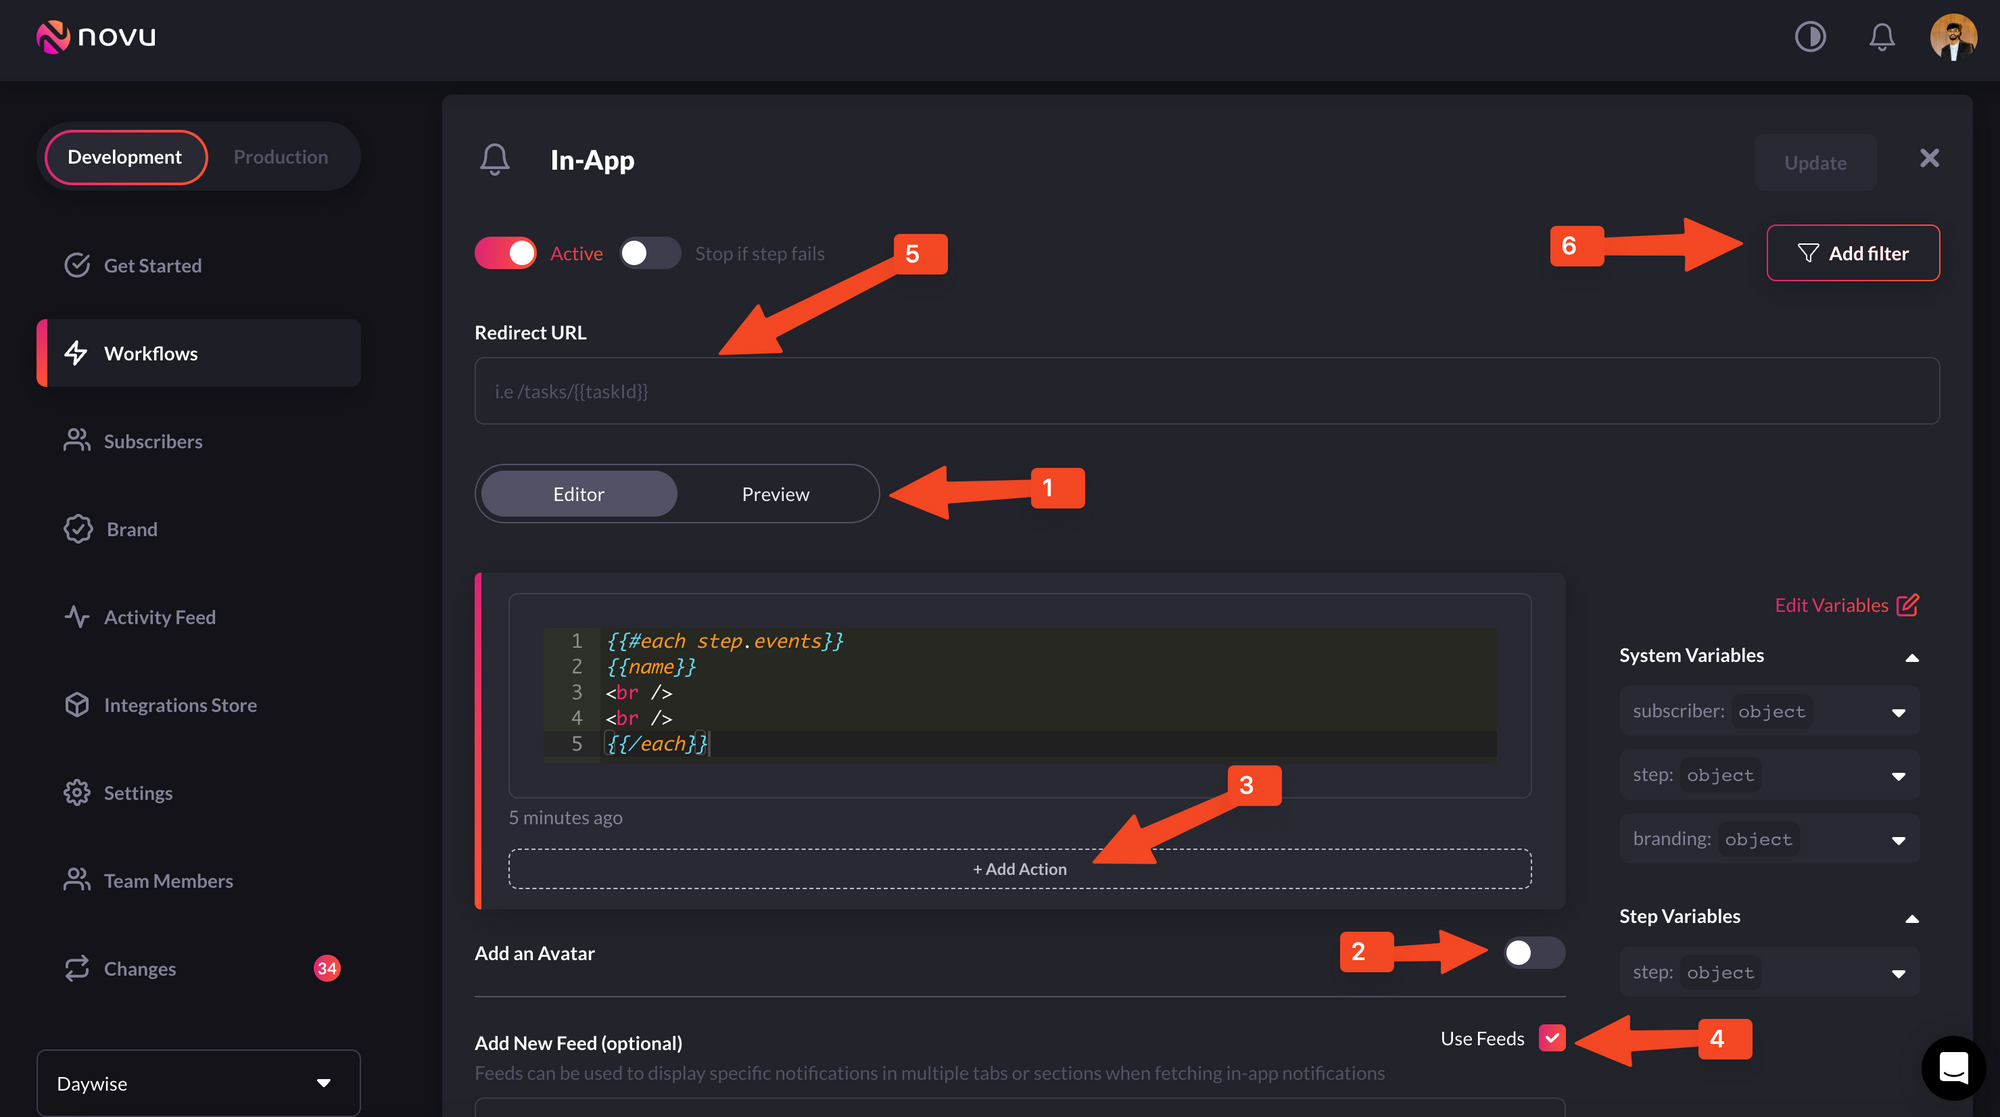 Here’s a brief explanation of all the options:
* **1-Preview**: This shows you a glimpse of what each notification item will look like in the Notification Center UI.
* **2-Avatar:** If turned on, each notification item will show the avatar of the subscriber.
* **3-Action:** With this, you can add a primary and secondary call to action button to each notification item.
* **4-Notification Feeds:** This displays a stream of specific notifications. You can have multiple feeds to show specific notifications in multiple tabs.
* **5-Redirect URL** - This is the URL to which a subscriber can be directed when they click on a notification item.
* **6-Filter** - This feature allows you to configure the criteria for delivering notifications. For instance, you can apply a filter based on a subscriber's online status to send them an email if they were online within the last hour.
In our case, we’re going to use the following:
Here’s a brief explanation of all the options:
* **1-Preview**: This shows you a glimpse of what each notification item will look like in the Notification Center UI.
* **2-Avatar:** If turned on, each notification item will show the avatar of the subscriber.
* **3-Action:** With this, you can add a primary and secondary call to action button to each notification item.
* **4-Notification Feeds:** This displays a stream of specific notifications. You can have multiple feeds to show specific notifications in multiple tabs.
* **5-Redirect URL** - This is the URL to which a subscriber can be directed when they click on a notification item.
* **6-Filter** - This feature allows you to configure the criteria for delivering notifications. For instance, you can apply a filter based on a subscriber's online status to send them an email if they were online within the last hour.
In our case, we’re going to use the following:
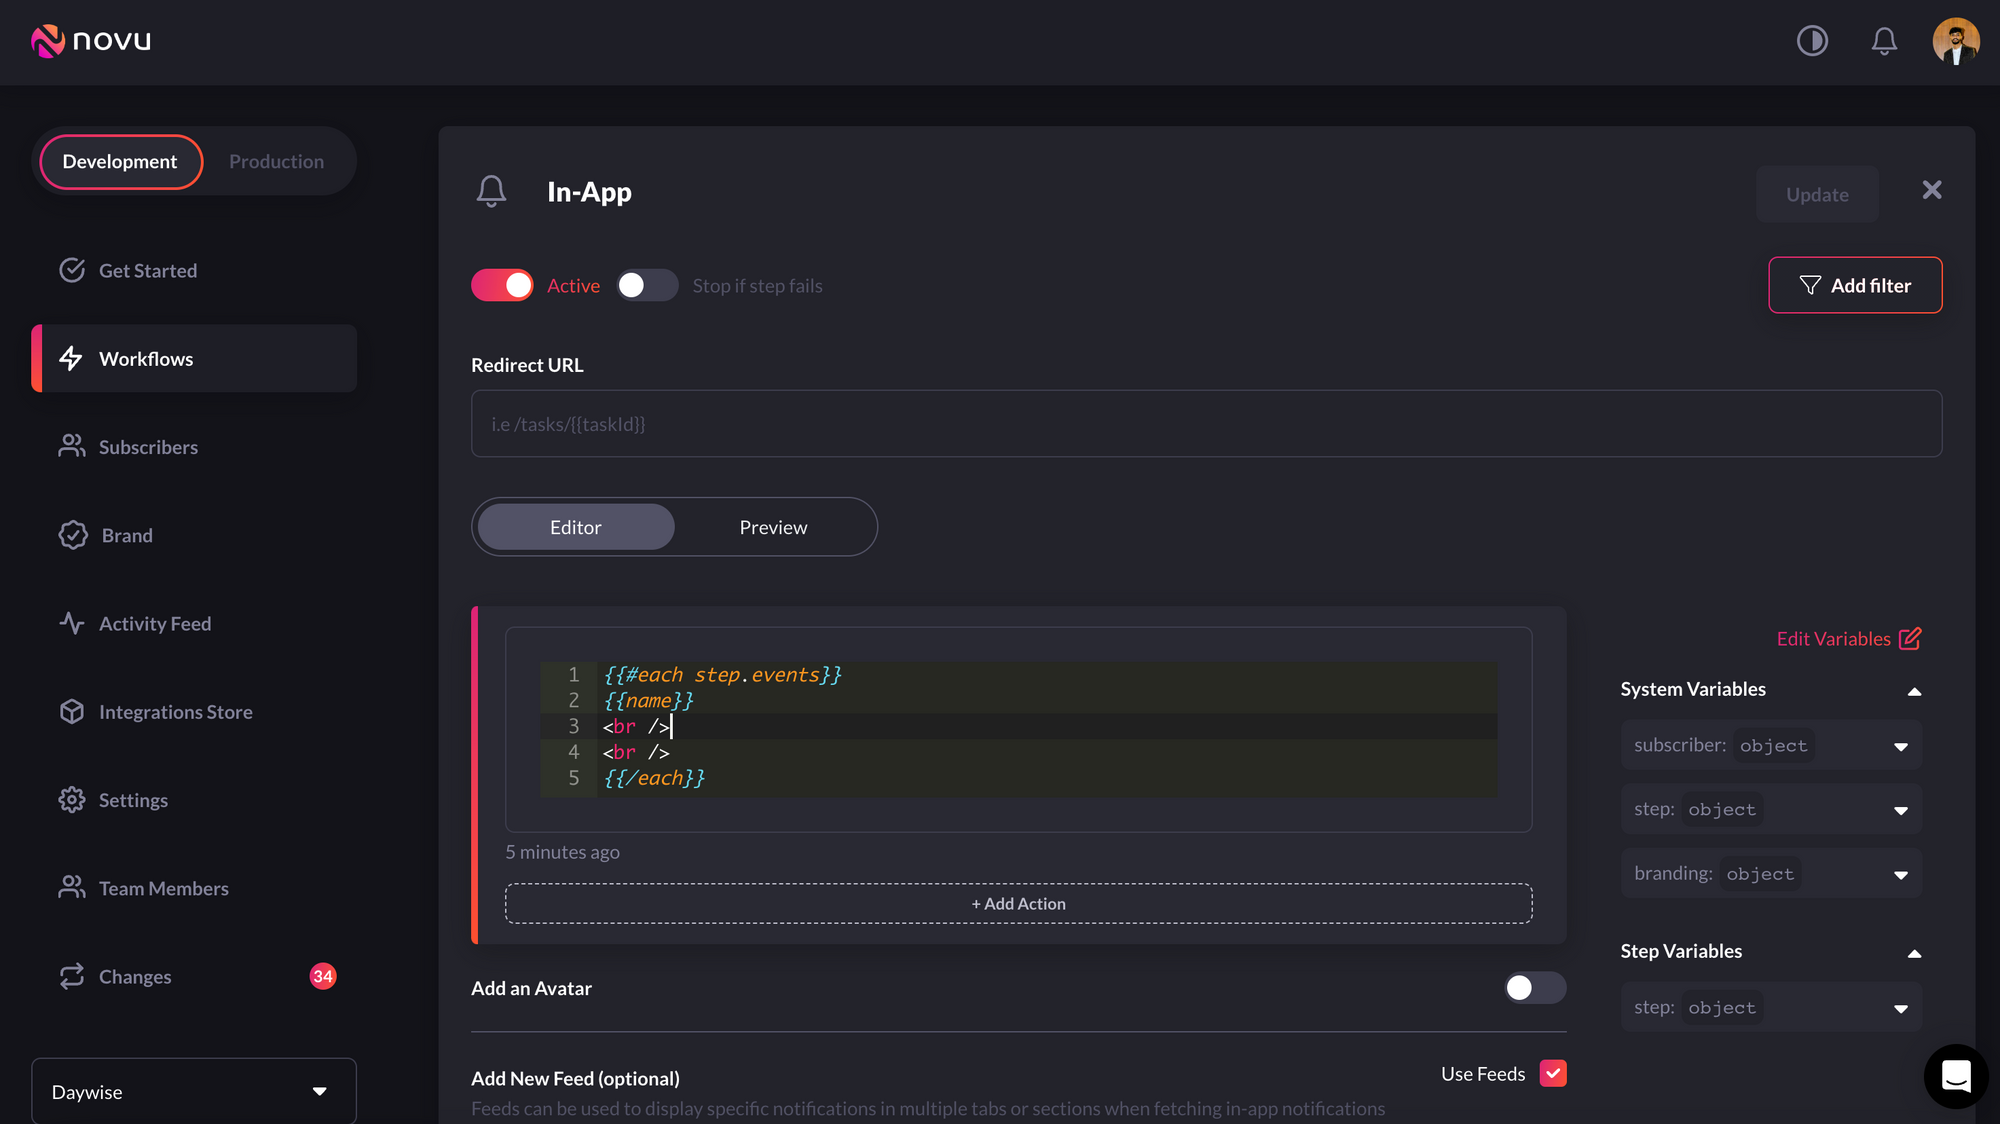 Once you’re done configuring this to your liking, click on the `update` button on the top right.
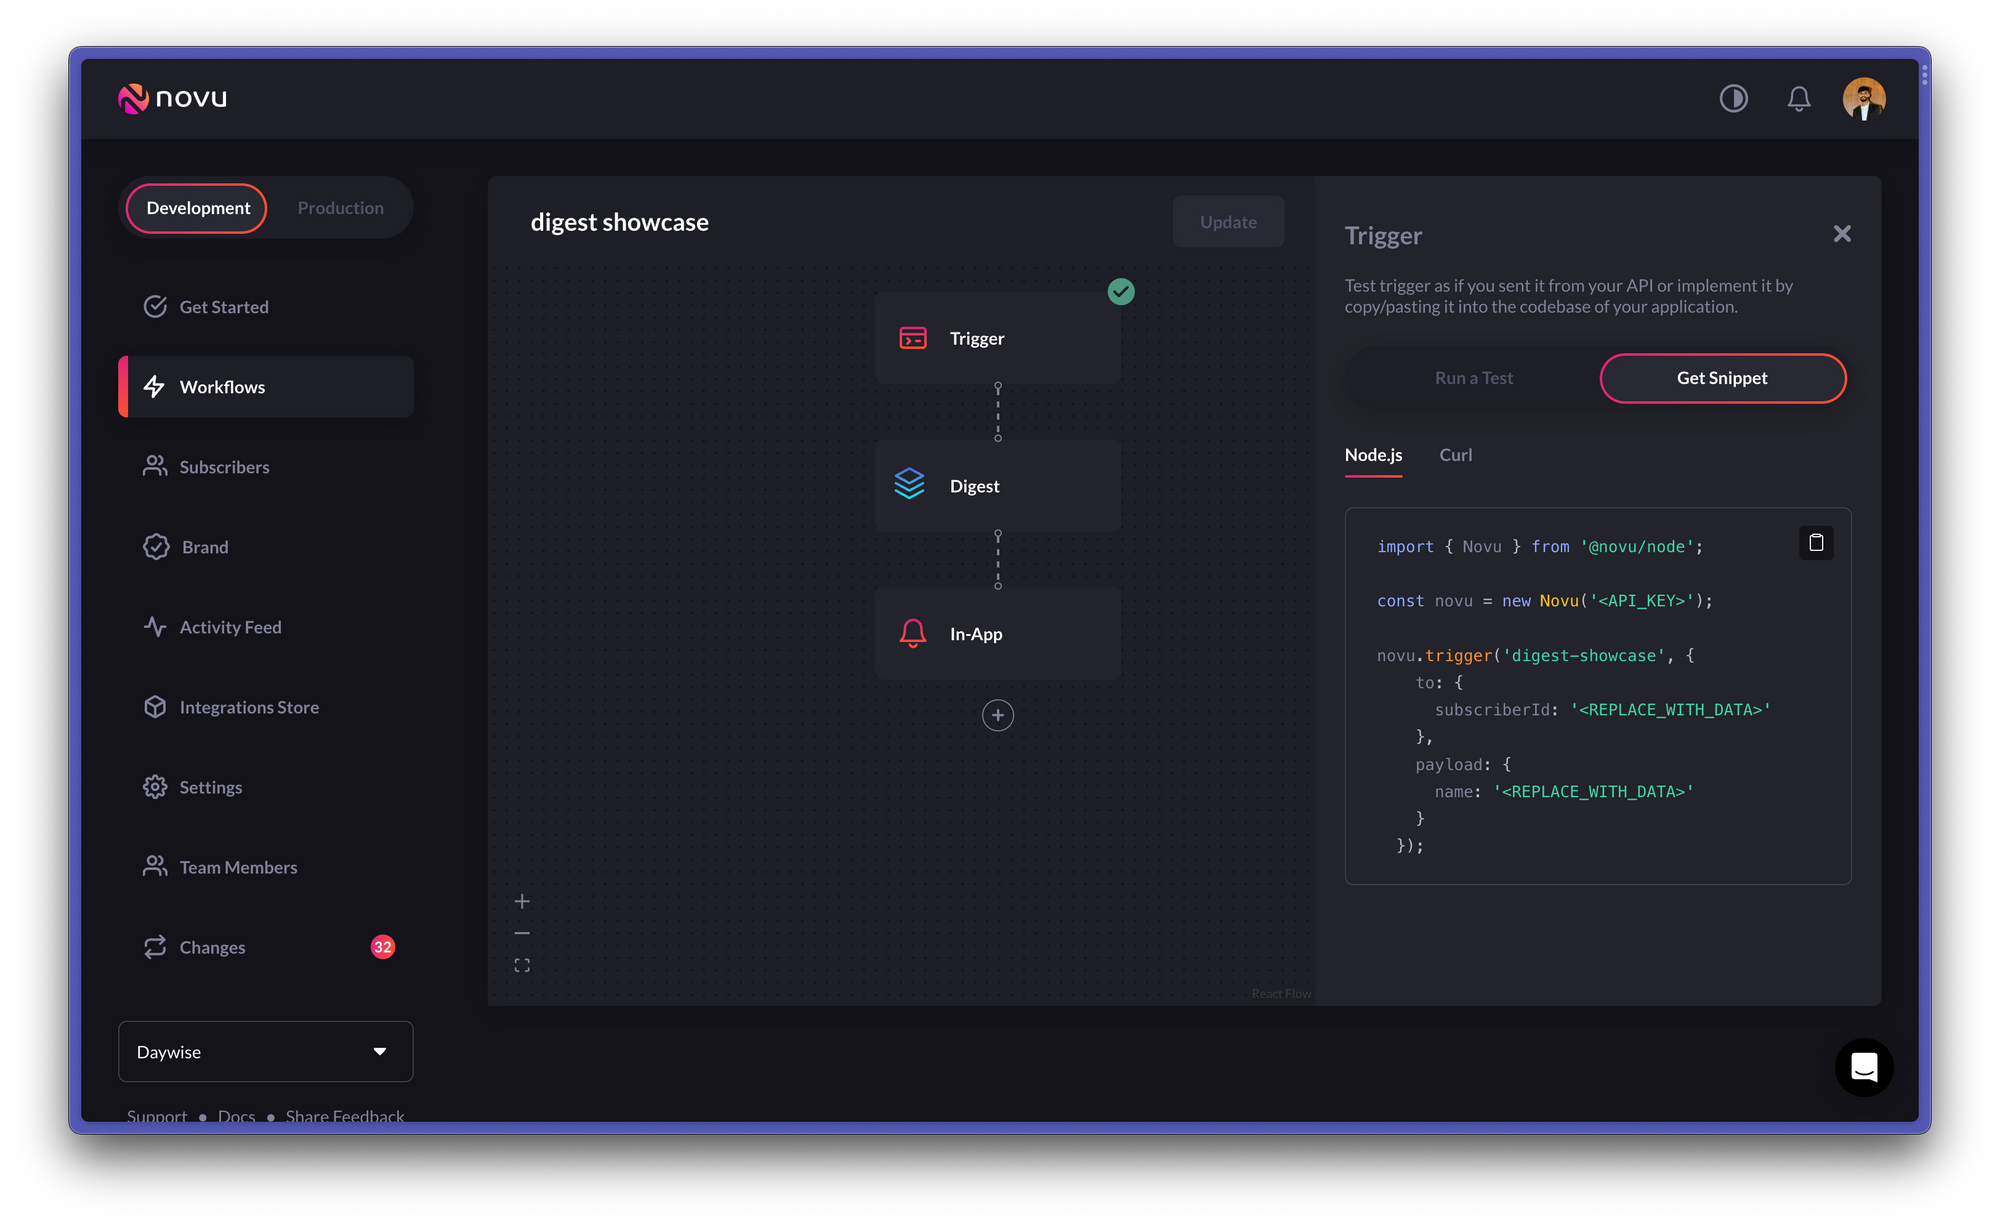
It’ll automatically create a trigger code that you can use in your app. To get it, click on the `get snippet` button on the top right and copy it:
Once you’re done configuring this to your liking, click on the `update` button on the top right.
It’ll automatically create a trigger code that you can use in your app. To get it, click on the `get snippet` button on the top right and copy it:
 Now, let’s see how to add Novu to our app!
# Add Novu to the Backend and Configure it
In your backend, install the novu package using the following code:
```bash theme={null}
npm install @novu/node
```
Now, create a route which you want to hit when called from the front end. In our demo app, this is the route:
```jsx theme={null}
import express from 'express';
import { getDigest } from '../controller/digest.js';
const router = express.Router();
router.post('/sending-digest', getDigest);
export default router;
```
Now, we need to write a controller function that will handle the logic for what is to be sent in the trigger function’s payload. In our case, this is the controller function:
```jsx theme={null}
import { sendDigest } from '../novu/novu.js';
export const getDigest = async (req, res) => {
const { name } = req.body;
try {
await sendDigest(name);
res.status(201).json({ message: 'success', name: name });
} catch (error) {
res.status(409).json({ message: error.message });
}
};
```
To make it modular, we’ll keep the trigger code in a separate function in a separate file (`novu.js`, in our case) and the trigger function is getting called in the controller function above by the name `getDigest`.
If you’re following the guide, you’ve already copied the trigger function. But before we can add it to our app, we need one key thing - **Subscribers.**
Subscribers are entities to which the notifications are sent. You can see a list of subscribers in the [Novu dashboard](https://web.novu.co/subscribers?utm_campaign=docs-digests-inapp) as well.
In our app, we’ll create a subscriber in Node.js as we’re writing our backend in Node.js, but we also have backend [SDKs](/sdks/introduction) (Node.js, PHP, .NET, Go, Ruby, Python and Kotlin) to choose from. The recommended way to create a subscriber in NodeJS is as follows:
```jsx theme={null}
await novu.subscribers.identify('aa234u787', {
firstName: 'digest subscriber',
});
```
Here, we’re creating a subscriber with the `subscriberID` of `aa234u787.` You can read more about subscribers [here](/subscribers/subscribers).
Back in our app, we can now add the trigger function:
```jsx theme={null}
import { Novu } from '@novu/node';
export const sendDigest = async (name) => {
const novu = new Novu(process.env.NOVU_API_KEY);
await novu.subscribers.identify('aa234u787', {
firstName: 'digest subscriber',
});
await novu.trigger('digest-showcase', {
to: {
subscriberId: 'aa234u787',
},
payload: {
name: name,
},
});
};
```
Now, we just need to hit the route defined above from the front end and add Novu to it.
# Add Novu’s Notification Center to the front end
In the front end, install the Novu notification centre package using the following command:
```bash theme={null}
npm install @novu/notification-center
```
Now, import and render the component in your app. The code to do so is as follows:
```jsx theme={null}
import {
NovuProvider,
PopoverNotificationCenter,
NotificationBell,
IMessage,
} from '@novu/notification-center';
function Header() {
function onNotificationClick(message: IMessage) {
// your logic to handle the notification click
if (message?.cta?.data?.url) {
window.location.href = message.cta.data.url;
}
}
return (
Now, let’s see how to add Novu to our app!
# Add Novu to the Backend and Configure it
In your backend, install the novu package using the following code:
```bash theme={null}
npm install @novu/node
```
Now, create a route which you want to hit when called from the front end. In our demo app, this is the route:
```jsx theme={null}
import express from 'express';
import { getDigest } from '../controller/digest.js';
const router = express.Router();
router.post('/sending-digest', getDigest);
export default router;
```
Now, we need to write a controller function that will handle the logic for what is to be sent in the trigger function’s payload. In our case, this is the controller function:
```jsx theme={null}
import { sendDigest } from '../novu/novu.js';
export const getDigest = async (req, res) => {
const { name } = req.body;
try {
await sendDigest(name);
res.status(201).json({ message: 'success', name: name });
} catch (error) {
res.status(409).json({ message: error.message });
}
};
```
To make it modular, we’ll keep the trigger code in a separate function in a separate file (`novu.js`, in our case) and the trigger function is getting called in the controller function above by the name `getDigest`.
If you’re following the guide, you’ve already copied the trigger function. But before we can add it to our app, we need one key thing - **Subscribers.**
Subscribers are entities to which the notifications are sent. You can see a list of subscribers in the [Novu dashboard](https://web.novu.co/subscribers?utm_campaign=docs-digests-inapp) as well.
In our app, we’ll create a subscriber in Node.js as we’re writing our backend in Node.js, but we also have backend [SDKs](/sdks/introduction) (Node.js, PHP, .NET, Go, Ruby, Python and Kotlin) to choose from. The recommended way to create a subscriber in NodeJS is as follows:
```jsx theme={null}
await novu.subscribers.identify('aa234u787', {
firstName: 'digest subscriber',
});
```
Here, we’re creating a subscriber with the `subscriberID` of `aa234u787.` You can read more about subscribers [here](/subscribers/subscribers).
Back in our app, we can now add the trigger function:
```jsx theme={null}
import { Novu } from '@novu/node';
export const sendDigest = async (name) => {
const novu = new Novu(process.env.NOVU_API_KEY);
await novu.subscribers.identify('aa234u787', {
firstName: 'digest subscriber',
});
await novu.trigger('digest-showcase', {
to: {
subscriberId: 'aa234u787',
},
payload: {
name: name,
},
});
};
```
Now, we just need to hit the route defined above from the front end and add Novu to it.
# Add Novu’s Notification Center to the front end
In the front end, install the Novu notification centre package using the following command:
```bash theme={null}
npm install @novu/notification-center
```
Now, import and render the component in your app. The code to do so is as follows:
```jsx theme={null}
import {
NovuProvider,
PopoverNotificationCenter,
NotificationBell,
IMessage,
} from '@novu/notification-center';
function Header() {
function onNotificationClick(message: IMessage) {
// your logic to handle the notification click
if (message?.cta?.data?.url) {
window.location.href = message.cta.data.url;
}
}
return (
Don't know how to? Start here.
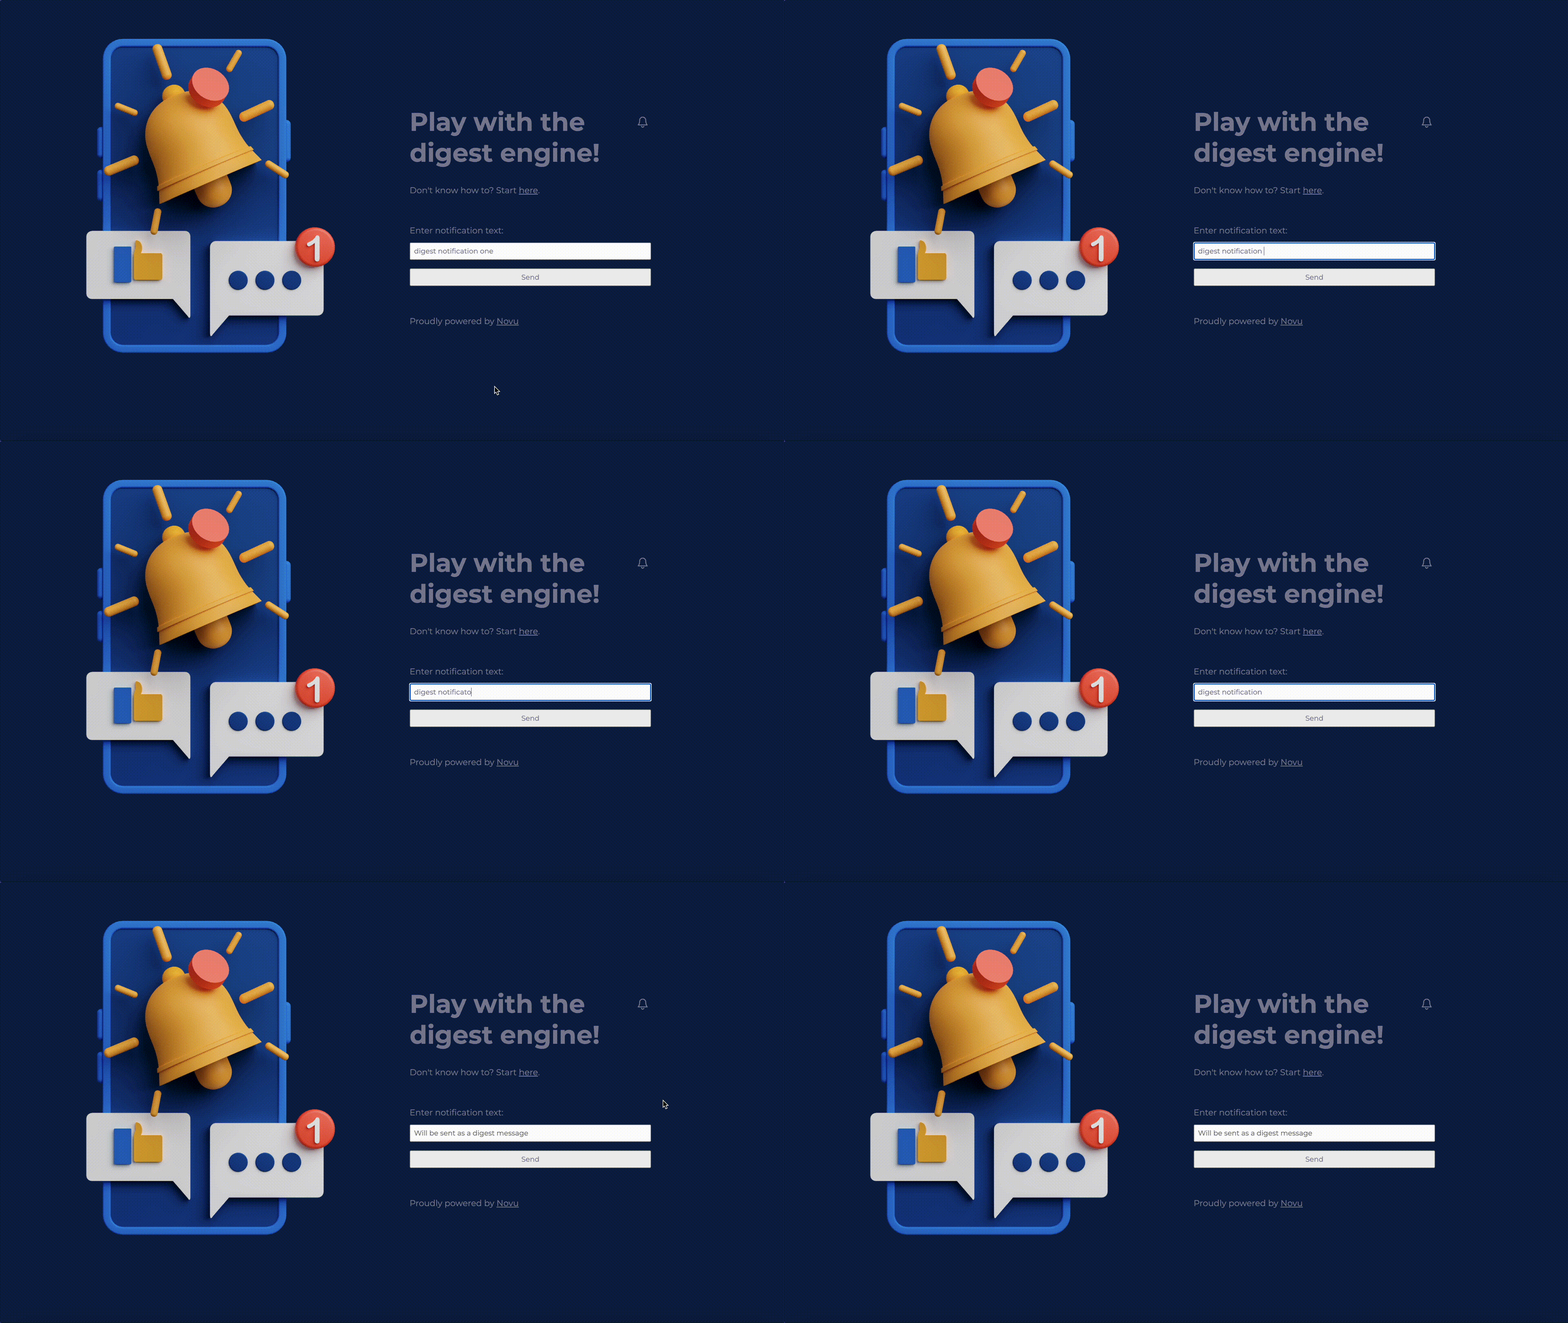 In this app, when we enter some text in the input box and click send, the notification appears in the bell icon after the delay specified above (when we’re creating the workflow).
This is how we add digest to in-app notifications!
In this app, when we enter some text in the input box and click send, the notification appears in the bell icon after the delay specified above (when we’re creating the workflow).
This is how we add digest to in-app notifications!