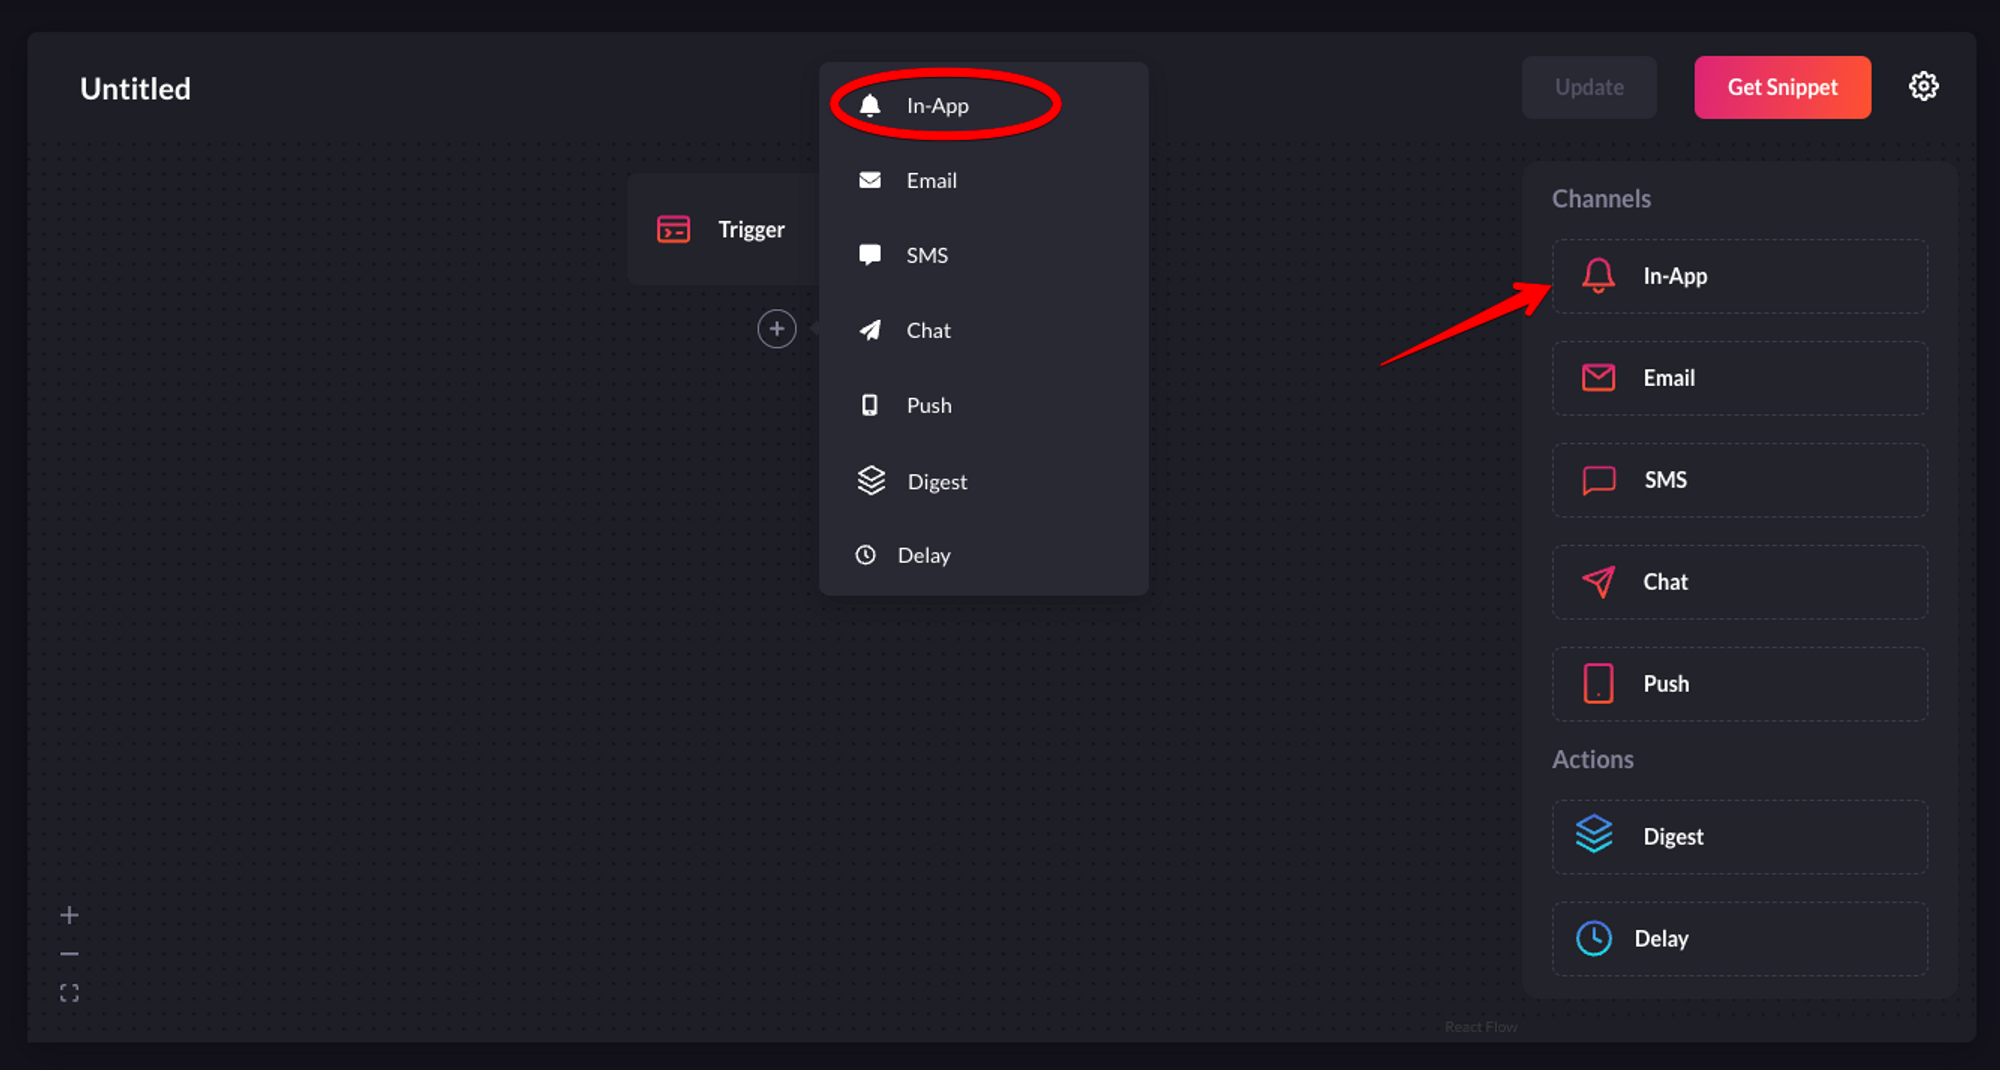
 Select the in-app channel.
1. Click on the recently added “In-App” channel and configure it according to your preferences. Once you’re done, click “Update” to save your configuration.
Select the in-app channel.
1. Click on the recently added “In-App” channel and configure it according to your preferences. Once you’re done, click “Update” to save your configuration.
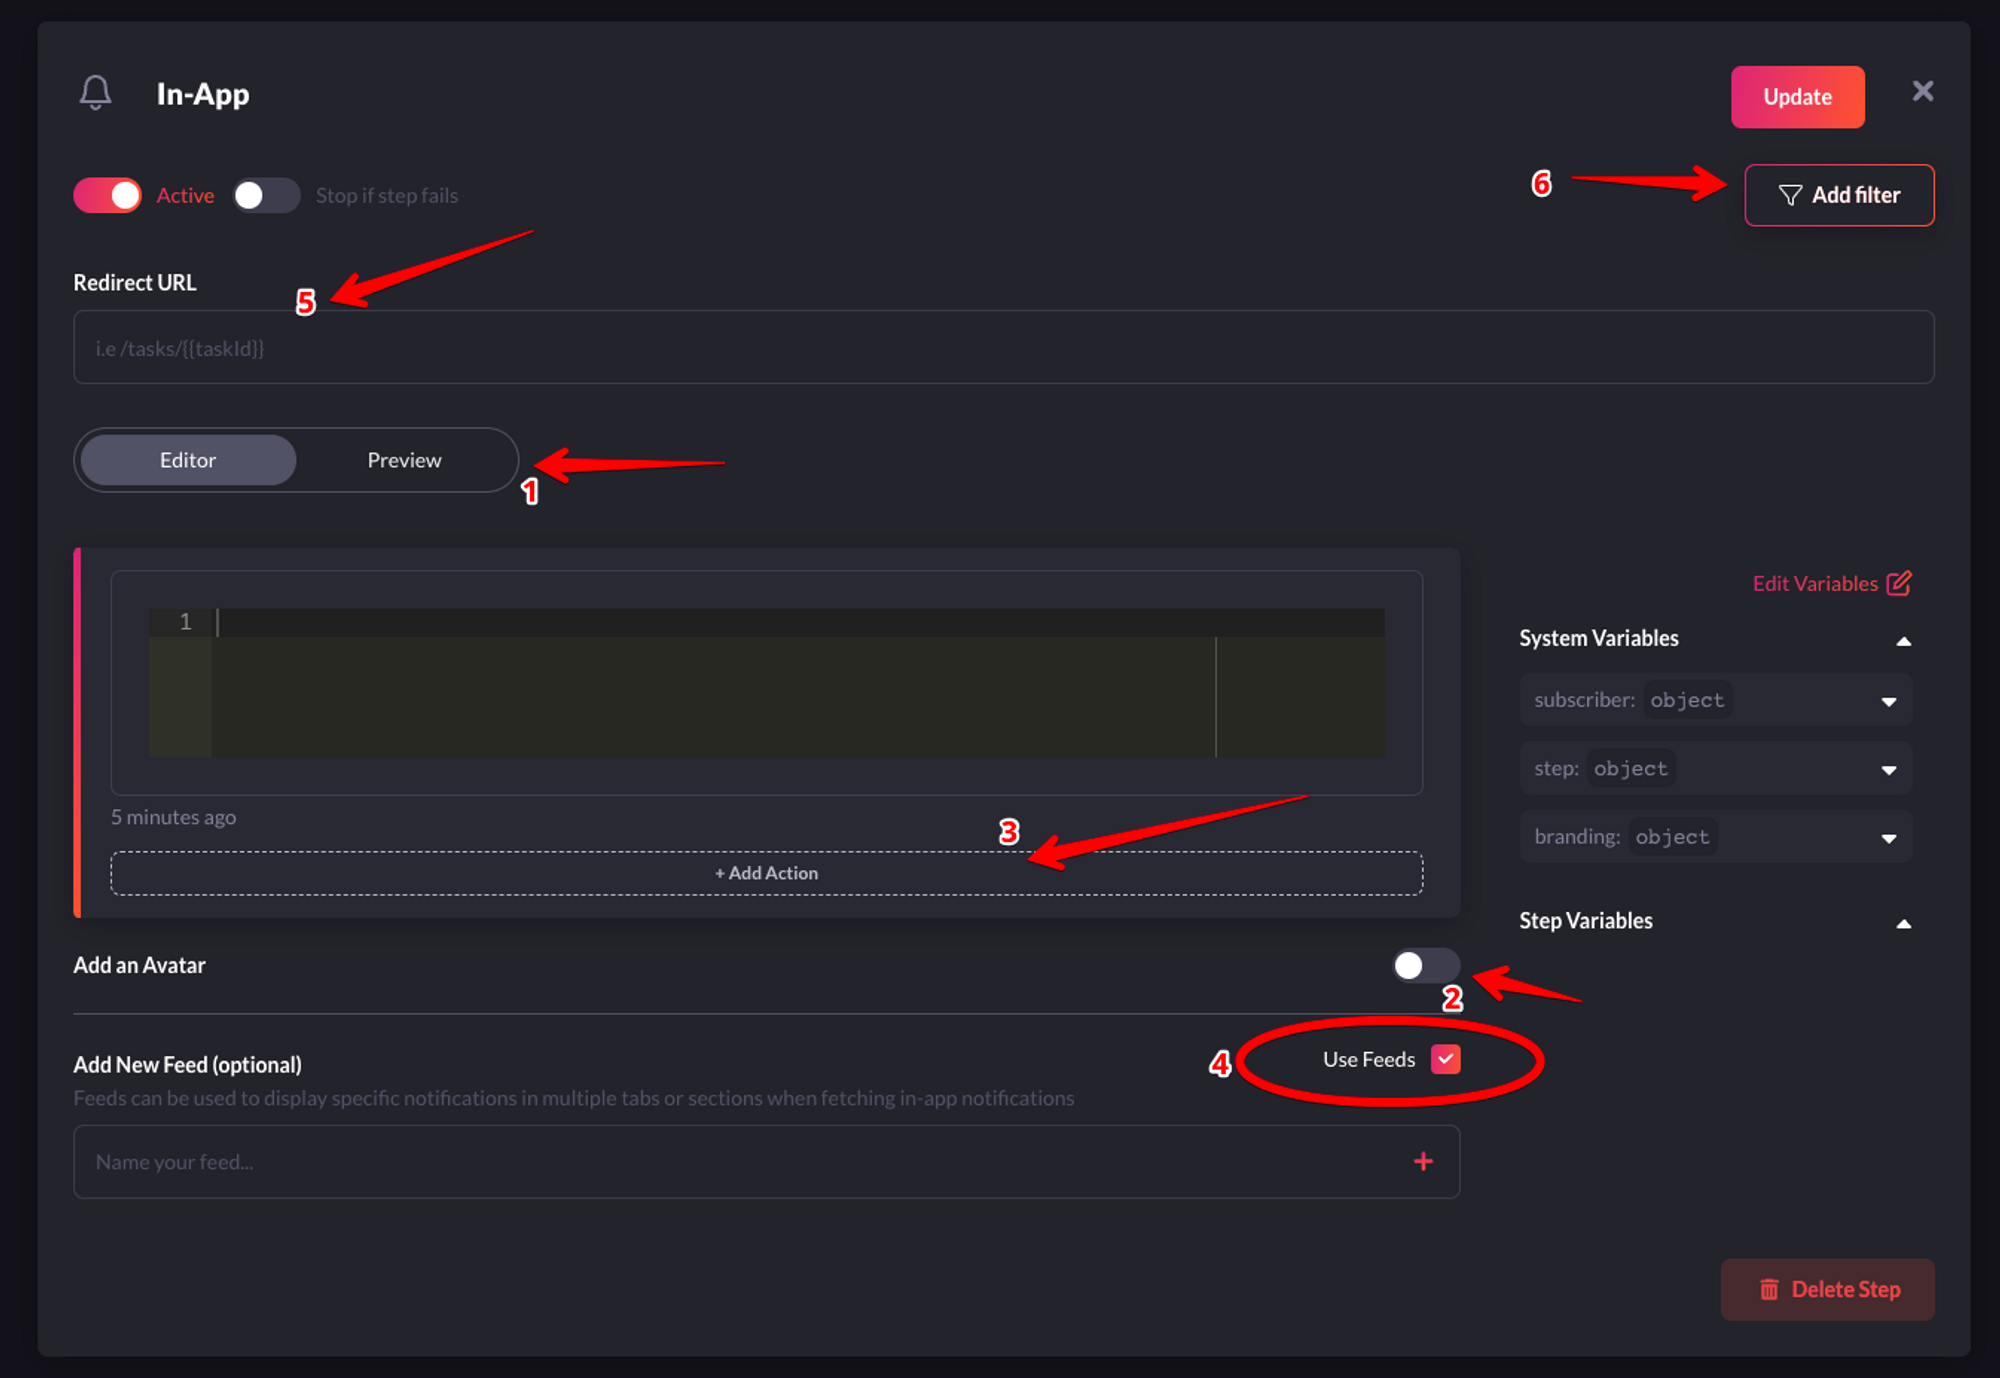 Configure the in-app node as per your needs.
I’ll briefly explain the function of each label in the image above:
* **1-Preview**: This shows you a glimpse of how each notification item will look in the Notification Center UI.
* **2-Avatar**: If turned on, each notification item will show the avatar of the subscriber.
* **3-Action**: With this, you can add a primary and secondary call to action button to each notification item.
* **4-Notification Feeds**: This displays a stream of specific notifications. You can have multiple feeds to show specific notifications in multiple tabs.
* **5-Redirect URL**: This is the URL to which a subscriber can be directed when they click on a notification item.
* **6-Filter**: This feature allows you to configure the criteria for delivering notifications. For instance, you can apply a filter based on a subscriber’s online status to send them an email if they were online within the last hour. Read [more about filters](/workflows/notification-workflows).
* **7-Editor**: You can add text that you want to be displayed in each notification item. Additionally, you can specify custom variables using **`{{ }}`**. This means you can inject variables from your code into a notification item’s text via a payload.
In our case, we’ll use the custom variables functionality, as shown below:
Configure the in-app node as per your needs.
I’ll briefly explain the function of each label in the image above:
* **1-Preview**: This shows you a glimpse of how each notification item will look in the Notification Center UI.
* **2-Avatar**: If turned on, each notification item will show the avatar of the subscriber.
* **3-Action**: With this, you can add a primary and secondary call to action button to each notification item.
* **4-Notification Feeds**: This displays a stream of specific notifications. You can have multiple feeds to show specific notifications in multiple tabs.
* **5-Redirect URL**: This is the URL to which a subscriber can be directed when they click on a notification item.
* **6-Filter**: This feature allows you to configure the criteria for delivering notifications. For instance, you can apply a filter based on a subscriber’s online status to send them an email if they were online within the last hour. Read [more about filters](/workflows/notification-workflows).
* **7-Editor**: You can add text that you want to be displayed in each notification item. Additionally, you can specify custom variables using **`{{ }}`**. This means you can inject variables from your code into a notification item’s text via a payload.
In our case, we’ll use the custom variables functionality, as shown below:
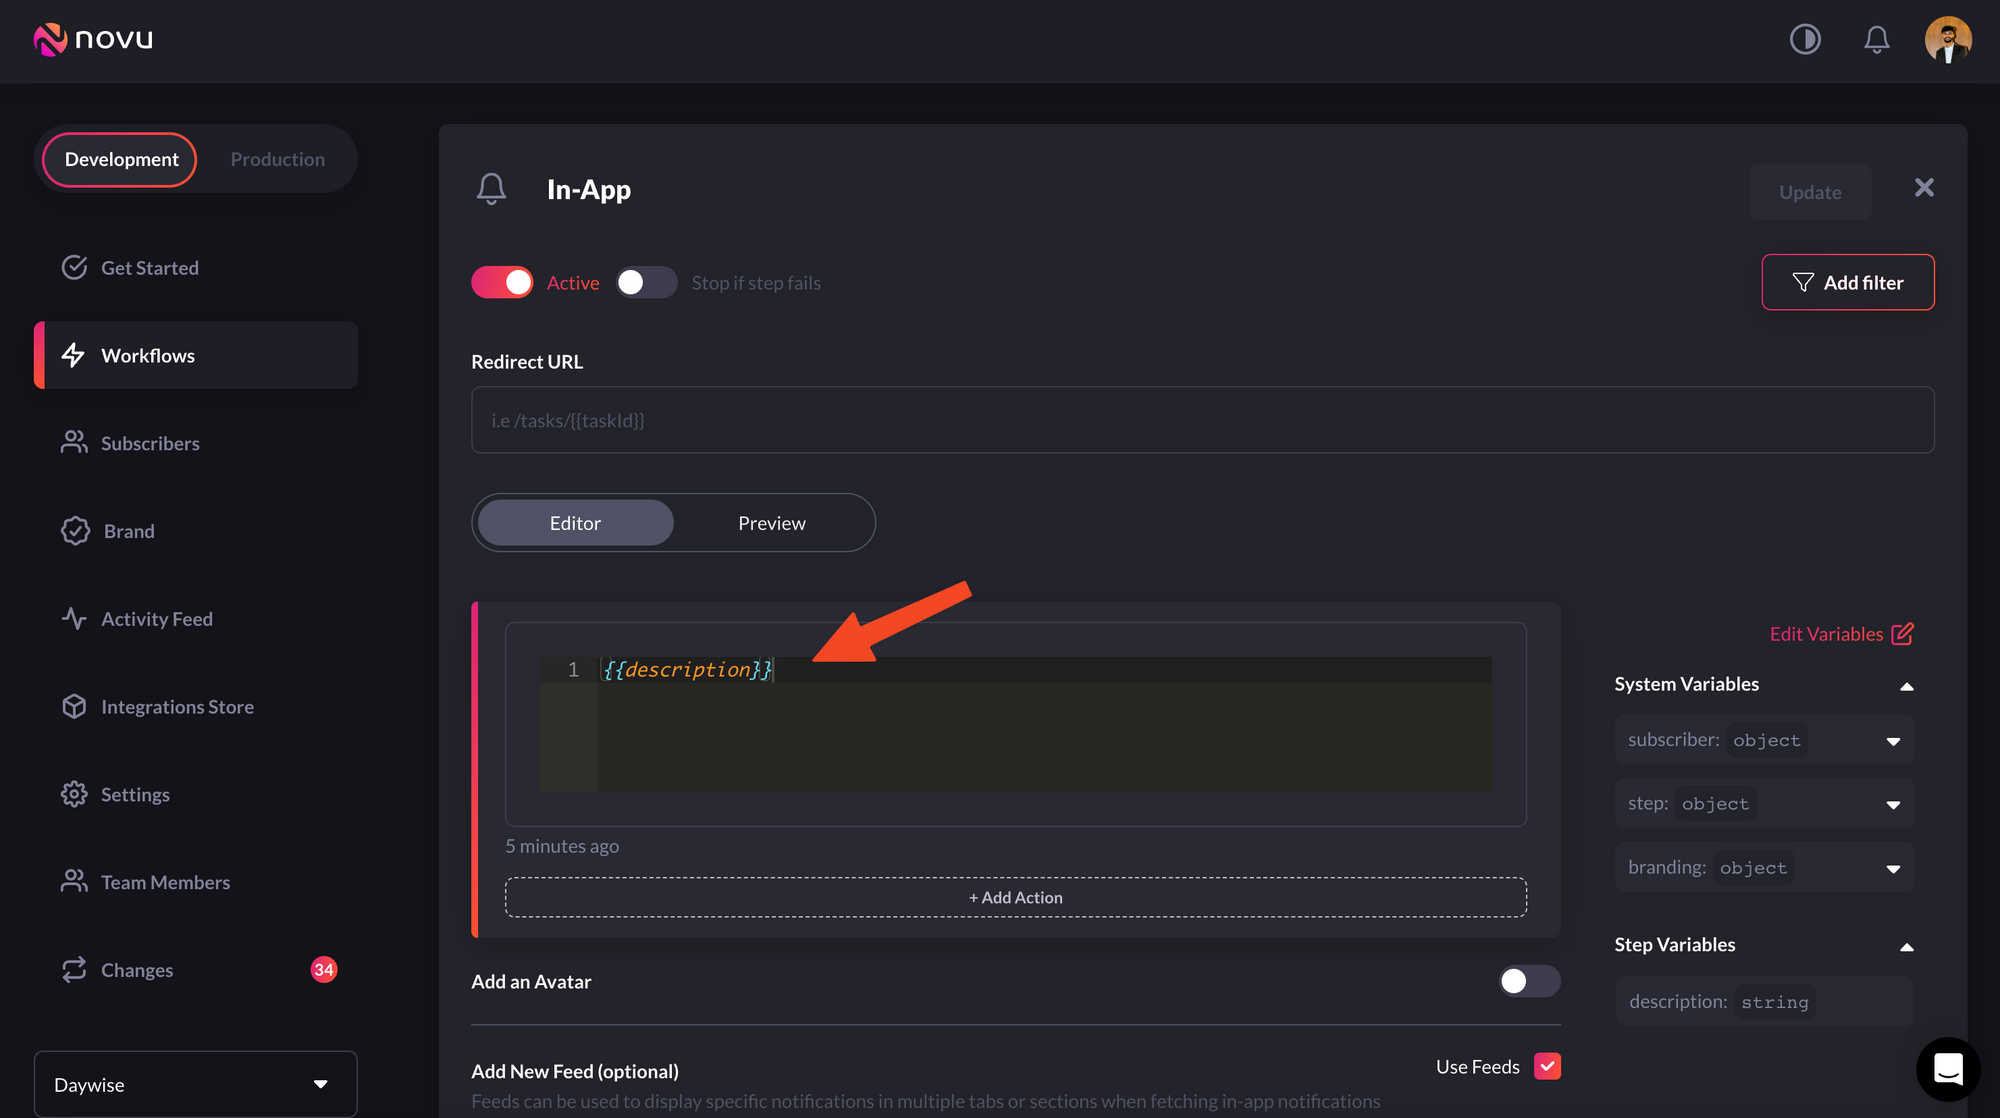 We're gonna use custom variables here.
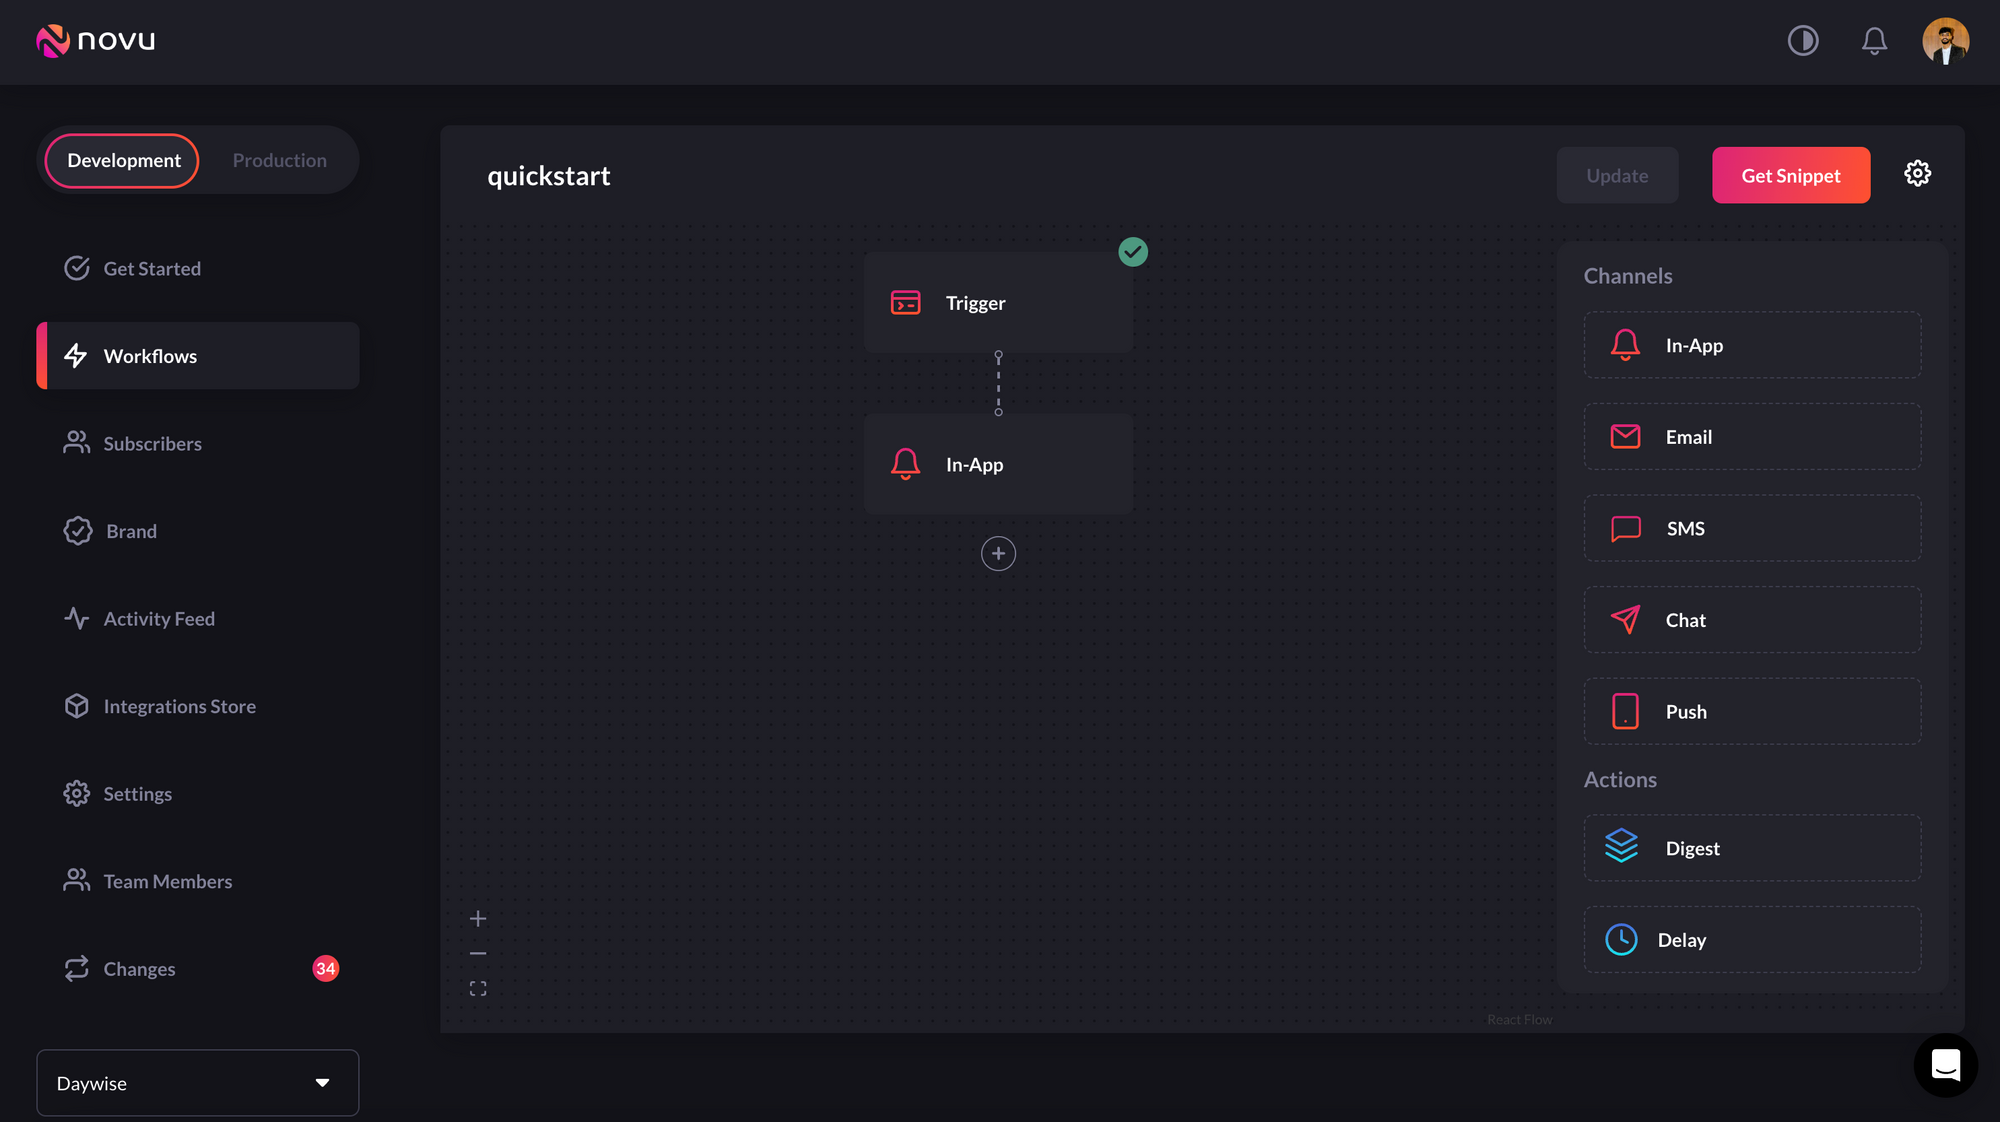
Feel free to add only text for now and rename the workflow to quickstart. It automatically creates a slug-like Identifier that will be needed in later steps to trigger a notification.
Rename the workflow to 'quickstart'.
We're gonna use custom variables here.
Feel free to add only text for now and rename the workflow to quickstart. It automatically creates a slug-like Identifier that will be needed in later steps to trigger a notification.
Rename the workflow to 'quickstart'.
 Now, we’ll learn how to create subscribers on Novu - Recipients of Notifications!
## Create a subscriber
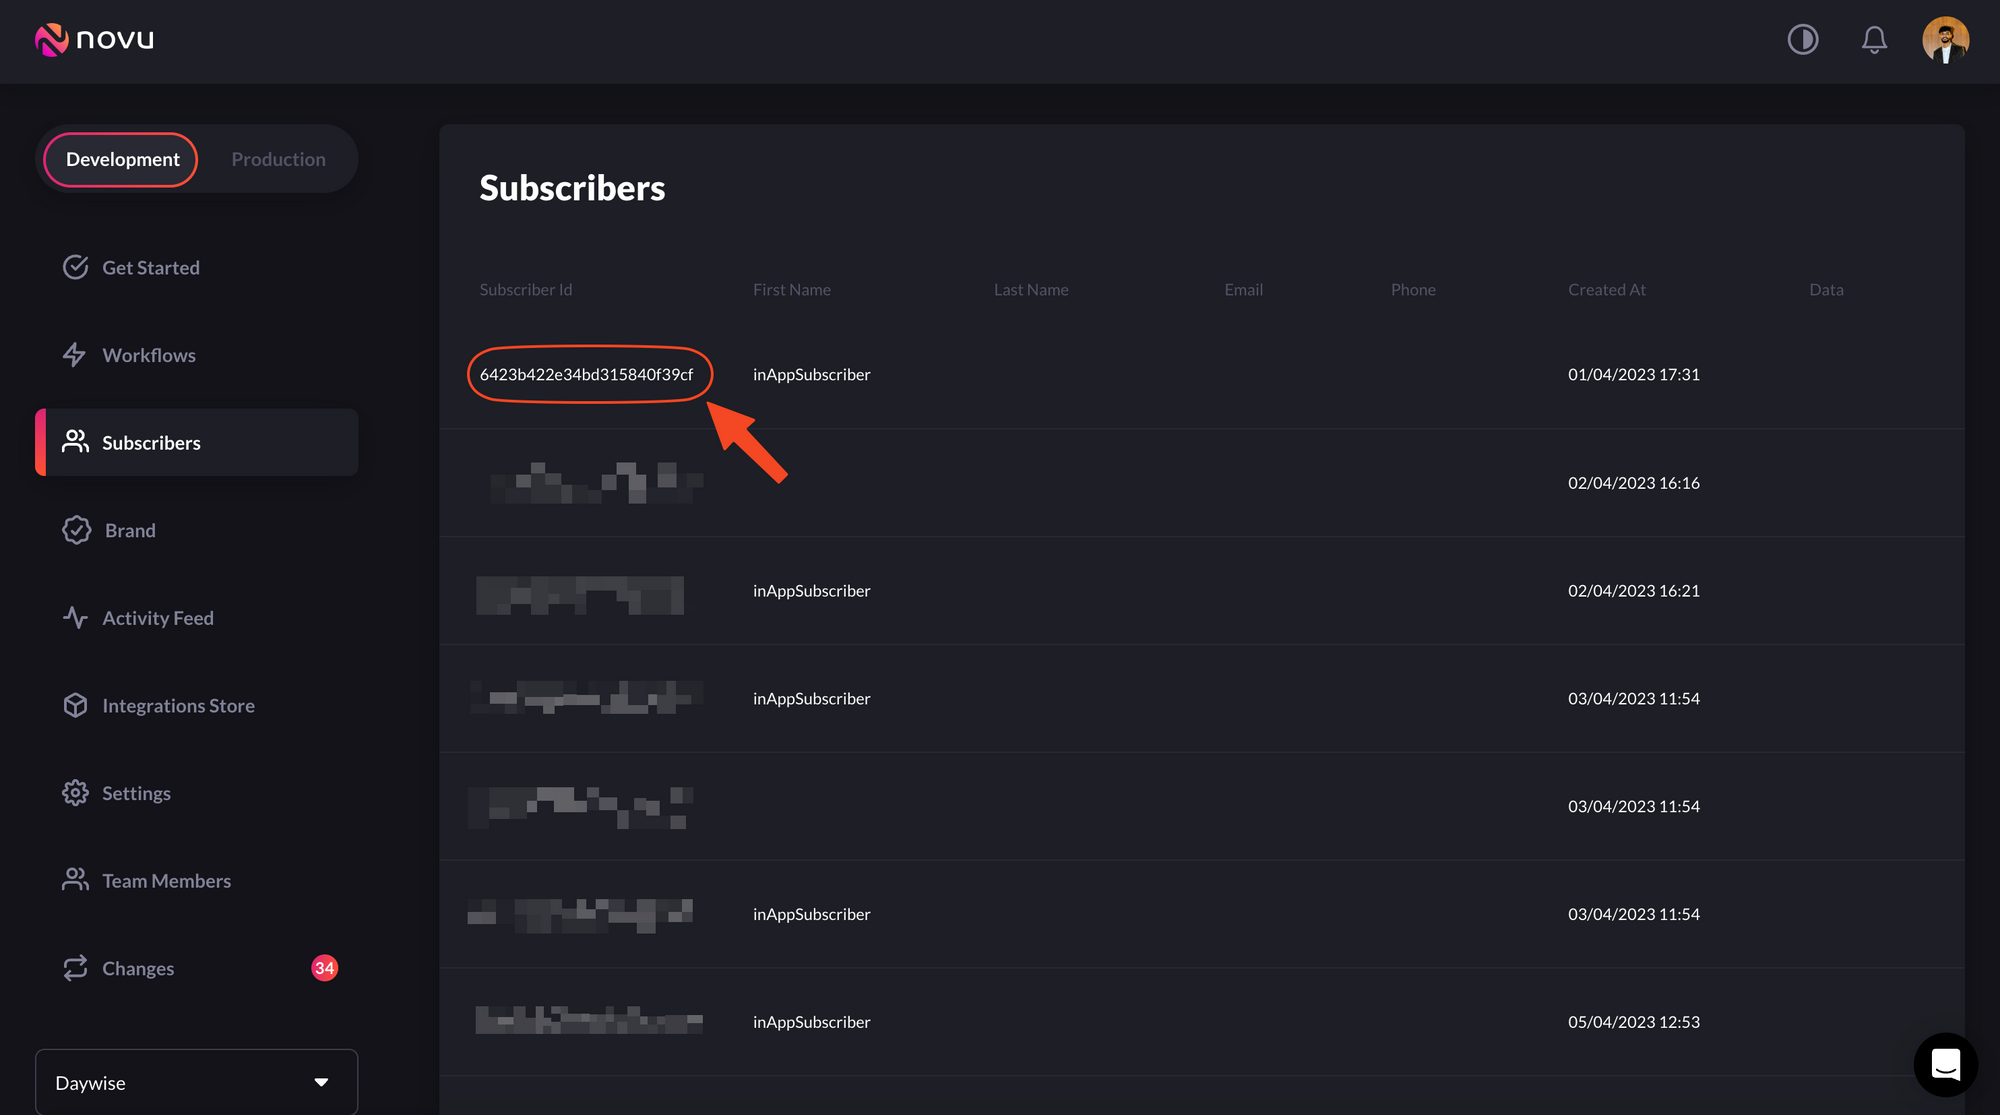
If you click “Subscriber” on the left sidebar of the **[Novu dashboard](https://web.novu.co/subscribers?utm_campaign=docs-quick-iframe)**, you’ll see the subscriber list. By default, there will only be one subscriber as you’re automatically added as a subscriber when you sign up for Novu:
Now, we’ll learn how to create subscribers on Novu - Recipients of Notifications!
## Create a subscriber
If you click “Subscriber” on the left sidebar of the **[Novu dashboard](https://web.novu.co/subscribers?utm_campaign=docs-quick-iframe)**, you’ll see the subscriber list. By default, there will only be one subscriber as you’re automatically added as a subscriber when you sign up for Novu:
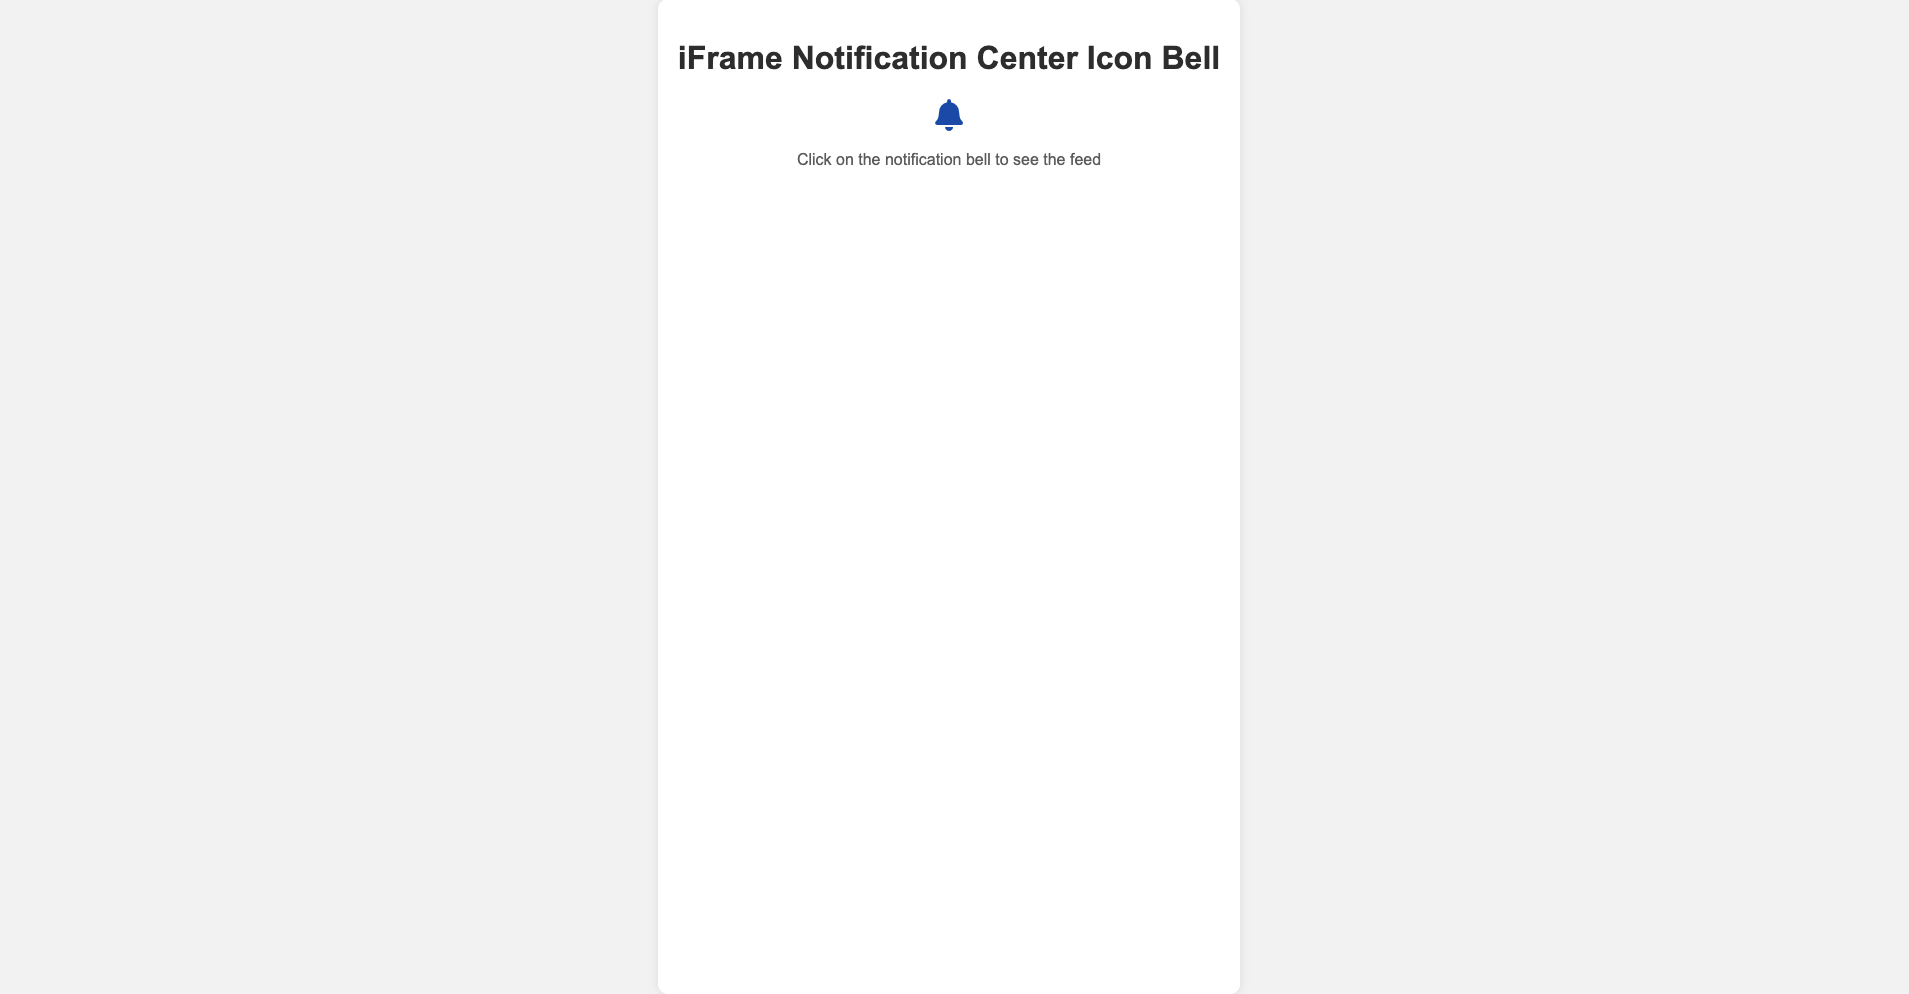
iFrame Notification Center Icon Bell
Click on the notification bell to see the feed
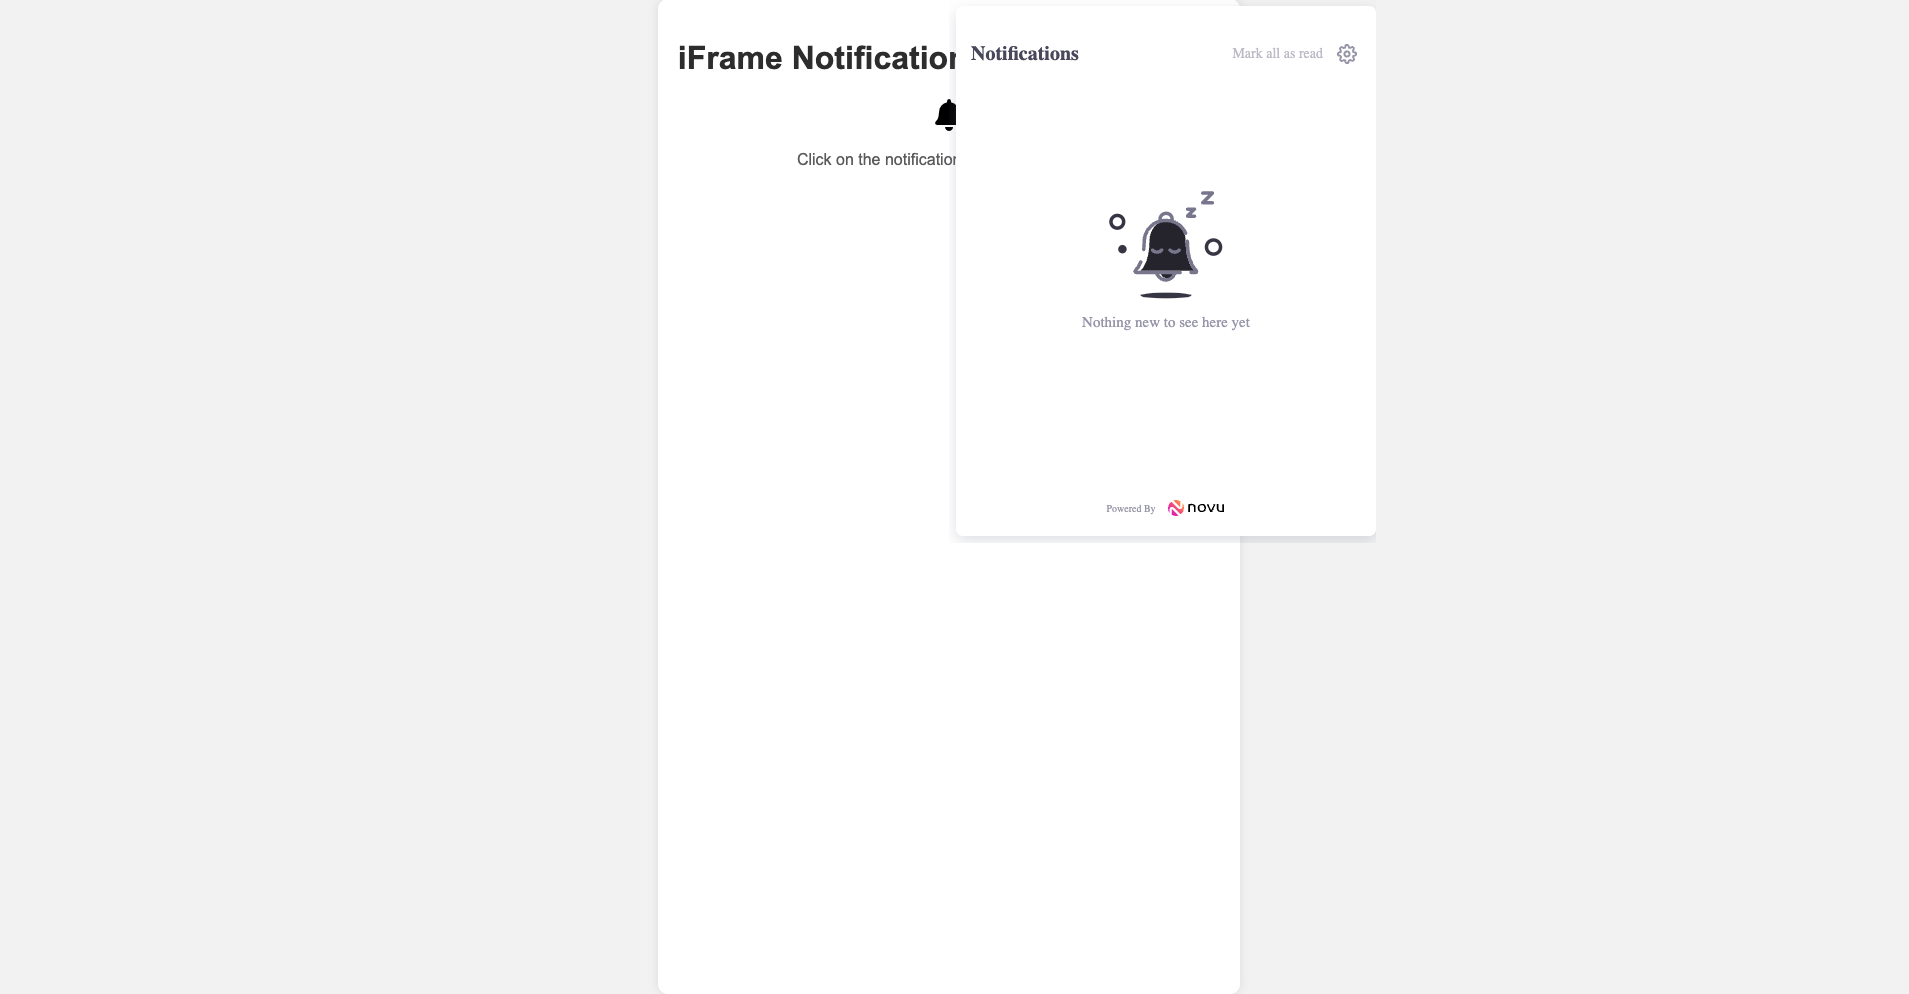
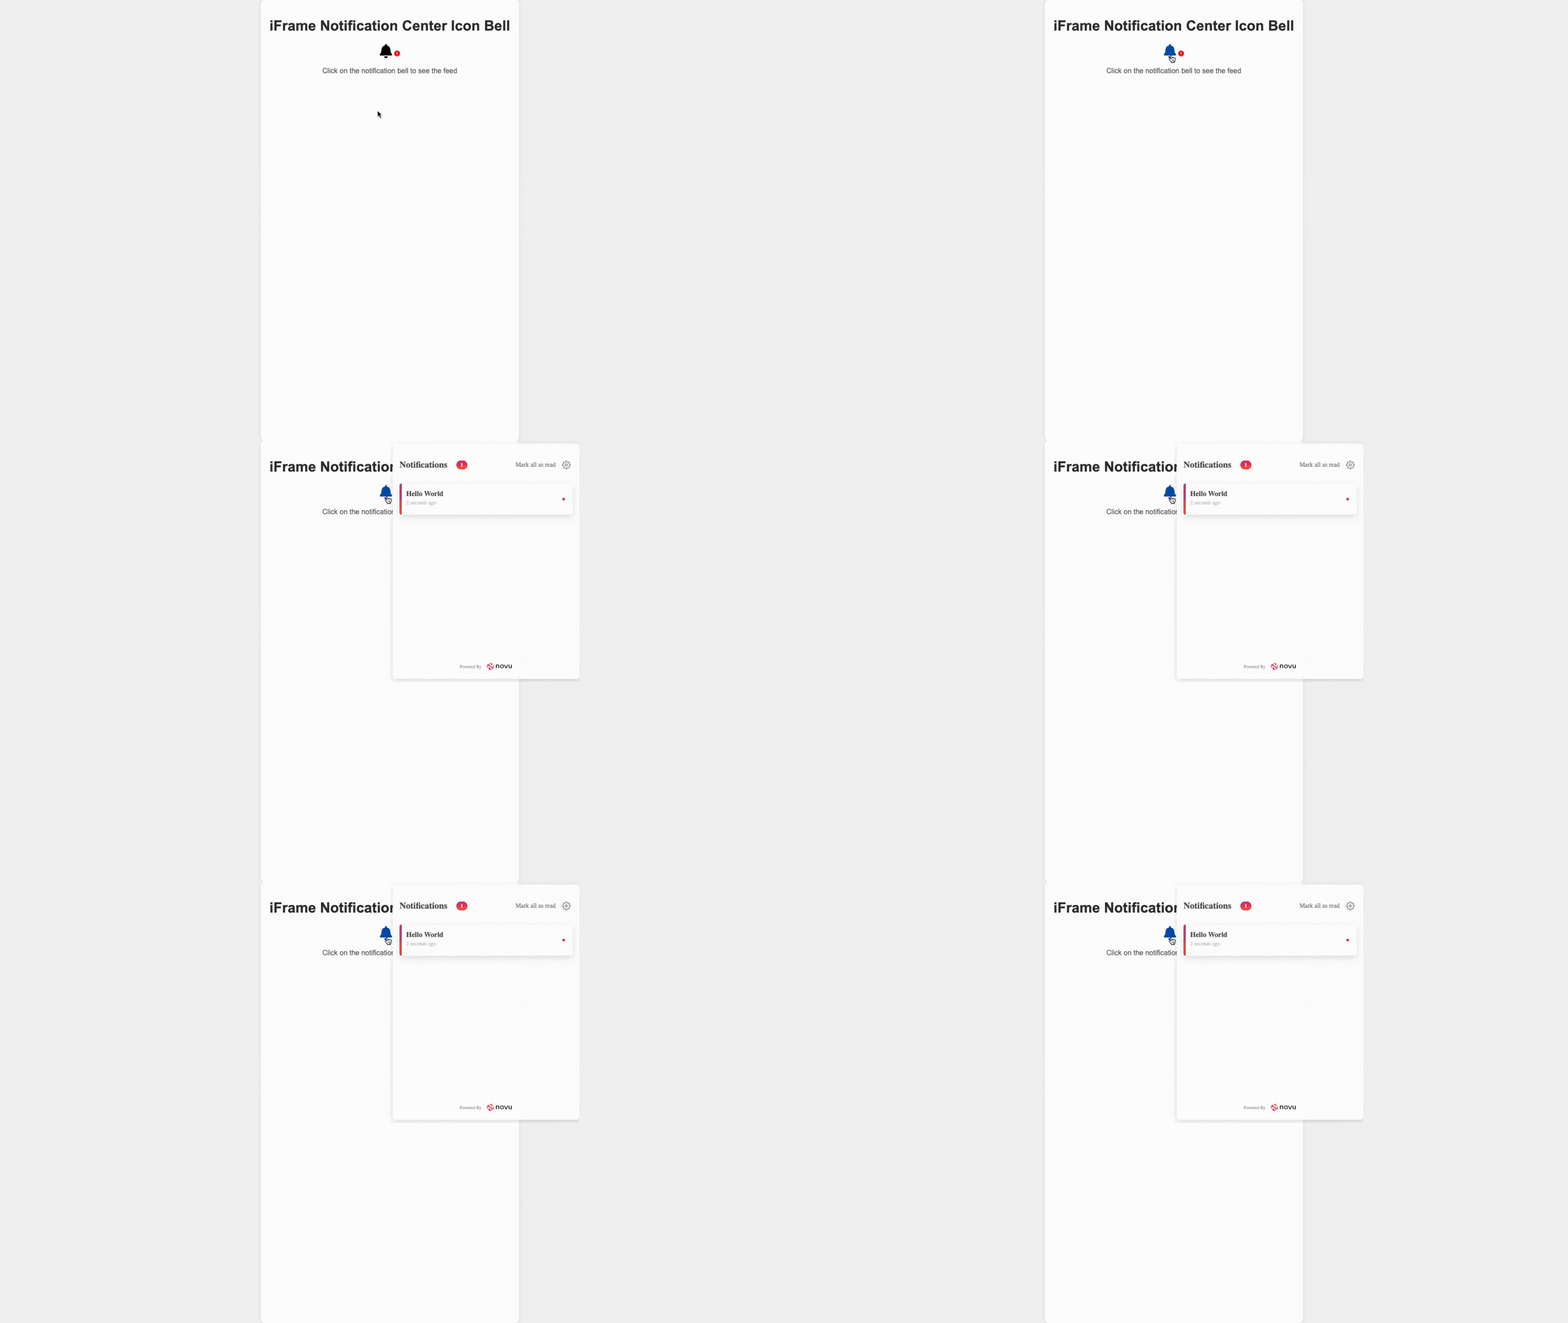
 If you have replaced the `applicationIdentifier` and `subscriberID`, when you will click the bell, you will see the following:
 To learn how to design and modify your iFrame component, feel free to visit the more in-depth [iFrame section](notification-center/client/iframe).
## Trigger a notification
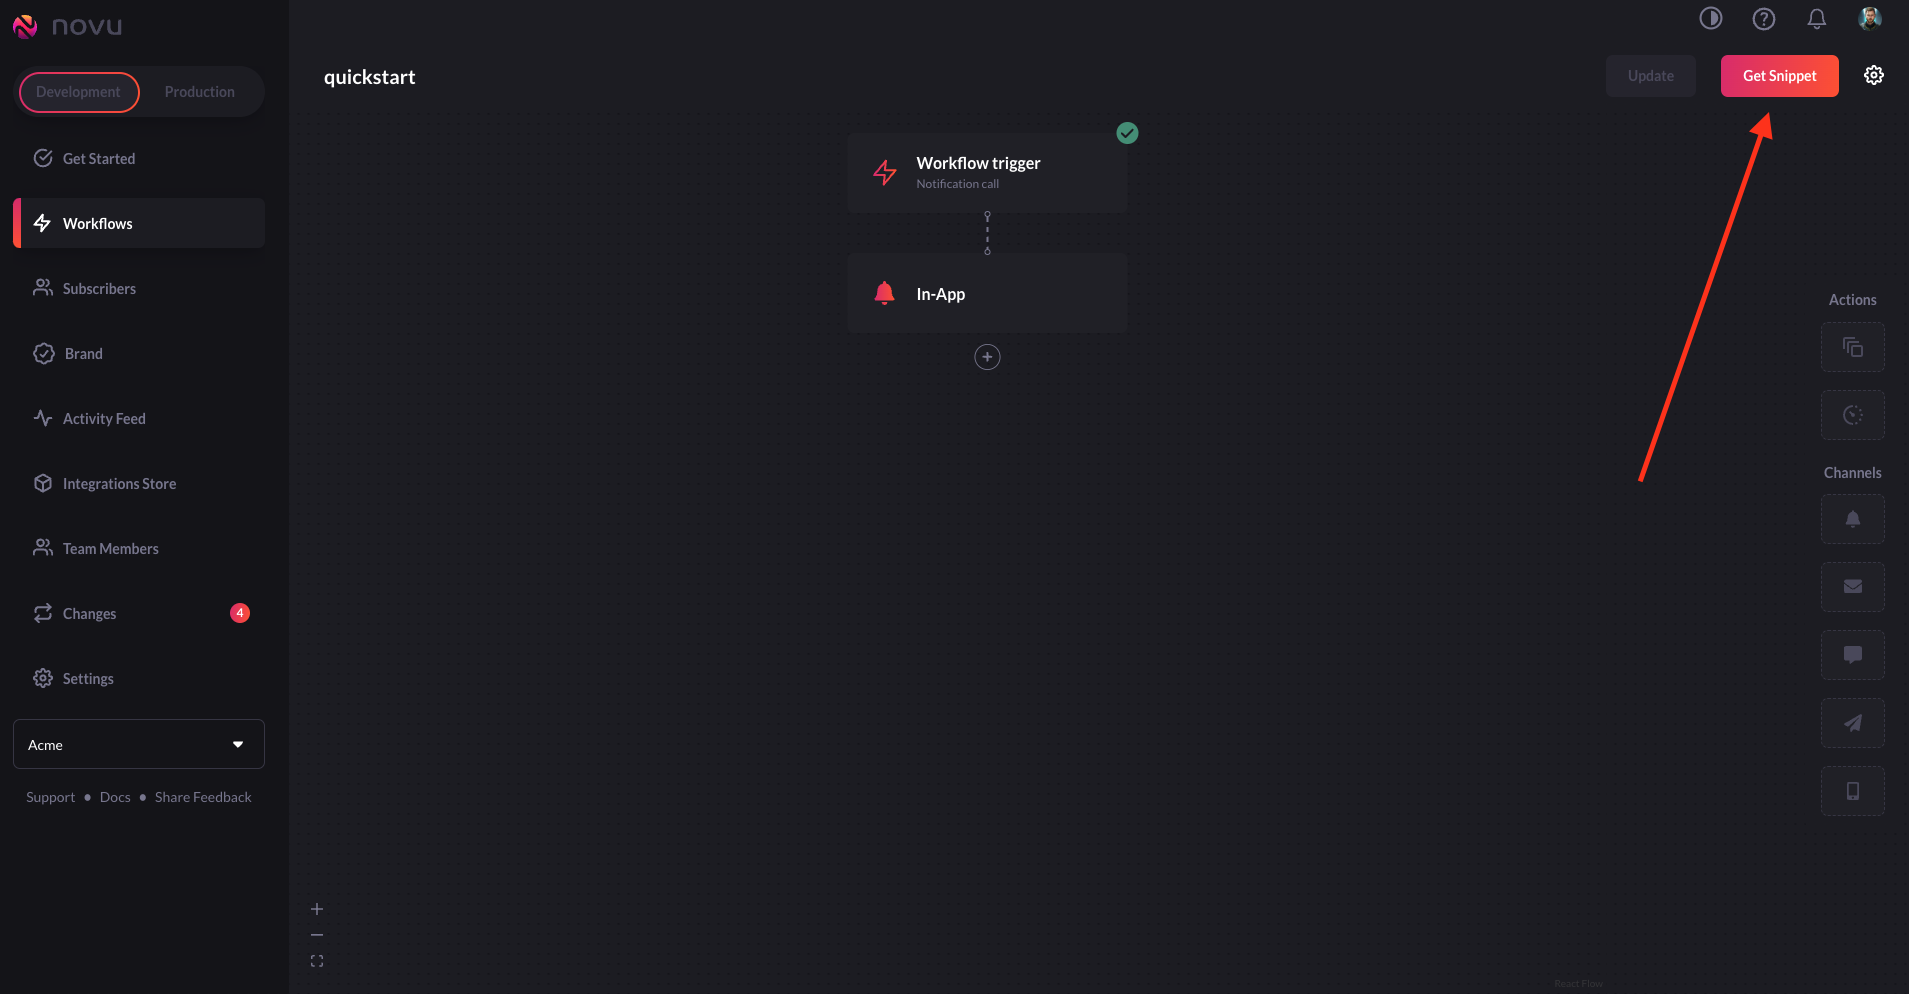
We can trigger a notification by simply clicking on the `Get Snippet` button
To learn how to design and modify your iFrame component, feel free to visit the more in-depth [iFrame section](notification-center/client/iframe).
## Trigger a notification
We can trigger a notification by simply clicking on the `Get Snippet` button
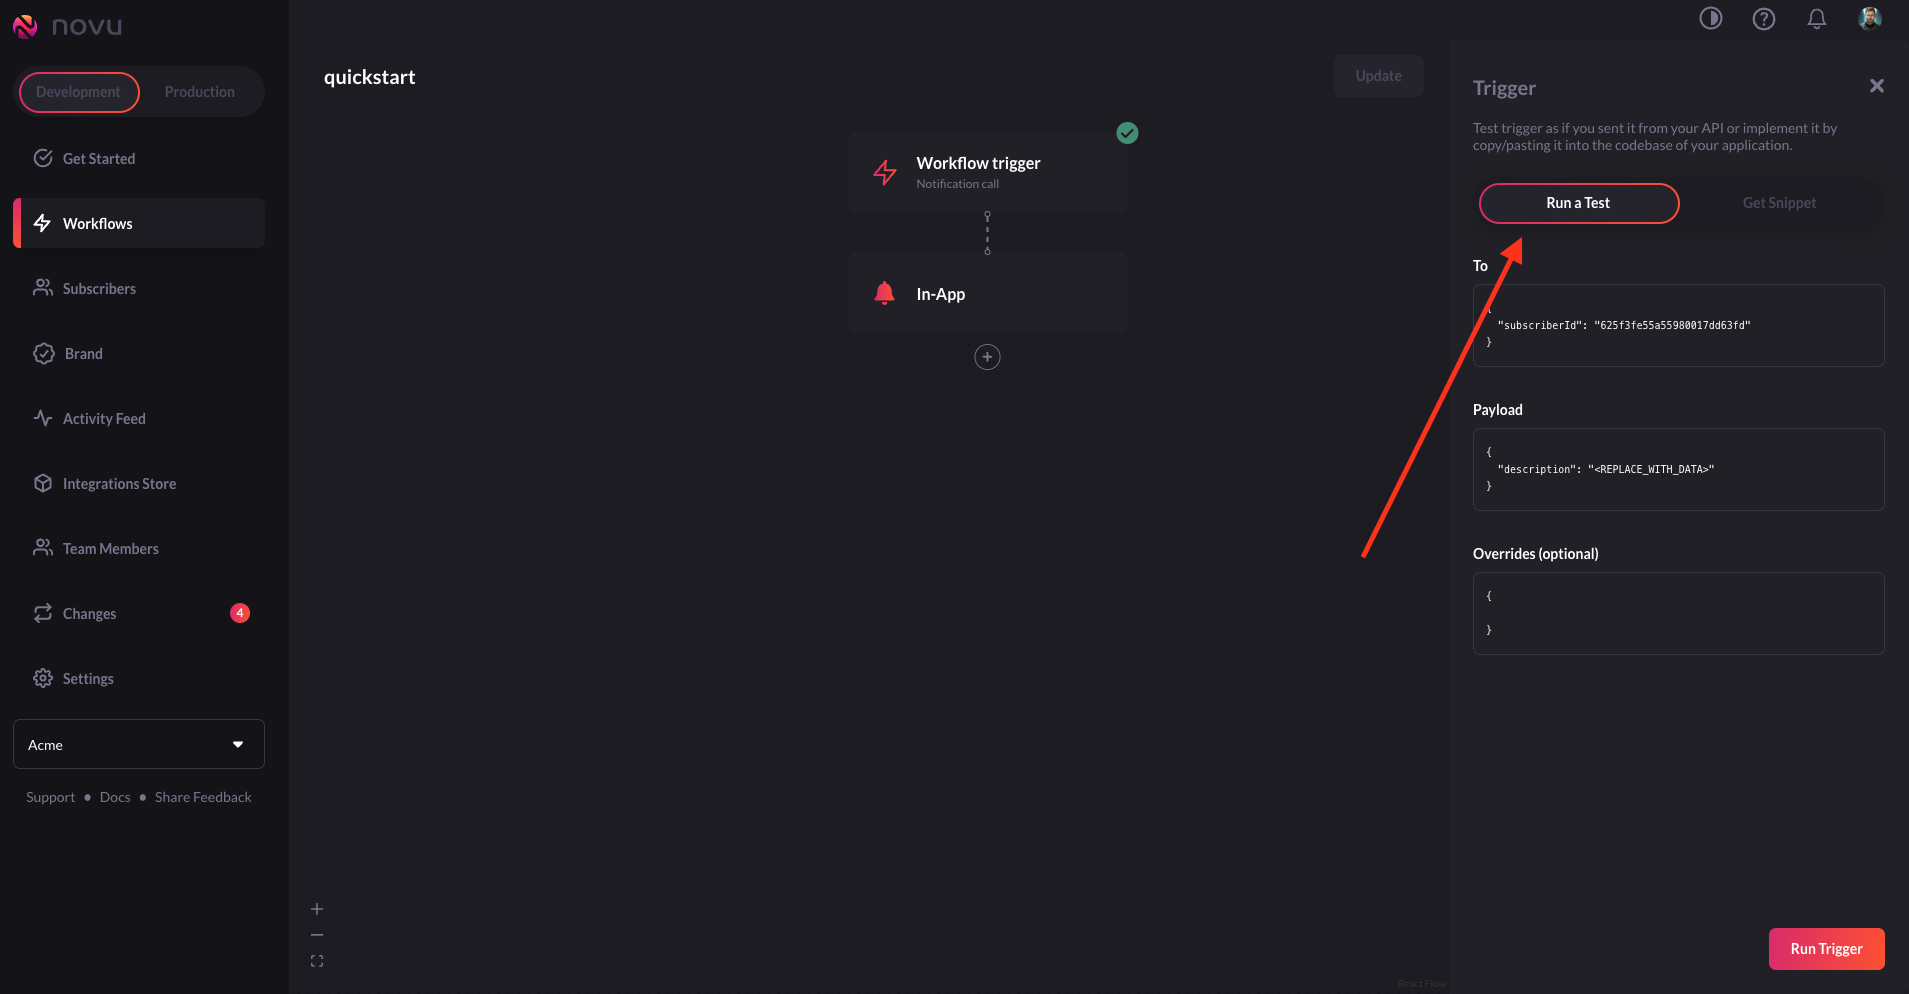
 Switch to `Run a Test` option
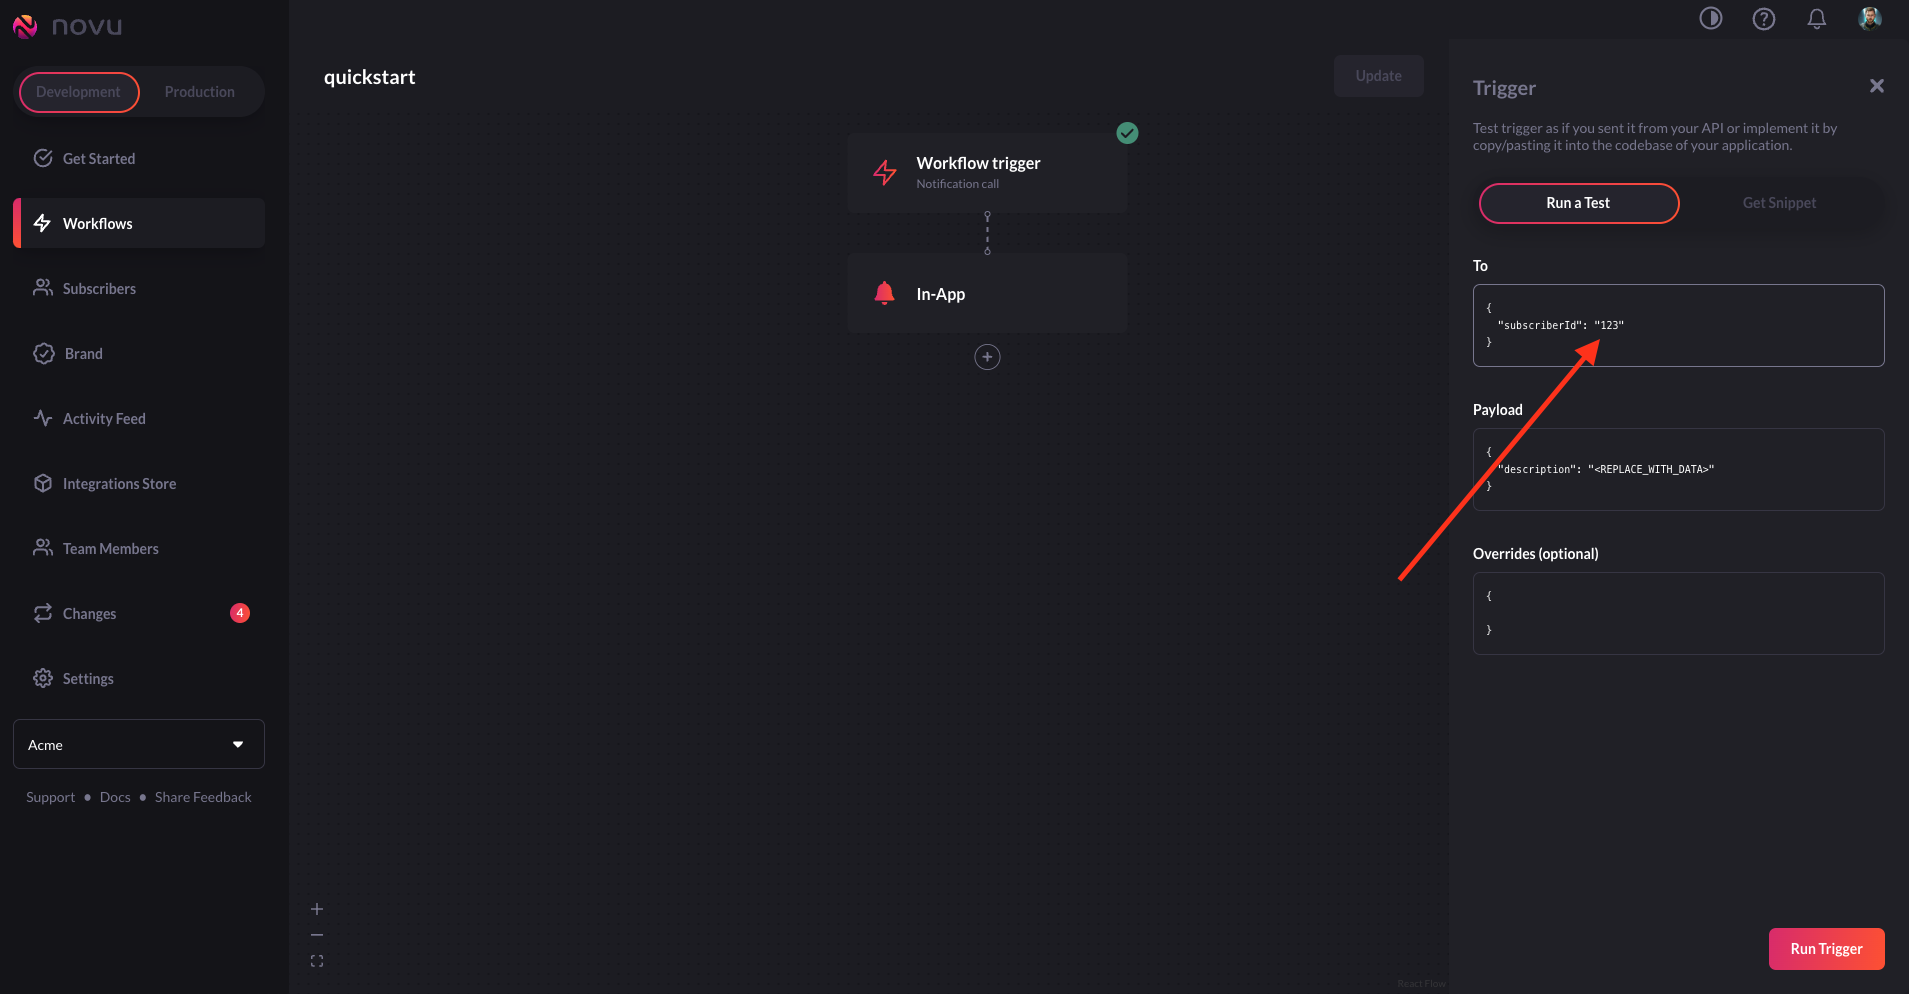
 Change the `subscriberId` that we have created (`123`)
 Click on `Run Trigger`
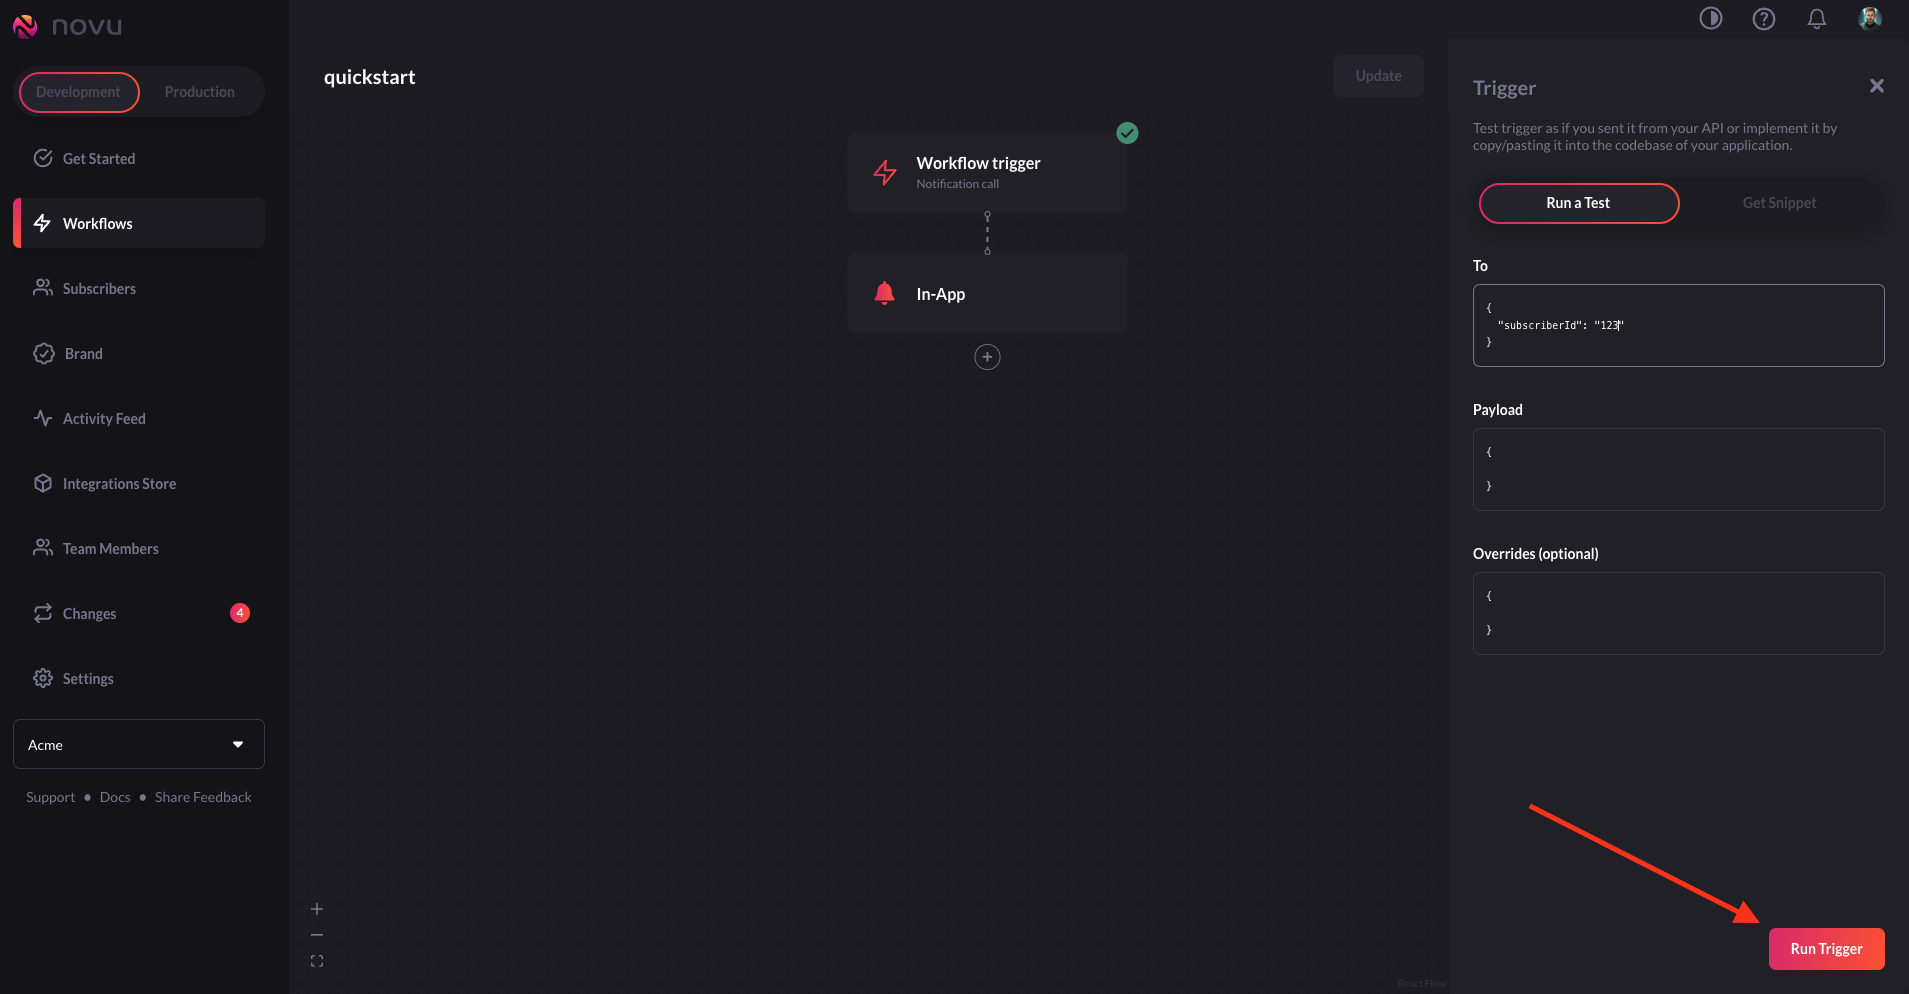 This will take the workflow we created above with the identifier `quickstart` and send a notification to the subscriber with `subscriberId` of `123`.
Now we will open our web application and see a red dot next to the bell icon, this indicate that we have an unseen notification in our feed.
When we will click on it, we will see our notification.
This will take the workflow we created above with the identifier `quickstart` and send a notification to the subscriber with `subscriberId` of `123`.
Now we will open our web application and see a red dot next to the bell icon, this indicate that we have an unseen notification in our feed.
When we will click on it, we will see our notification.
 ## Conclusion
Great job! If you’ve reached this point, you should now have successfully set up the notification center, created a subscriber, a workflow, triggered a notification and saw it in your web application using iFrame embed.
If you want to learn more about iFrame embed component, please visit [this section](/notification-center/client/iframe) of the documentation.
## Conclusion
Great job! If you’ve reached this point, you should now have successfully set up the notification center, created a subscriber, a workflow, triggered a notification and saw it in your web application using iFrame embed.
If you want to learn more about iFrame embed component, please visit [this section](/notification-center/client/iframe) of the documentation.