

Introduction
In this guide, you’ll learn how to send email notifications using the React email package. But before we jump into it, let’s first take a look at the prerequisites!Pre-requisites
- A Novu account
- Node installed on your machine
- A working NextJS development environment
Get started with Novu Framework
Novu Framework is a “notifications as code” approach that enables developers to define workflows as functions and integrate them with their preferred libraries for email, SMS, and chat generation.- To get started with Novu Framework, just run this command in your terminal, it’ll scaffold a new NextJS project with Novu Framework and we’ll be ready to roll!
- Once you execute this command, you’ll be asked to give your project a name. I’ll keep the default
my-novu-appbut you can choose your own.
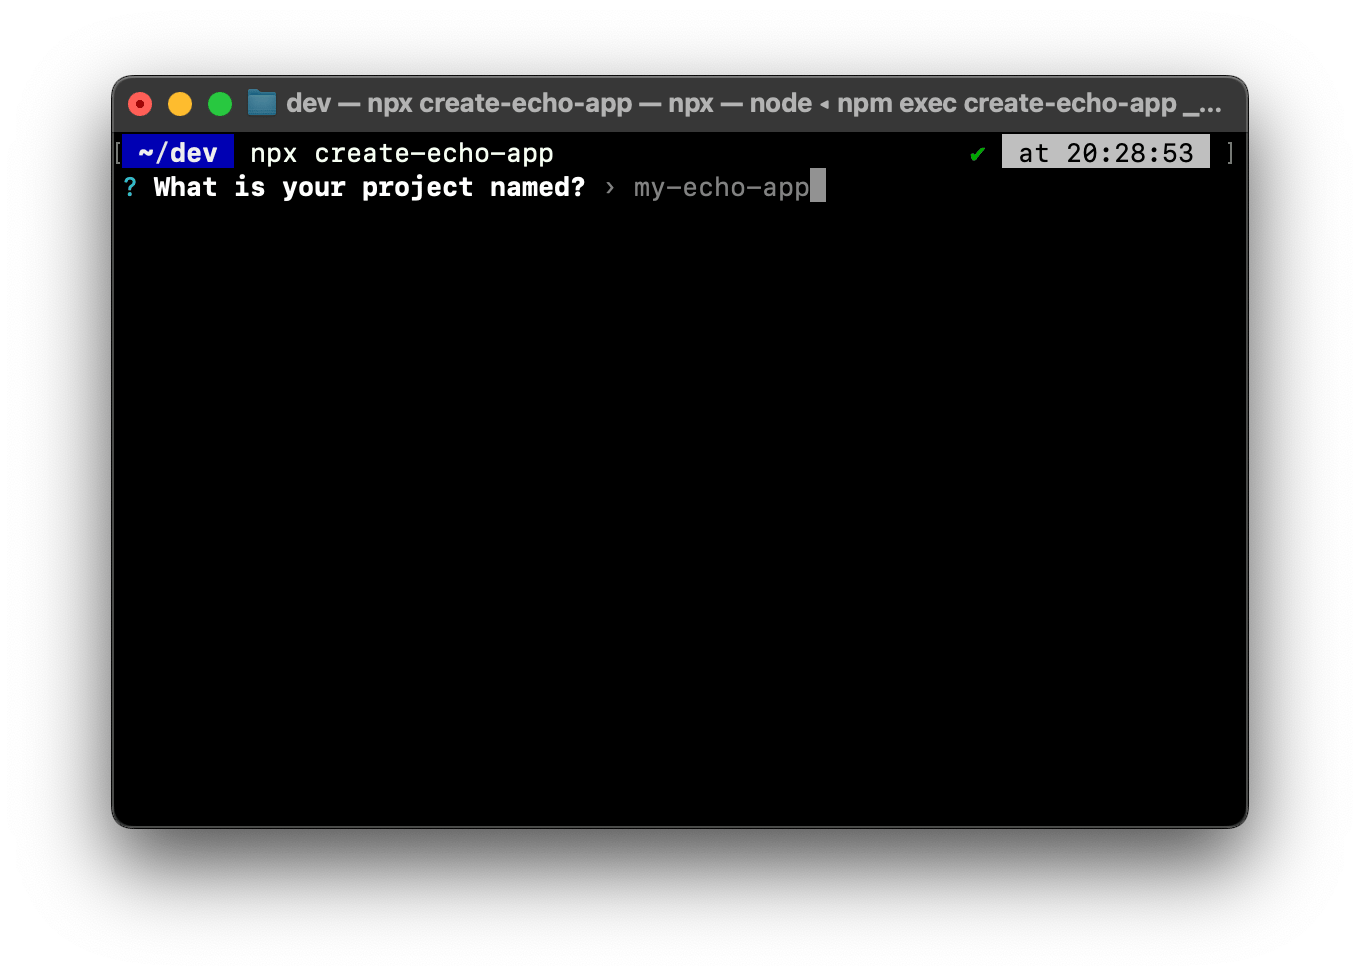
Give your app a name
- You’ll then be asked if you want to use React-email or not. You can choose to install it at this step itself or proceed with No and then install it later. I’m choosing the default No option.
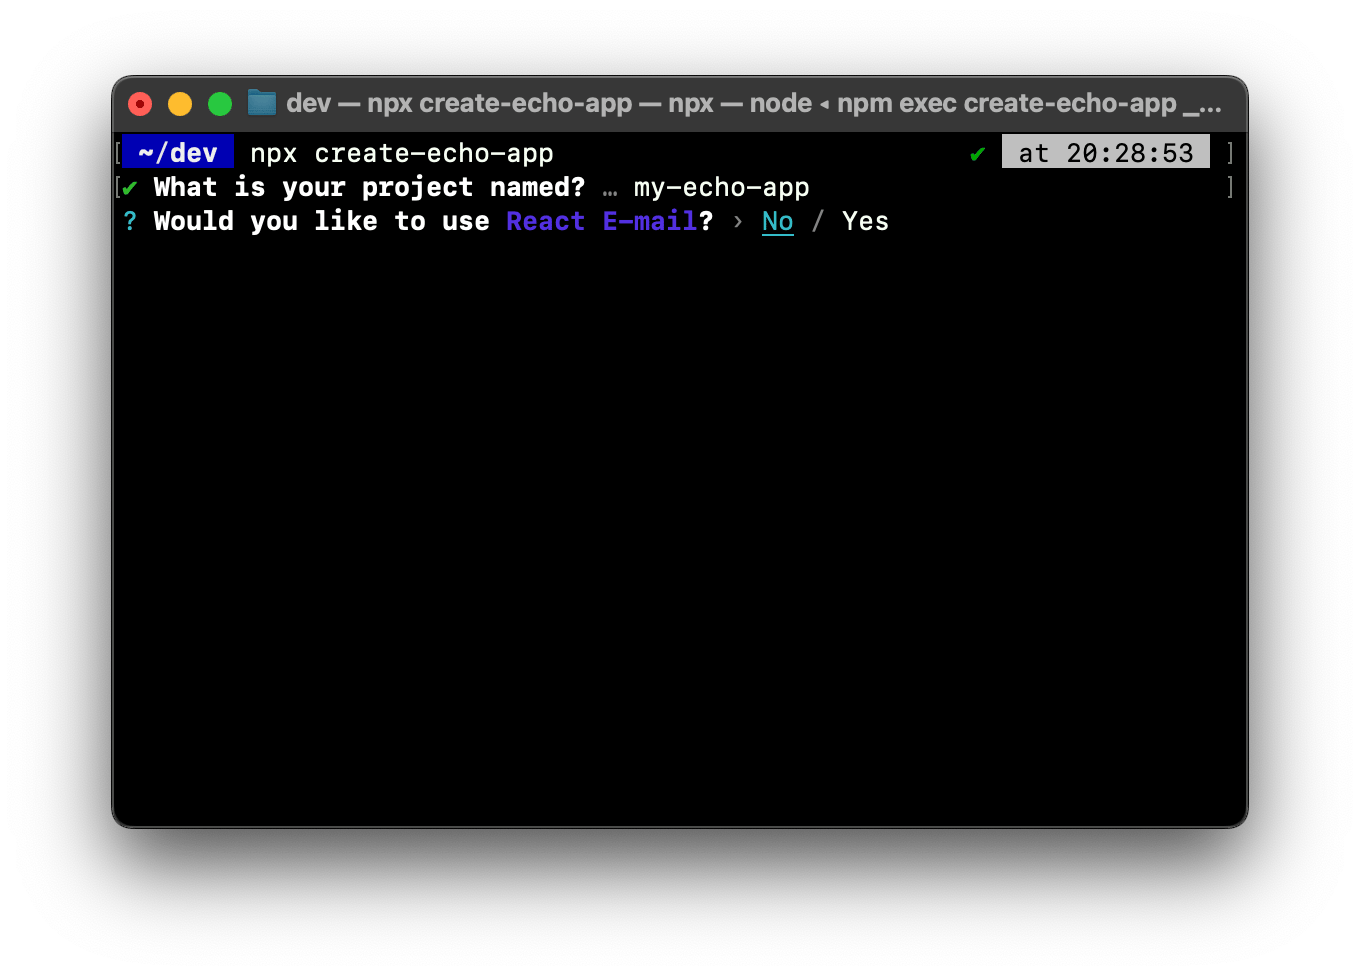
Choose if you want to install React email or not
- After this step, all the dependencies will be installed and you will be able to start using Novu Framework.
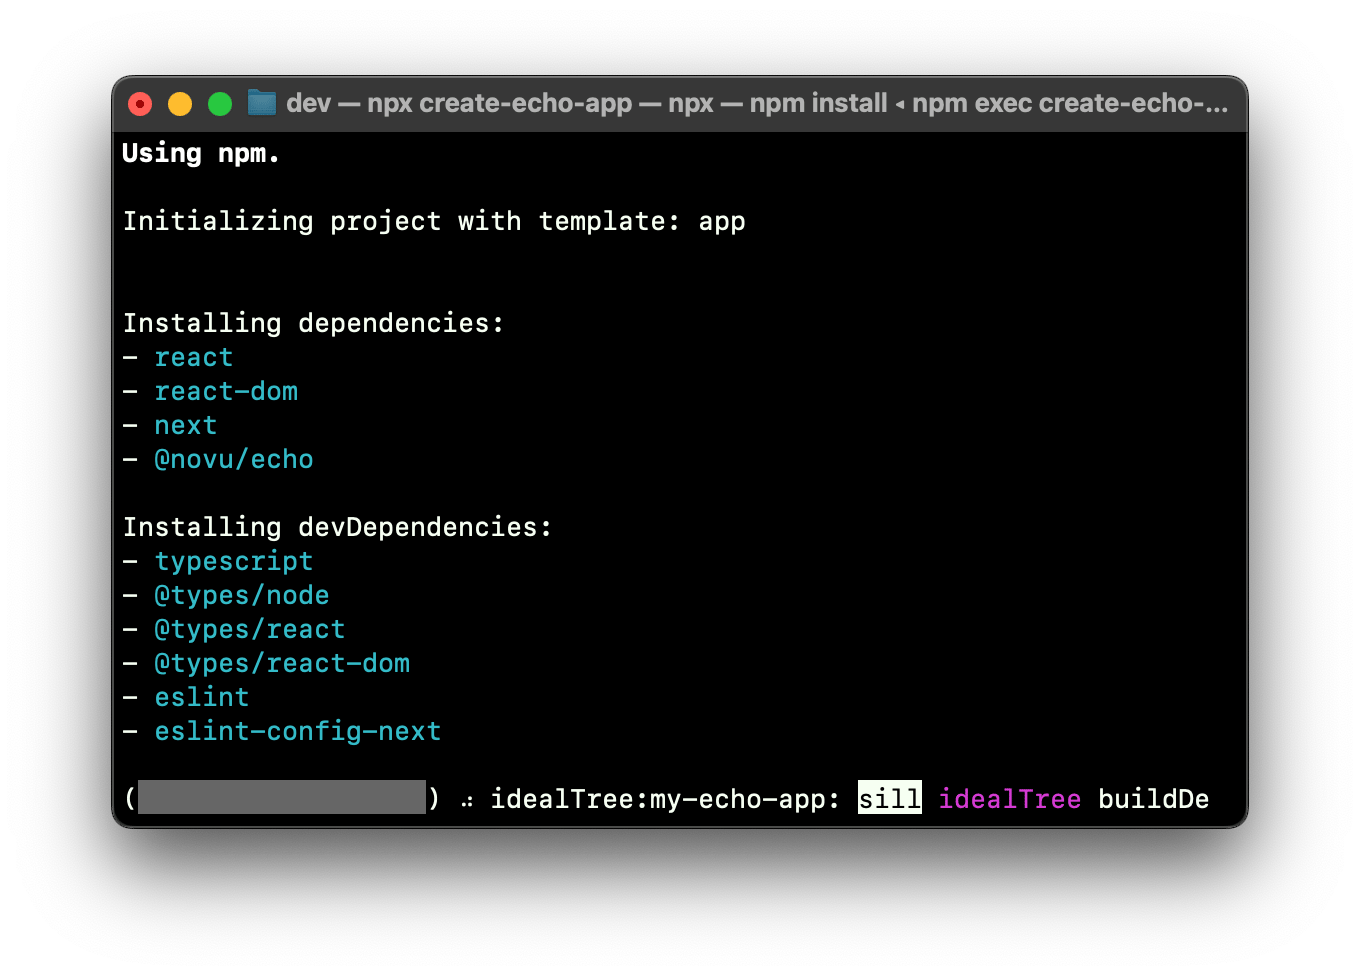
Let all the dependencies get installed
- Once this installation is complete, simply cd into the directory and start your app using the
npm run devcommand, and your app will be served onlocalhost:4000
http://localhost:4000 and you can make changes to your app as you see fit. Let’s now move to the meaty stuff - using Novu Framework in a NextJS app and the magic of Dev Studio.
Echo Dev Studio
The Echo Dev Studio is a companion app to the Echo Client SDK. Its goal is to provide a local environment that lives near your code. To launch the dev studio locally you can run:npx novu-labs@latest echo. The Dev Studio will be started by default on port 2022, and accessible via: http://localhost:2022
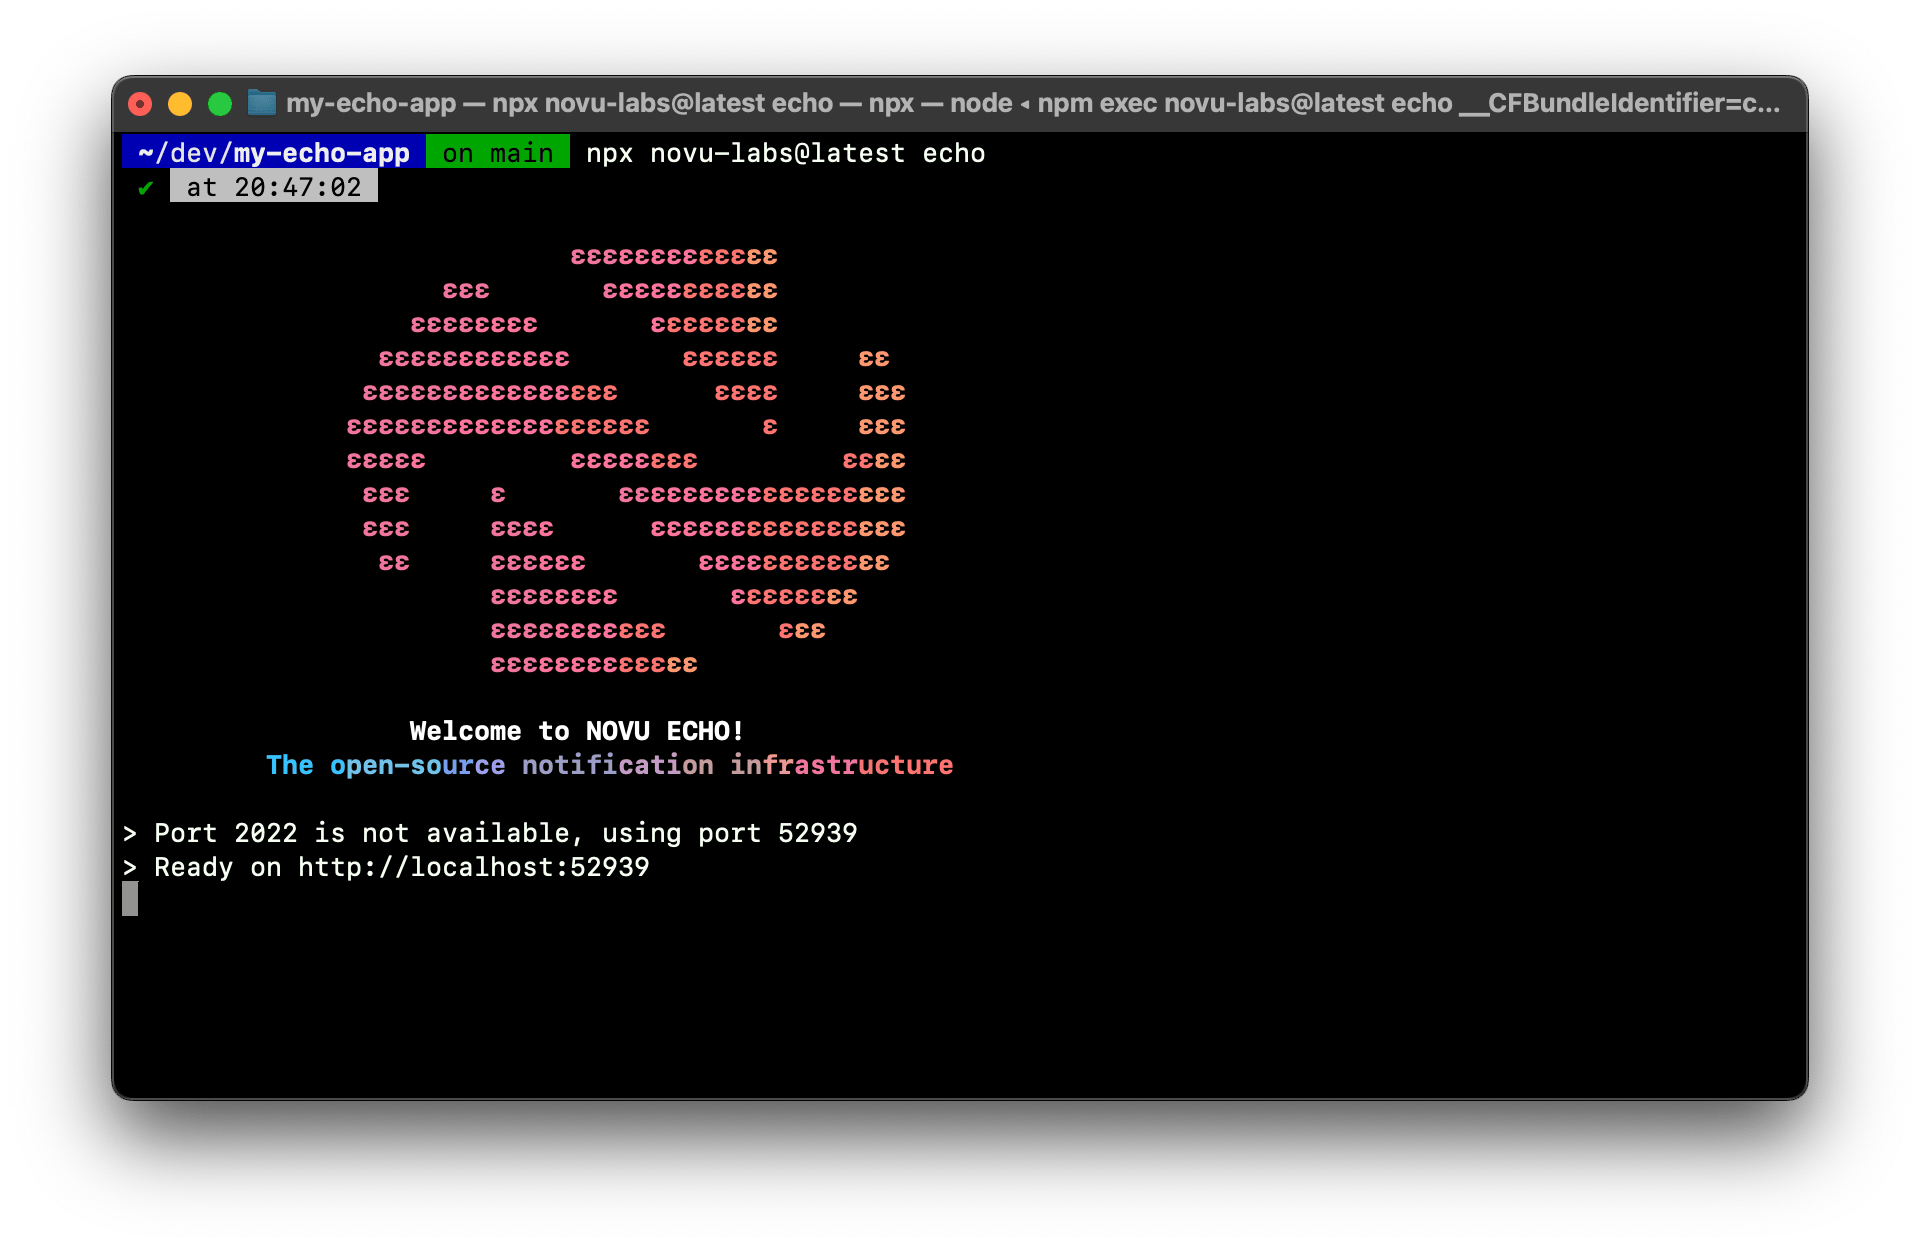
Echo Dev Studio runs on 'localhost:2022' by default. Here I’m already using port 2022 so it is starting on a different port but we recommend ensuring that port 2022 is free
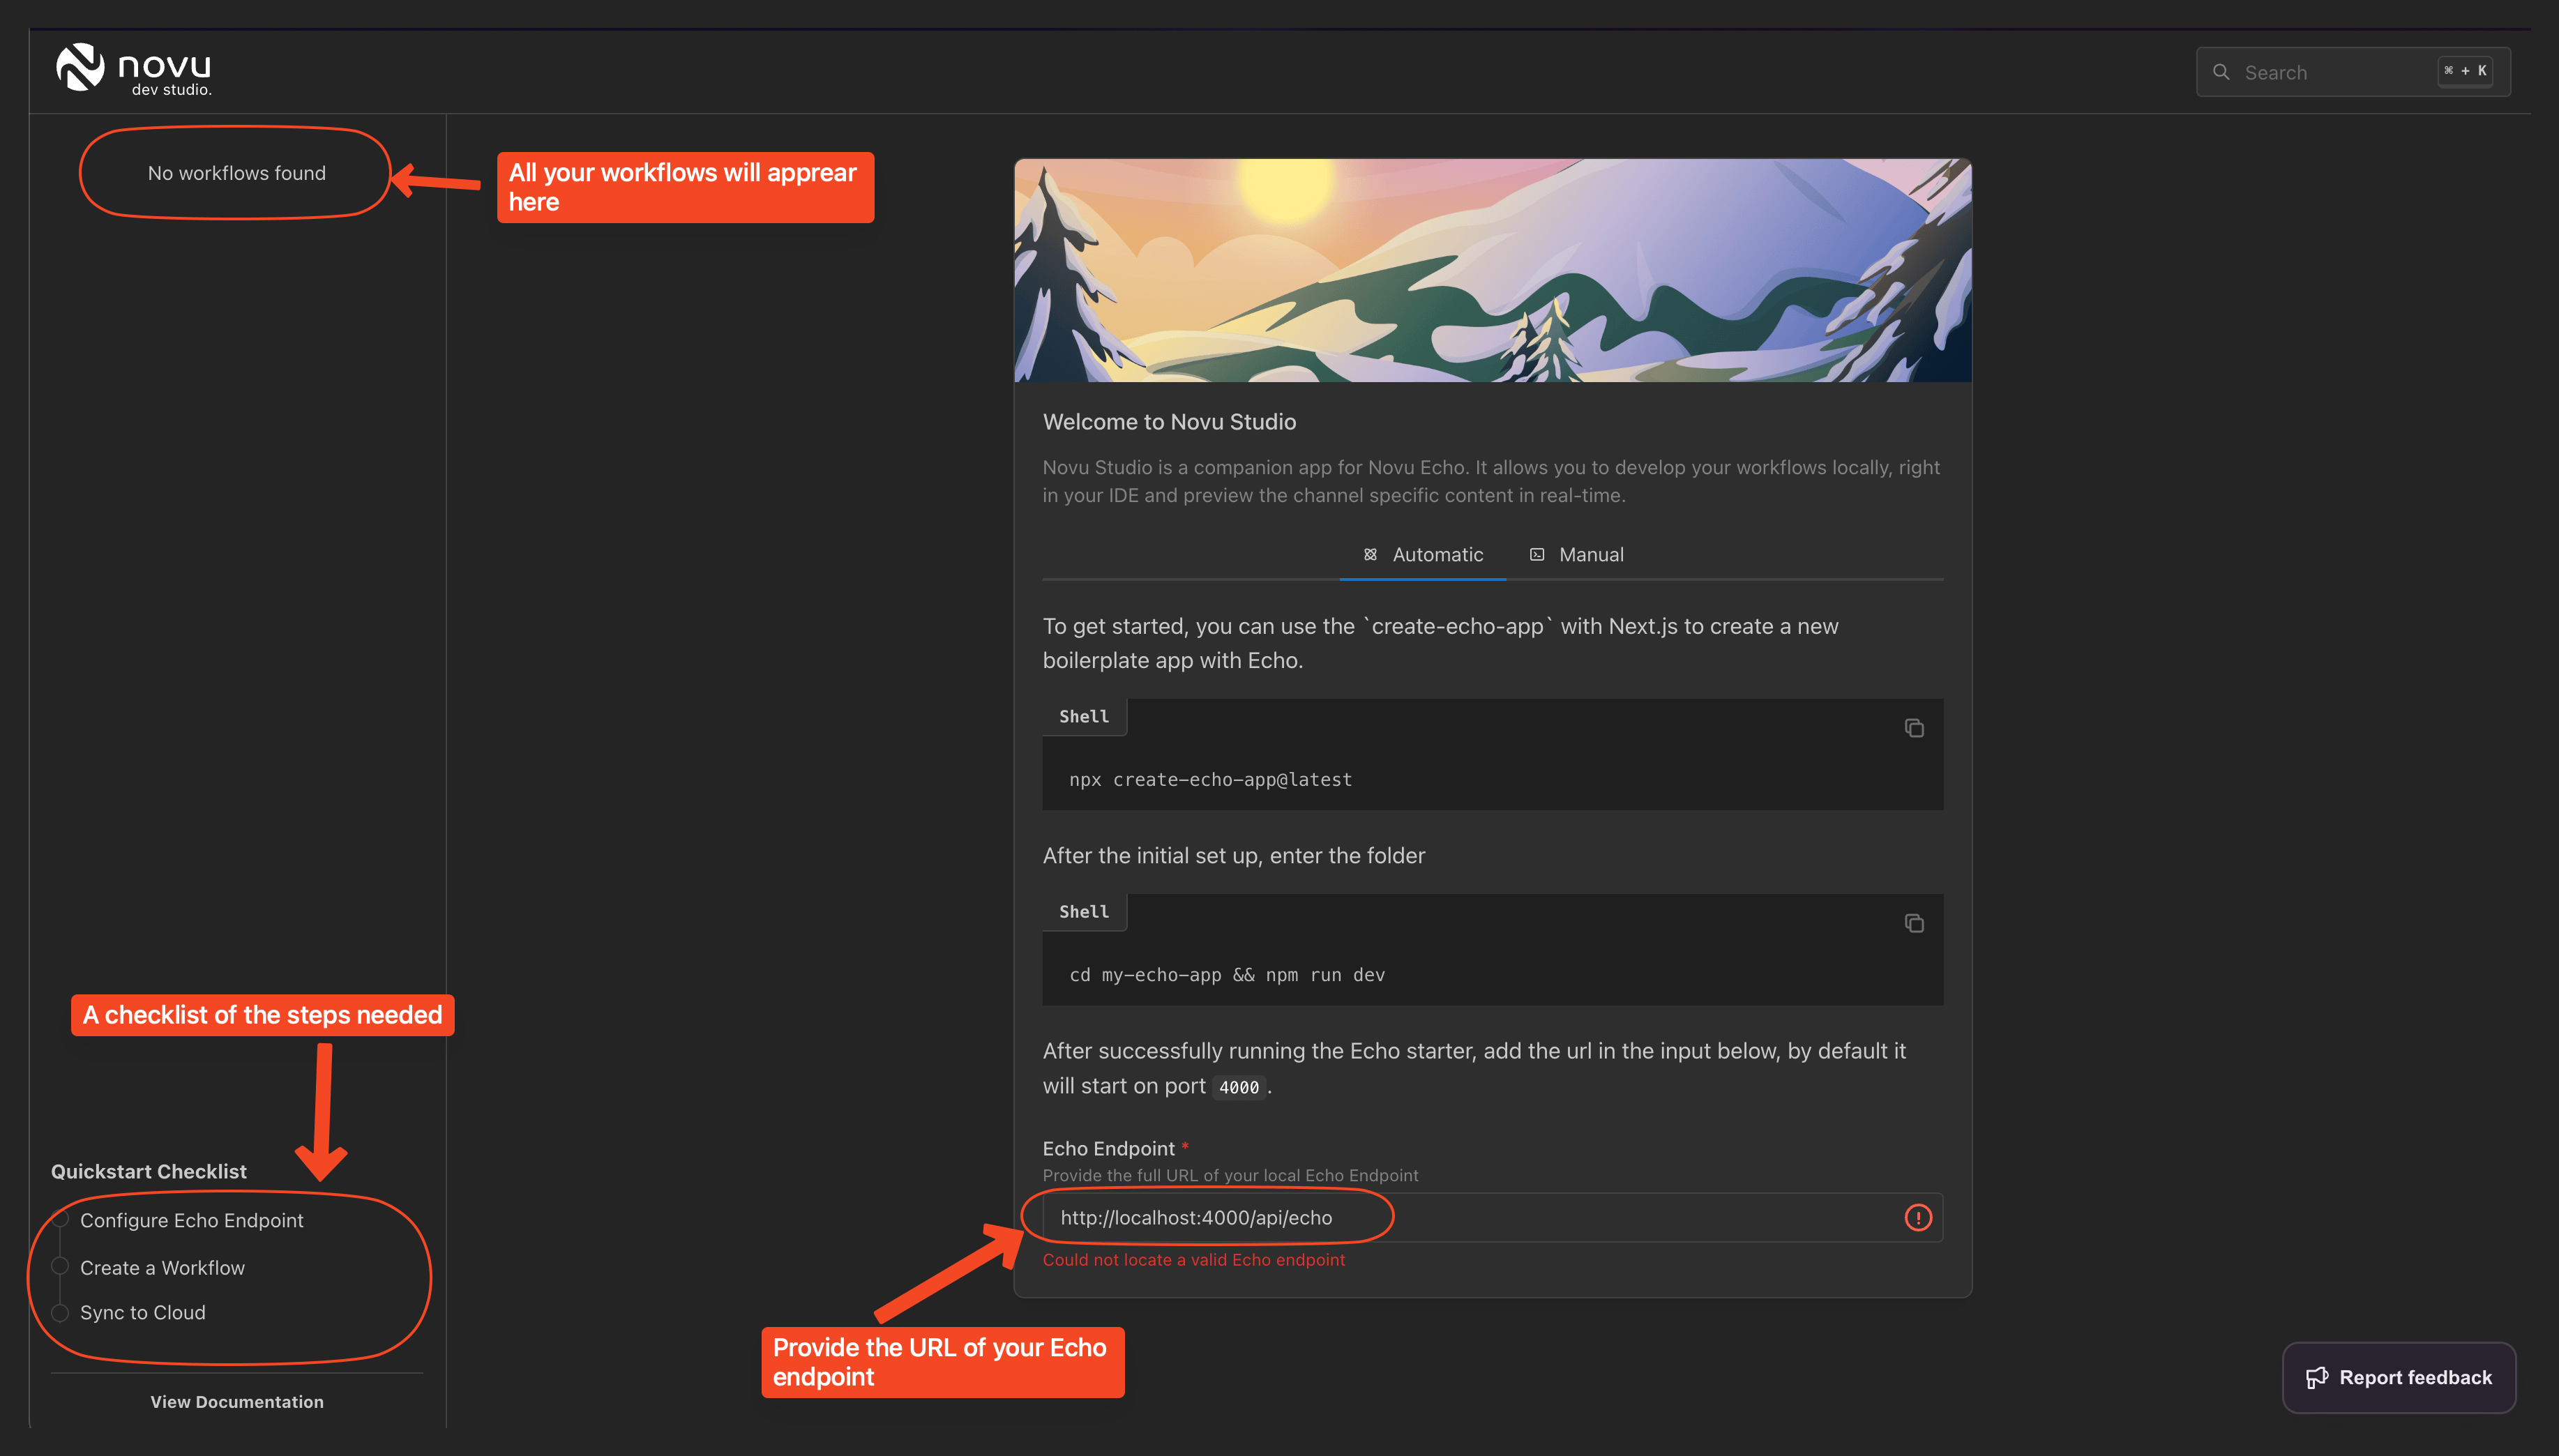
Echo Dev Studio on the first run
Bridge endpoint at the bottom. Novu Framework requires a single HTTP endpoint (/api/novu or similar) to be exposed by your application. This endpoint is used to receive events from our Worker Engine. We have more on Bridge endpoint in our docs.
http://localhost:4000/api/echo
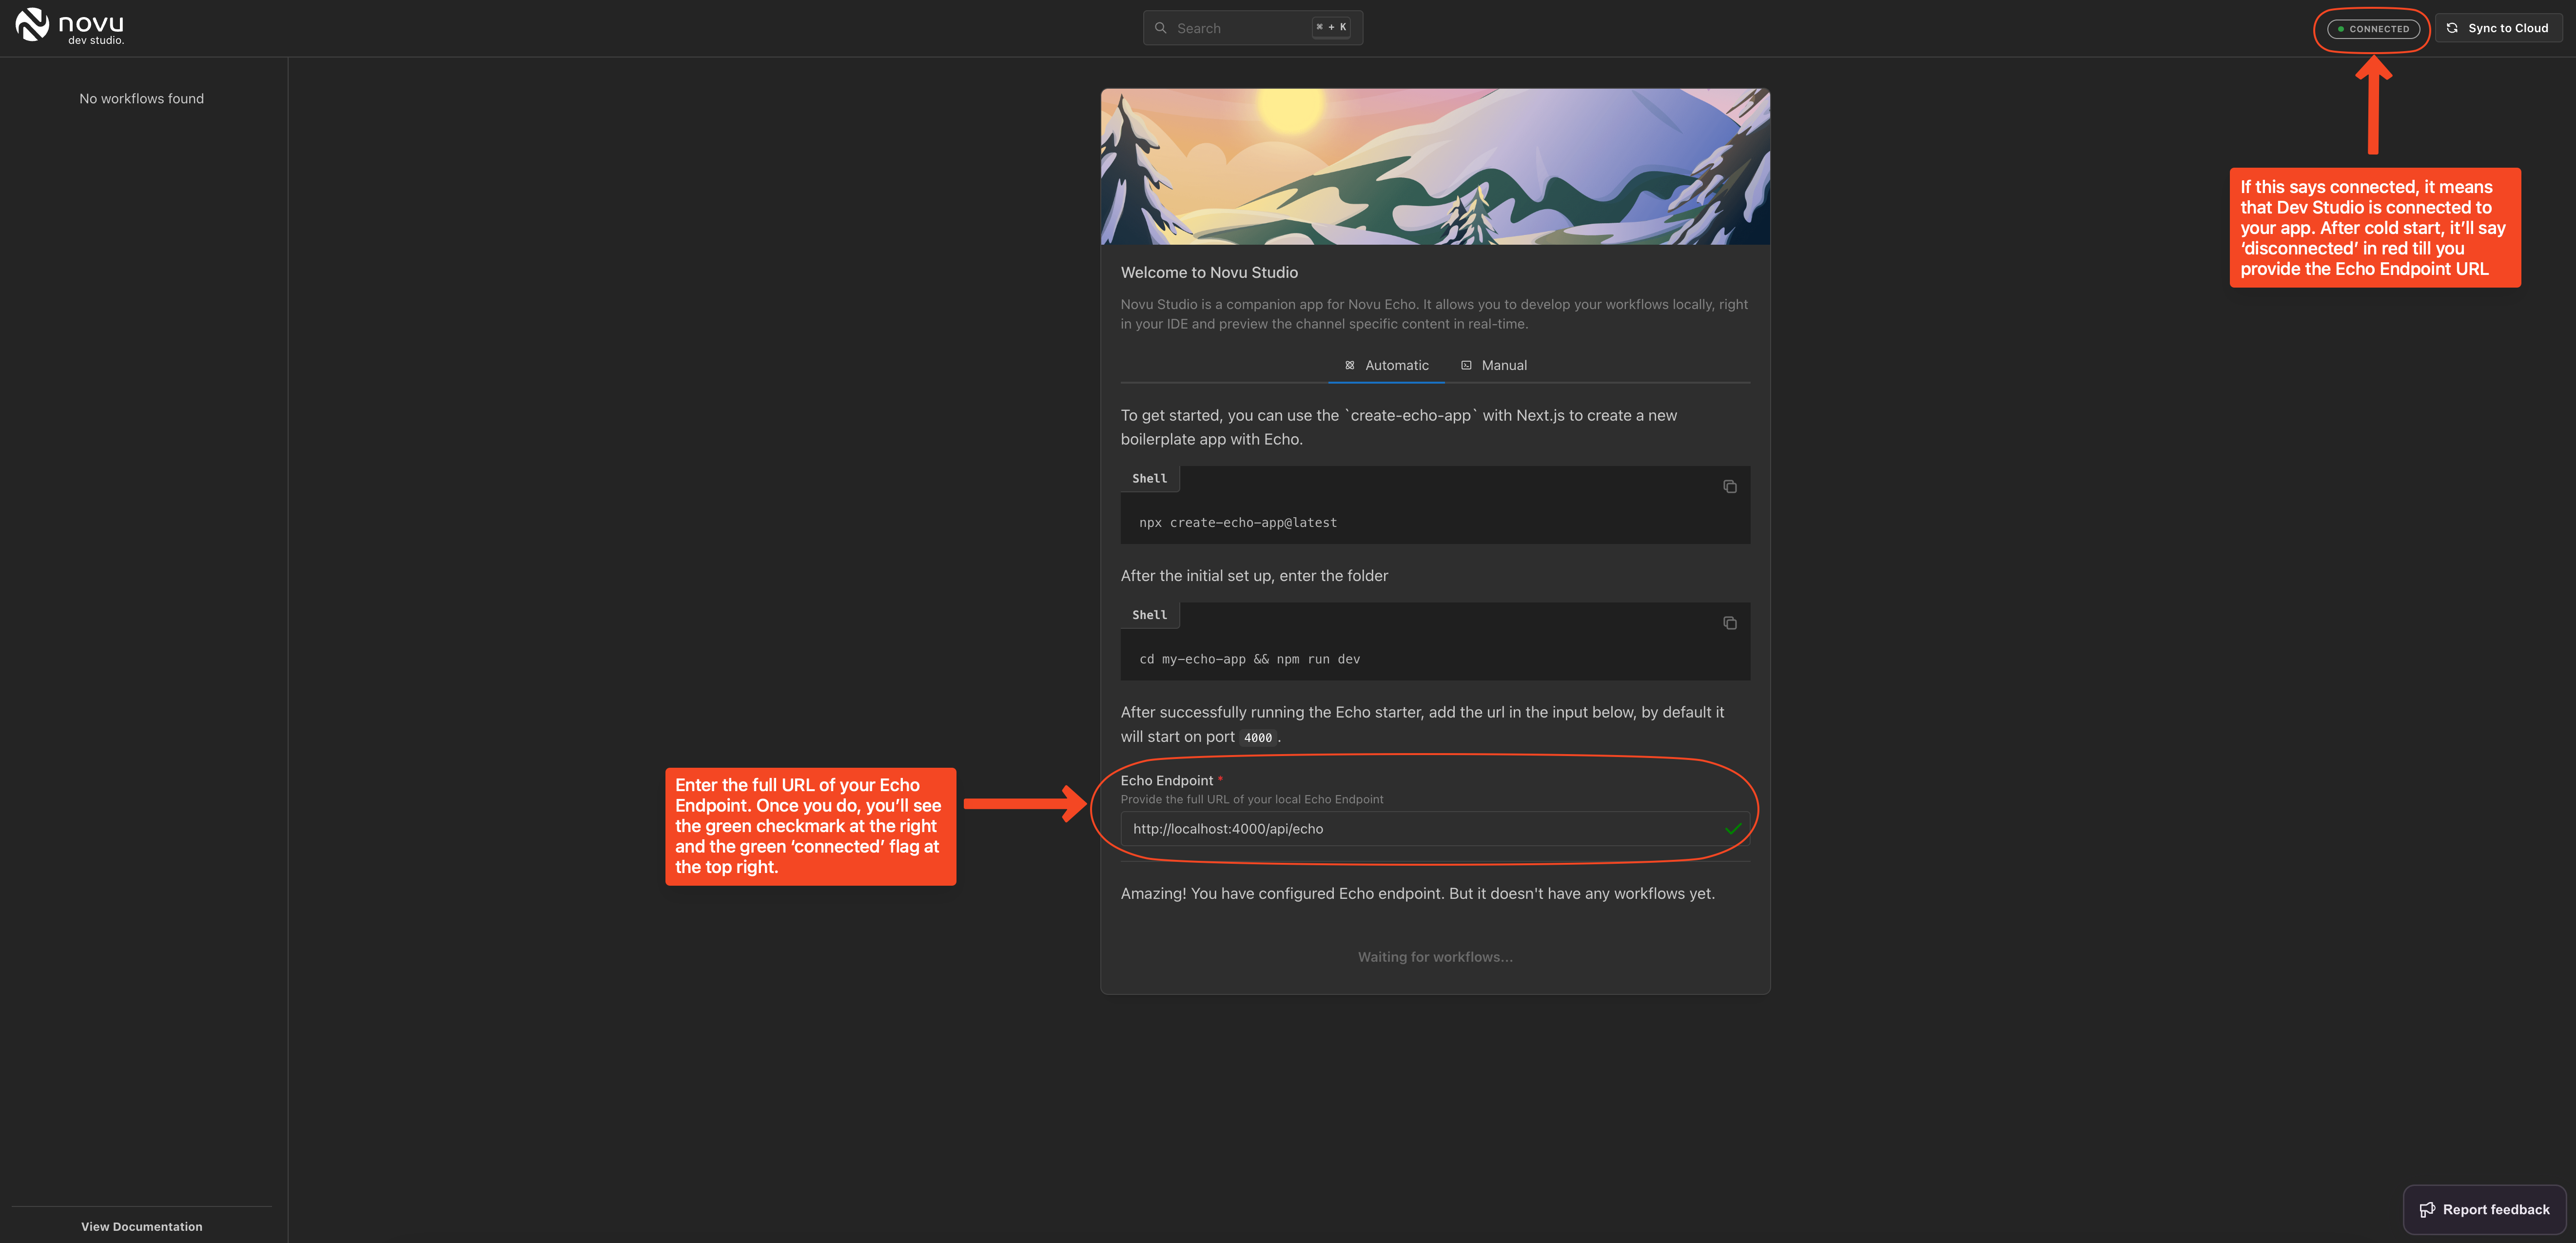
Enter Echo endpoint URL
connected highlight at the top right corner.
Installing and configuring React Email
- Simply run the following command to install it like any other npm package:
- To write an email template, you can look over some of the examples in the React Email documentation to get inspiration. In our case, this is the template:
- And as final step, we need to define the workflow that uses the template defined above.
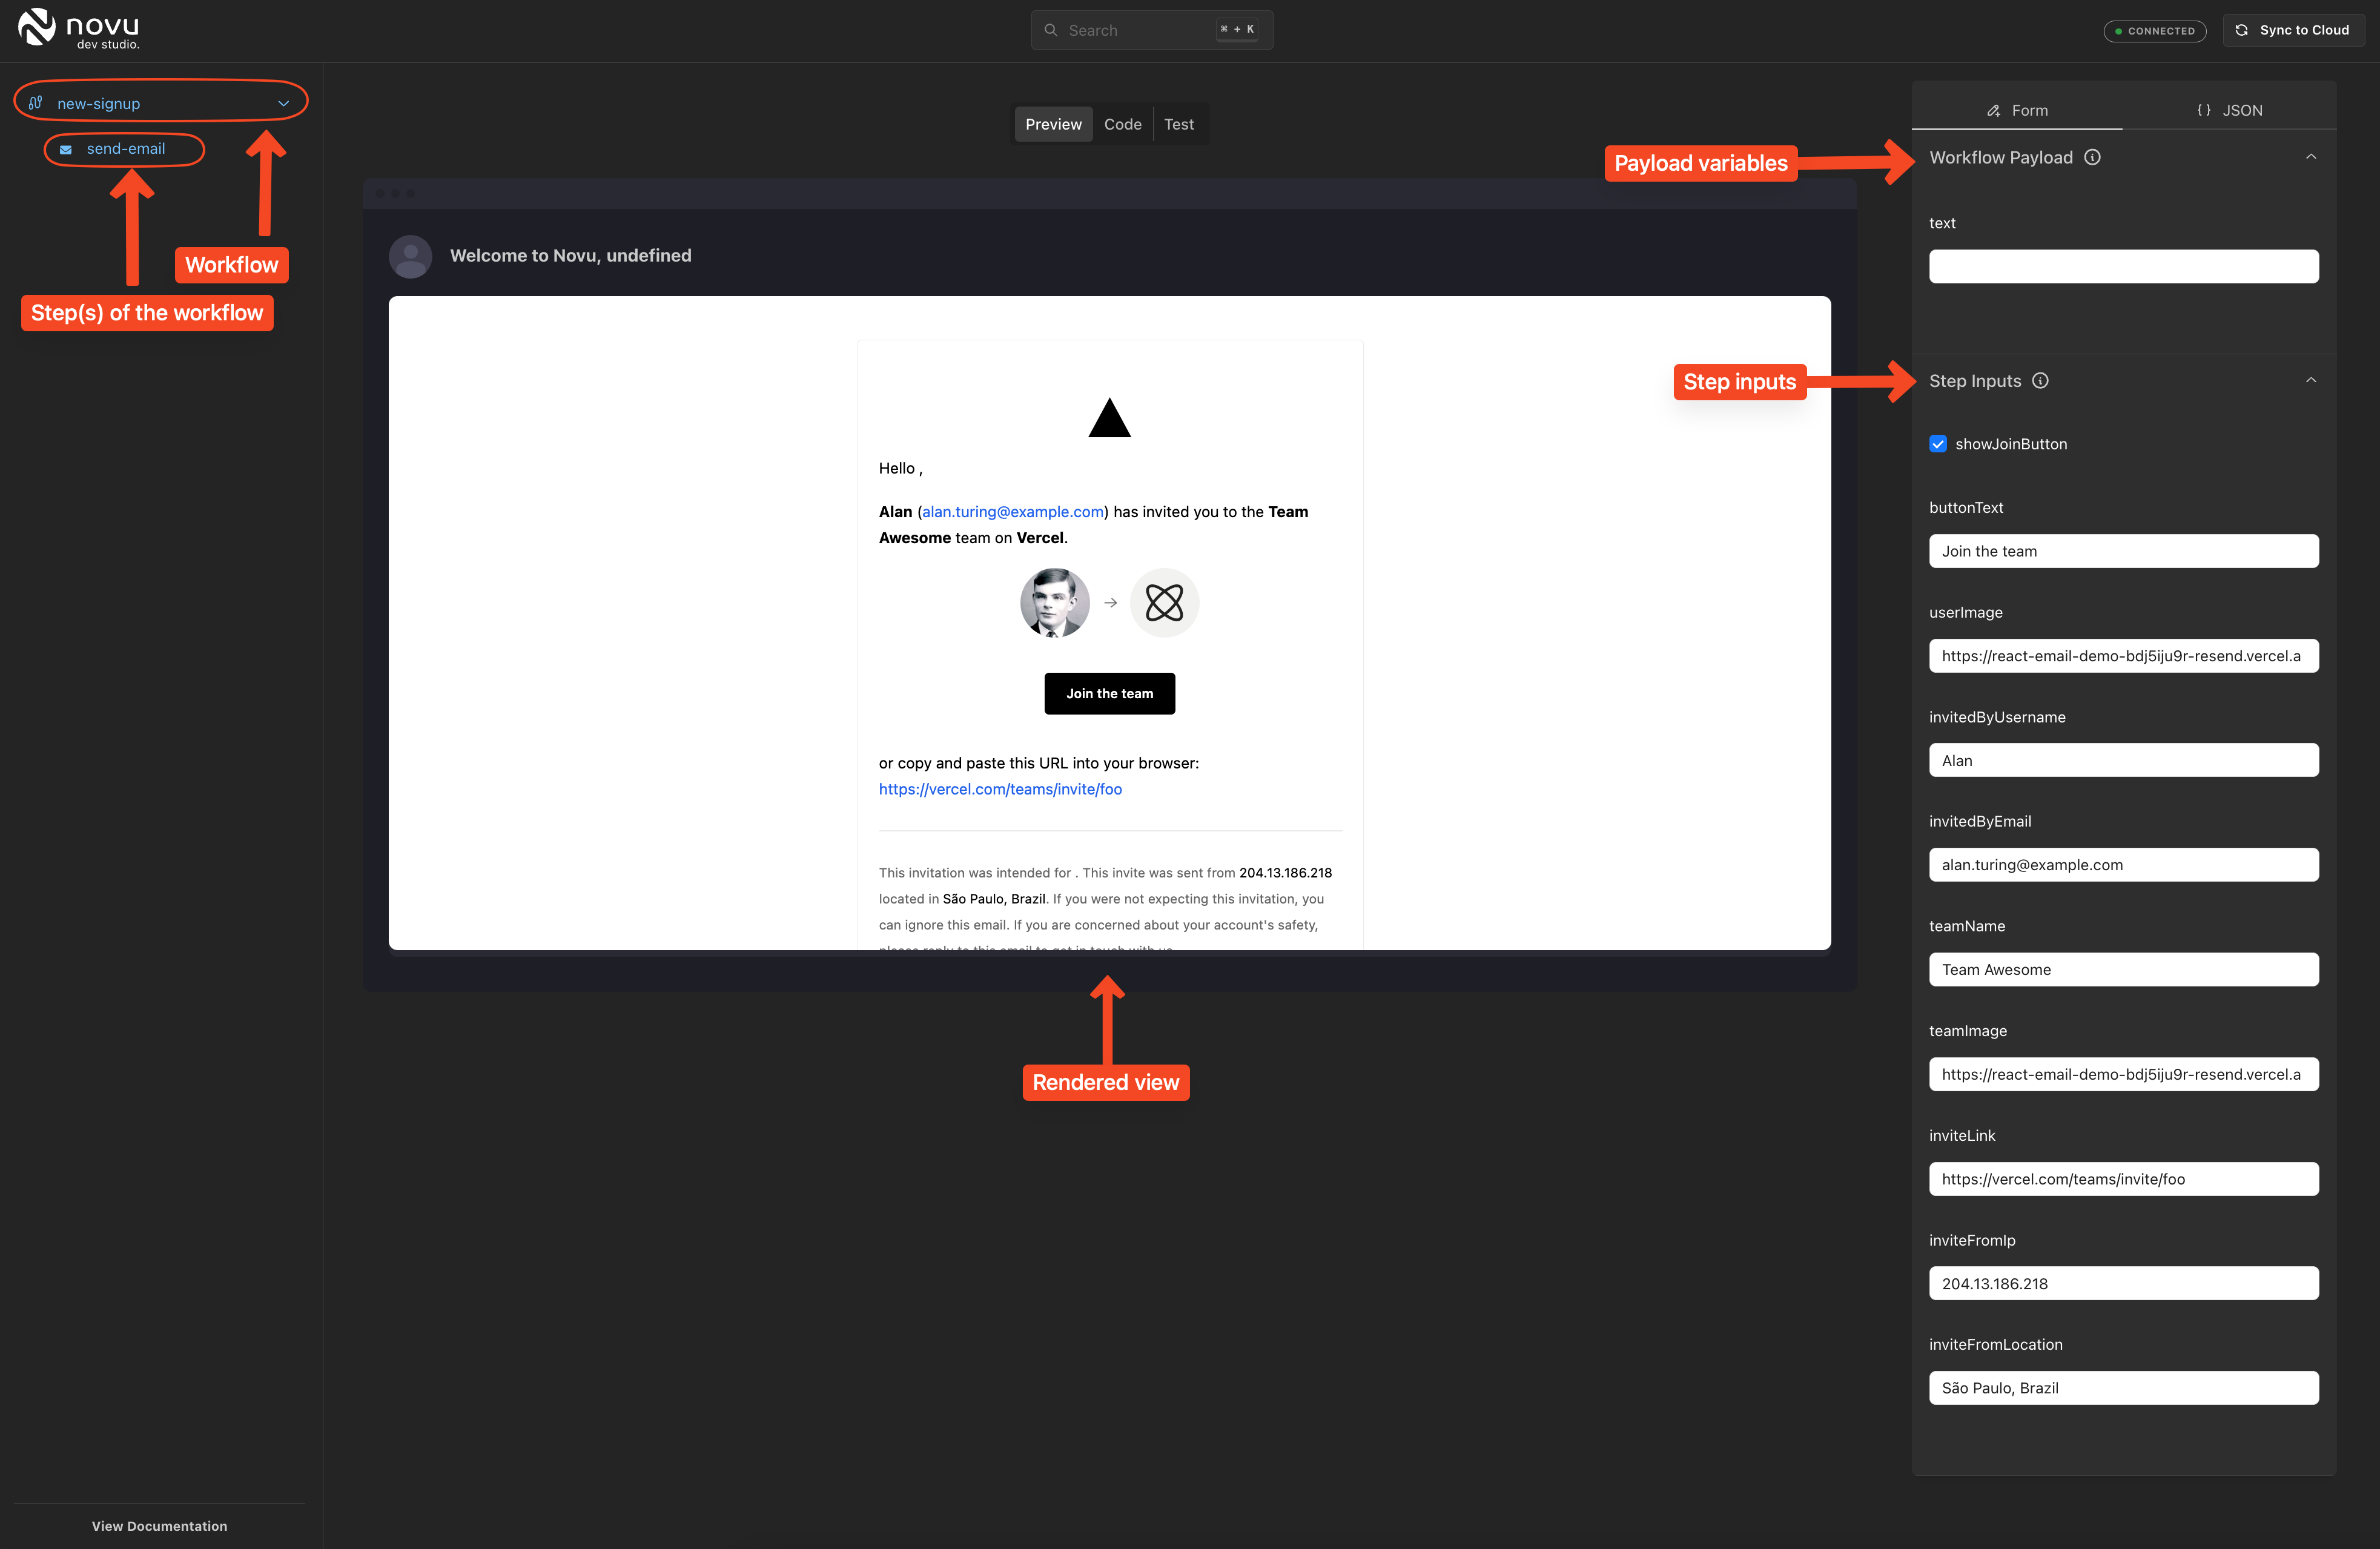
Echo Dev Studio now picks up the workflow we just created
Sync to Cloud button.
Payload vs Step Inputs
Notice that in the Echo dev studio above, we’ve used payload as well as step inputs. Here’s how you can decide if you need either or both:- Payload is used for dynamic content that changes from one notification to another based on events occurring in your system.
- Step Inputs are for static elements or predefined options that non-technical team members can modify without altering the codebase.
- Payload is controlled by developers and passed dynamically through the novu.trigger method.
- Step Inputs are defined by developers but are meant to be utilized and modified by non-technical peers.
- Payload examples include User ID, Post ID, Comment, Order ID, 2FA token, etc., which are likely to change with each notification.
- Step Inputs examples include the text of a button, whether a section should be shown, static text content, etc., which are generally static but configurable elements.
- Payload modifications are made in the code by developers at the time of triggering a notification.
- Step Inputs can be modified directly in the UI, offering a no-code solution for non-technical team members to make changes.
- Payload data is passed during the novu.trigger method and is part of the dynamic data handling process within notification workflows.
- Step Inputs are predefined in the workflow configuration and can be adjusted through the Echo Dev Studio, affecting how notifications are rendered without changing the workflow logic.
Syncing with the cloud, with the click of a button
Once done with the workflow, now we need to sync it to the cloud. Fortunately, Novu Framework makes it a breeze to sync changes from the local machine to the cloud and it all happens with a click of a button. To enable our cloud environment to talk to your local Echo instance, you need to supply an Echo endpoint URL. This sets up a communication channel between our cloud environment and your local instance. To allow Novu to communicate with your local machine a tunnel will need to be generated. Thecreate-novu-app command sets up localtunnel for you. Running the npm run dev script in the project launches both the Bridge application and the tunnel solution. The tunnel URL shows up in the console output.
You can also use a tool like ngrok:
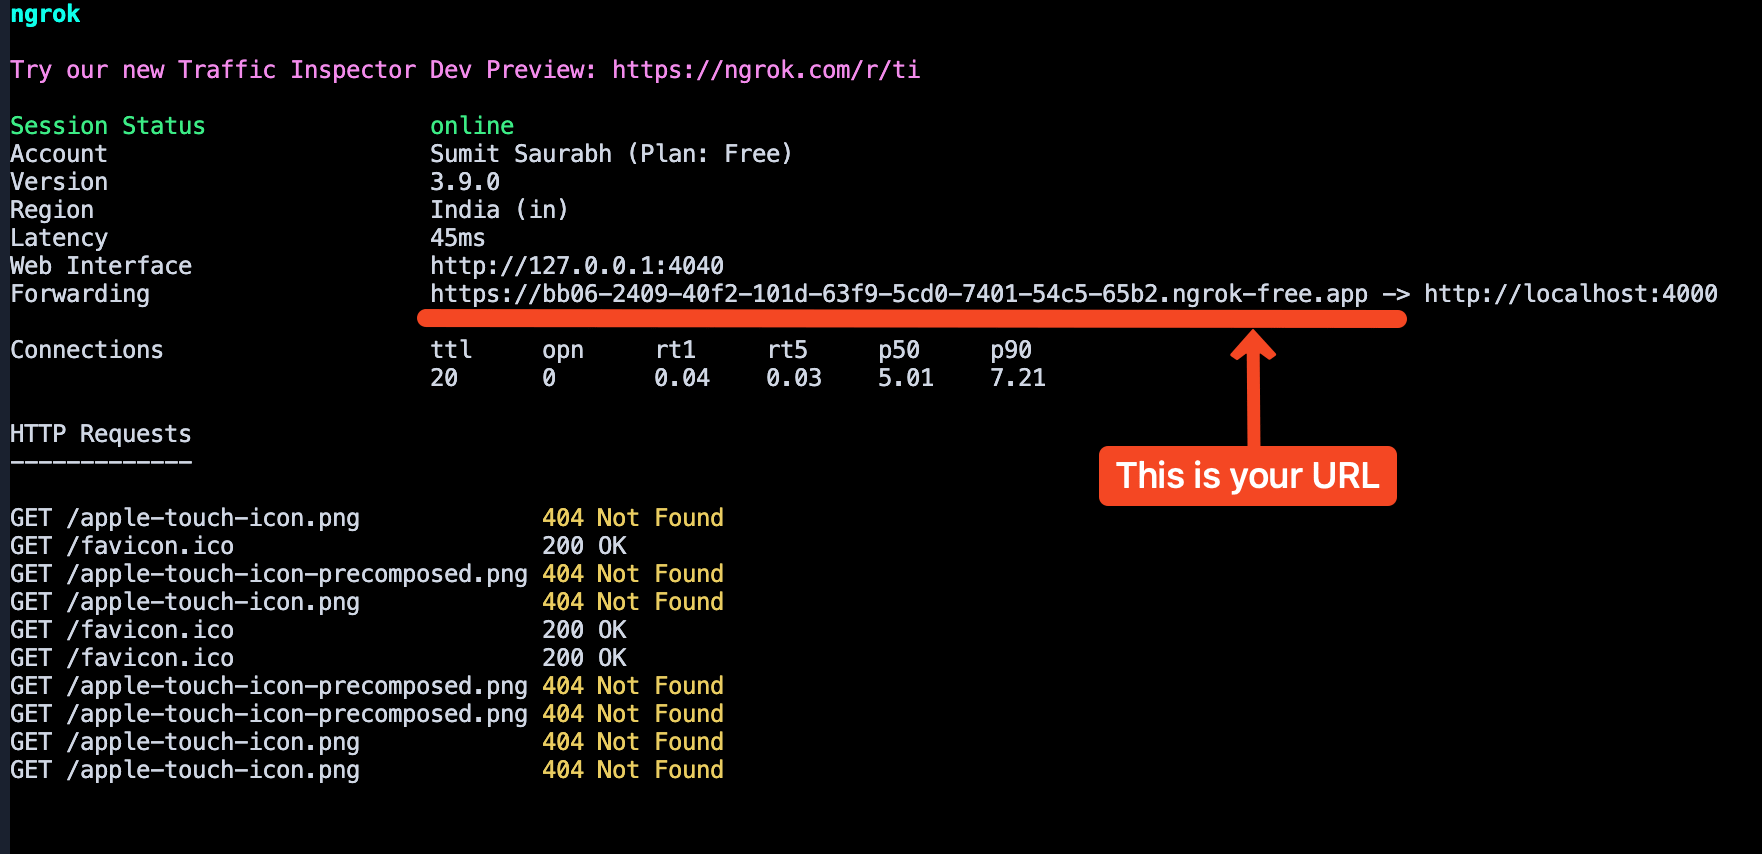
ngrok has done its magic
/api/novu or similar) you expose in your application for handling Novu Framework requests is what you’d consider the Bridge URL.
This URL would be the endpoint within your application’s domain where Novu’s Worker Engine sends requests to fetch notification content or subscriber details dynamically. In our case, it is this: https://0536-2409-40f2-1039-43e1-3053-d98e-c276-ee5.ngrok-free.app/api/echo
So, we’ll enter this Bridge URL:
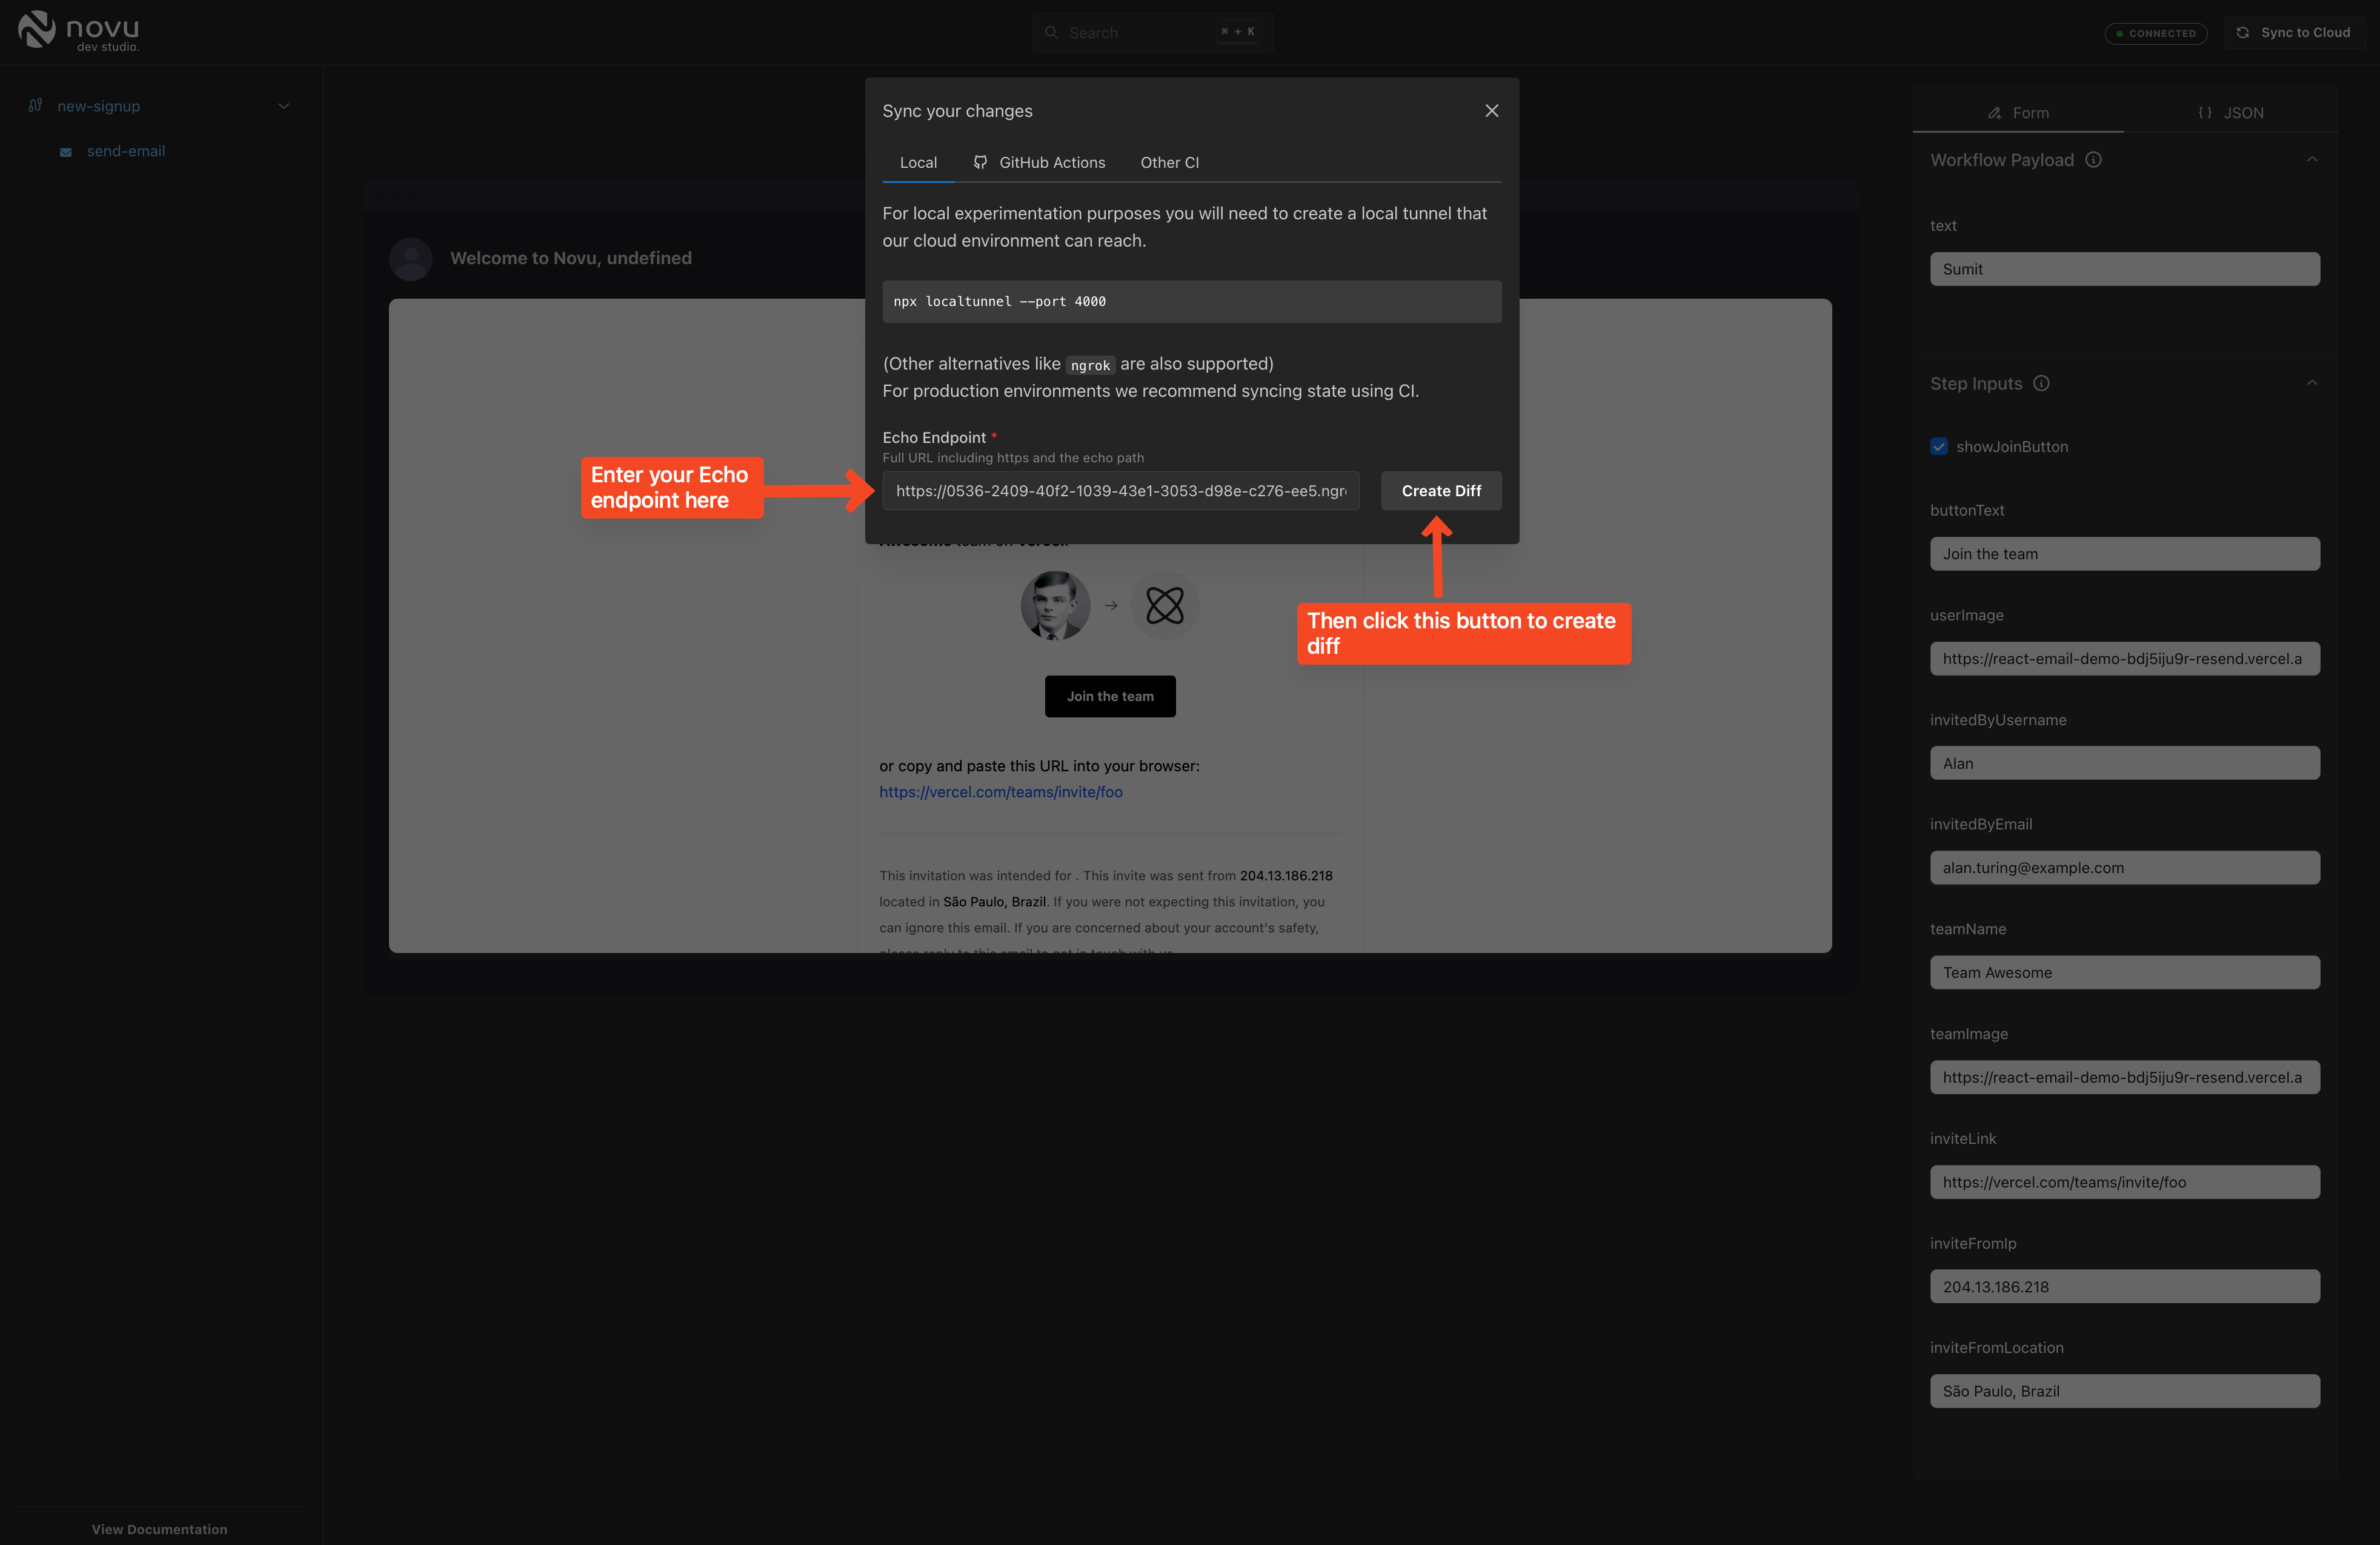
Enter the Bridge URL in the Dev Studio
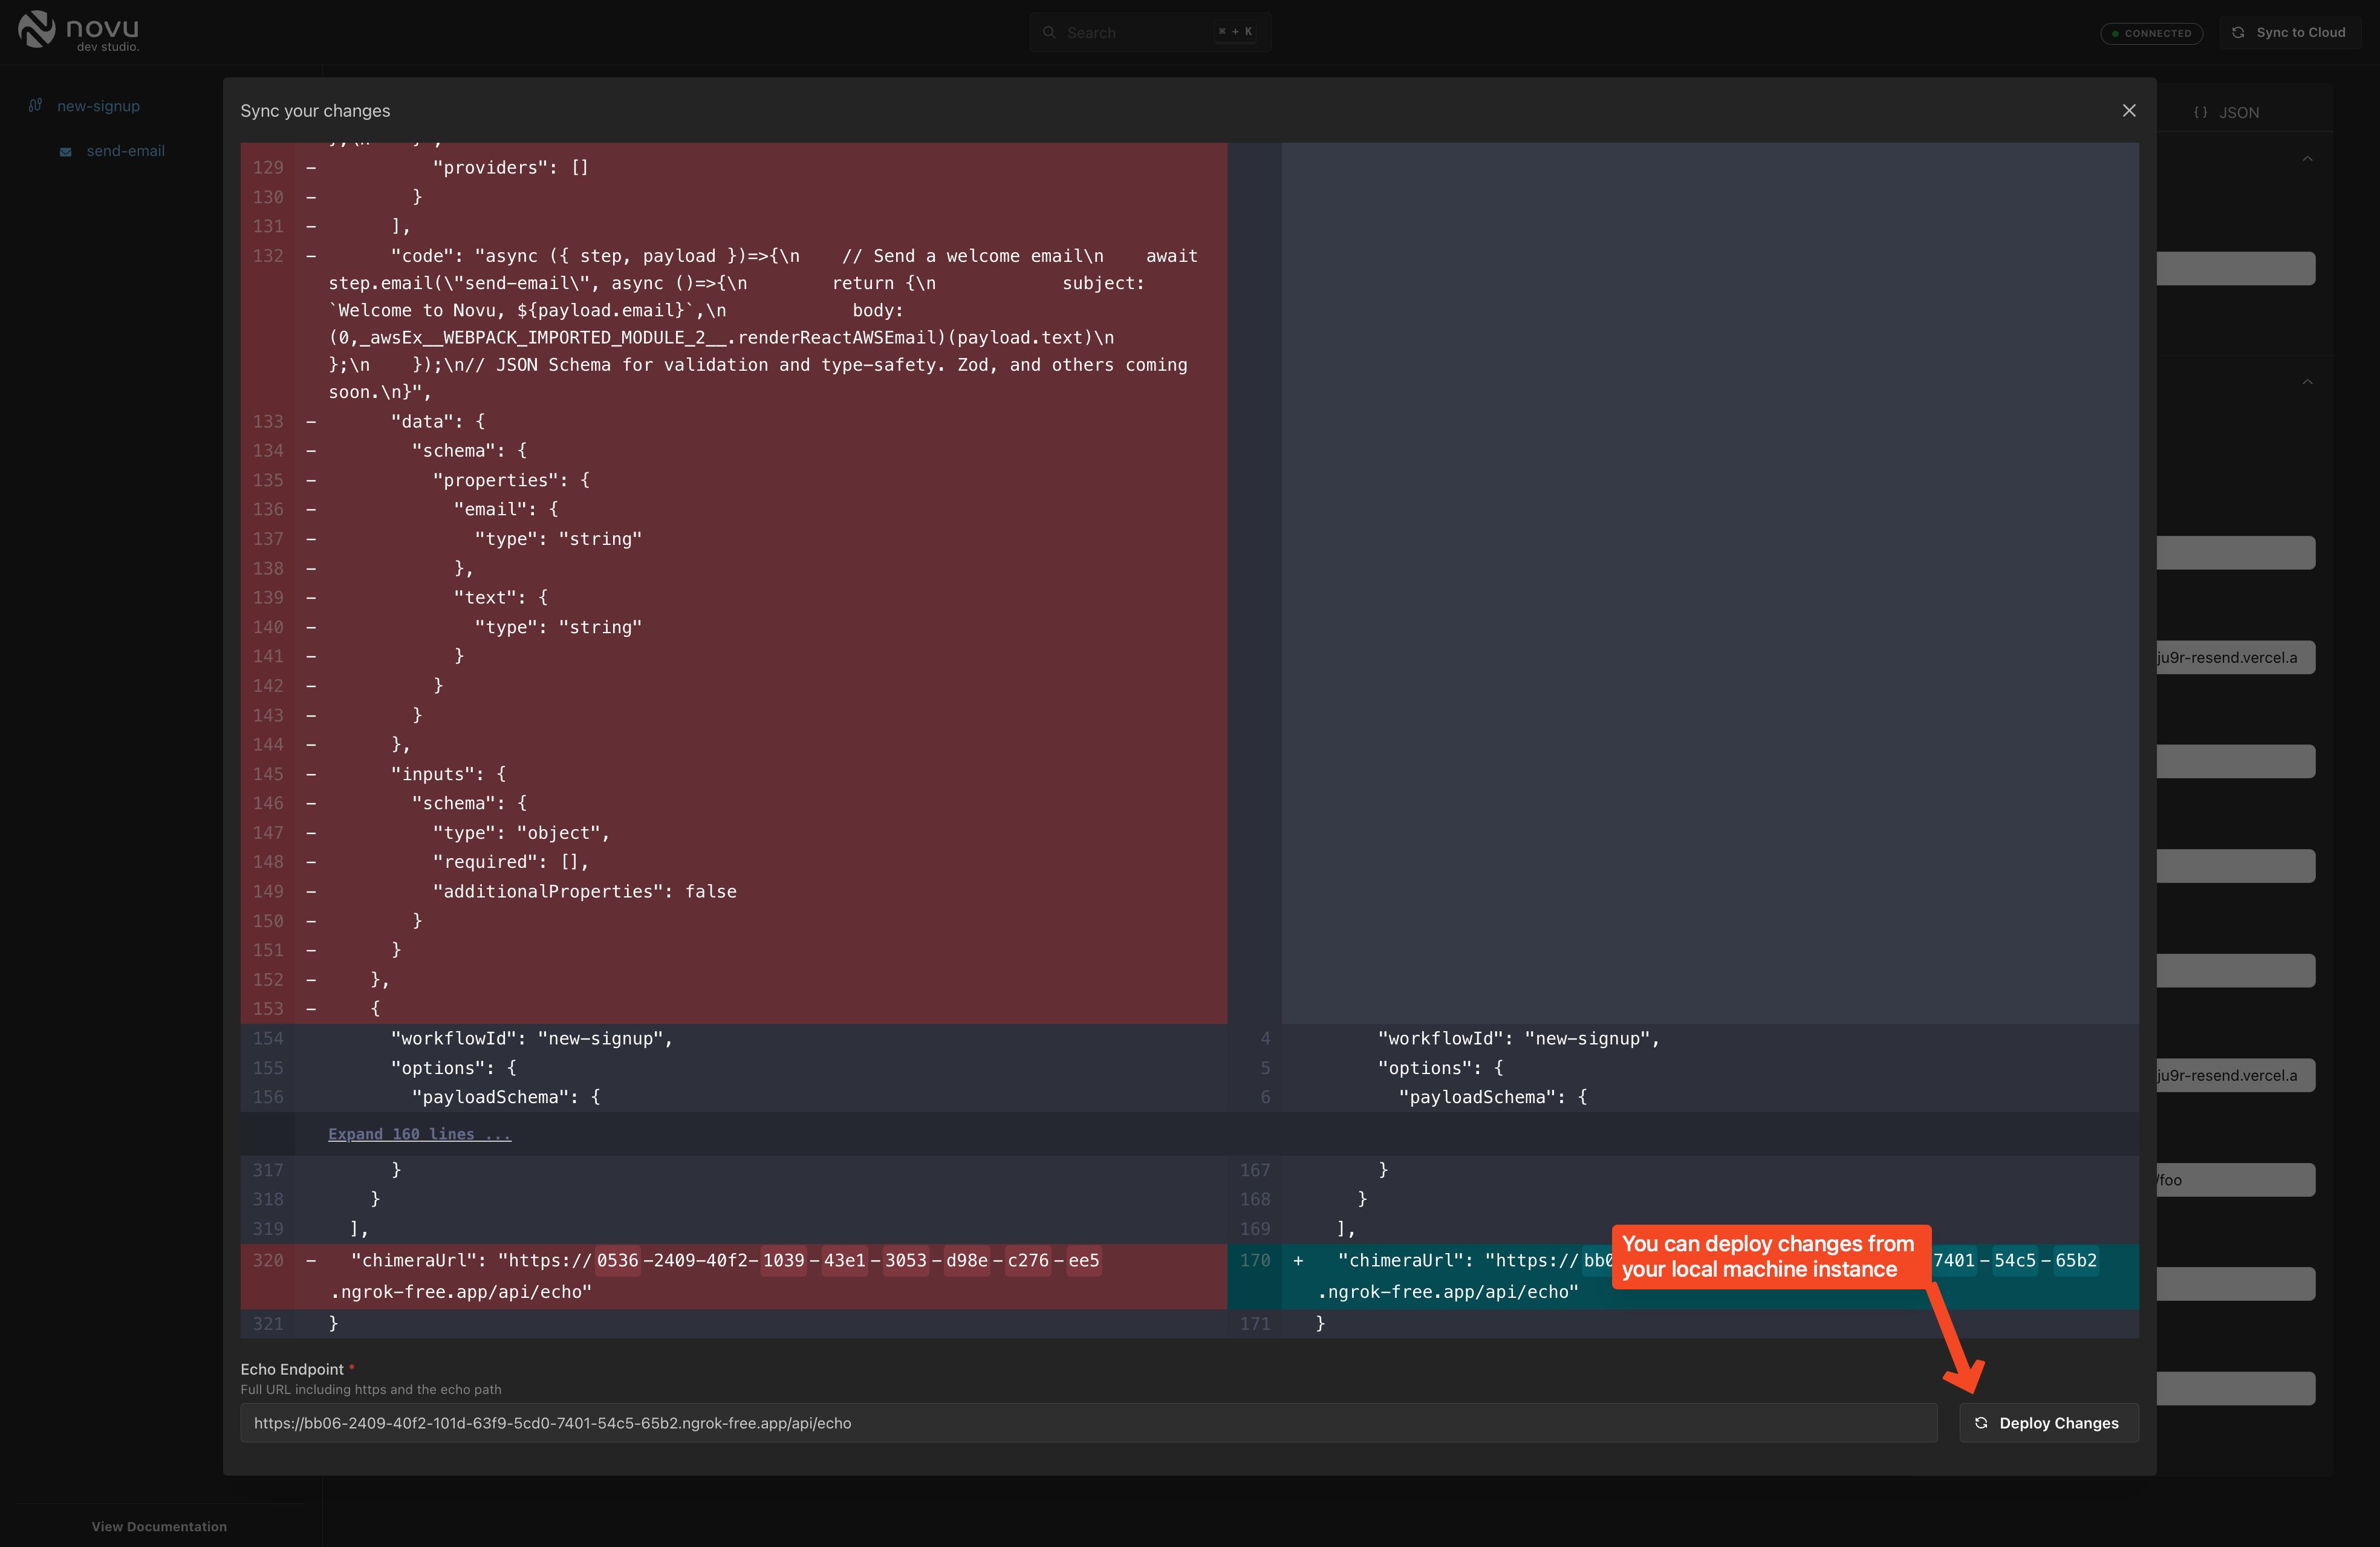
Echo Dev Studio will create a diff for you
Testing our workflow
Once you’ve synced your changes in the previous step, you’ll see a notification that says ‘Sync complete’ and you can now go to Novu Cloud using the ‘Test your workflows’ link and trigger a notification.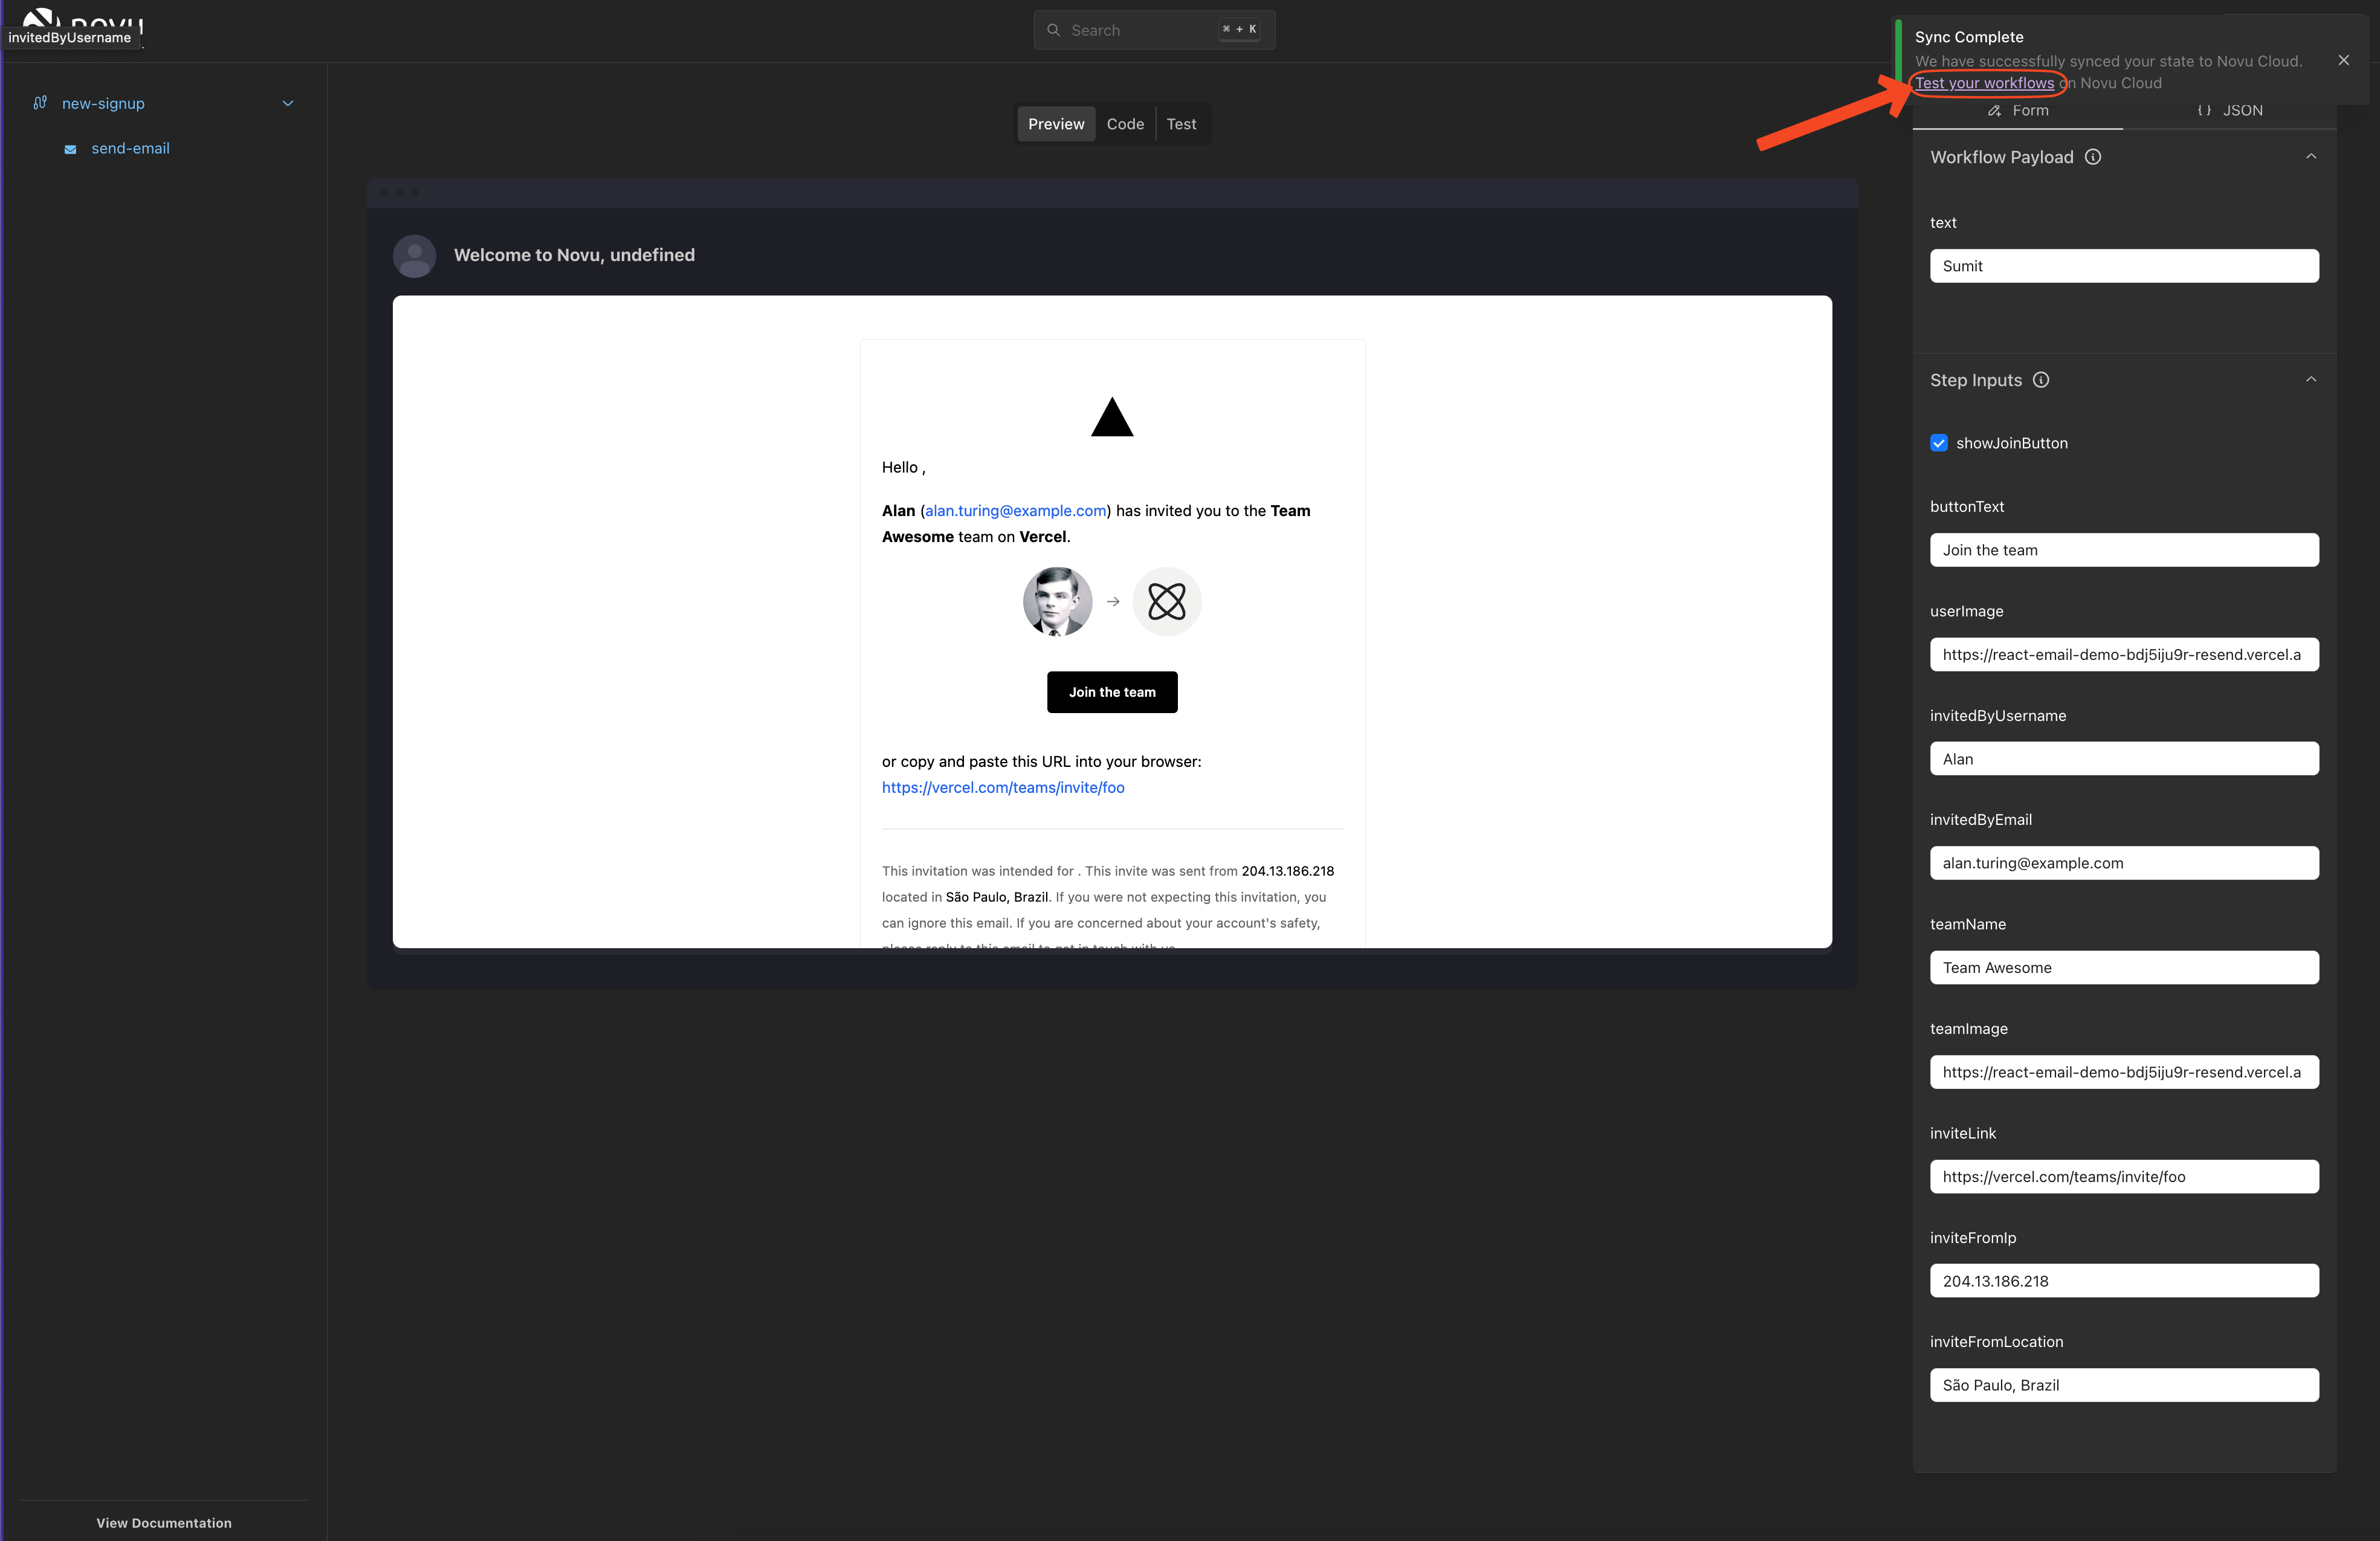
Test your workflow will take you to Novu Cloud
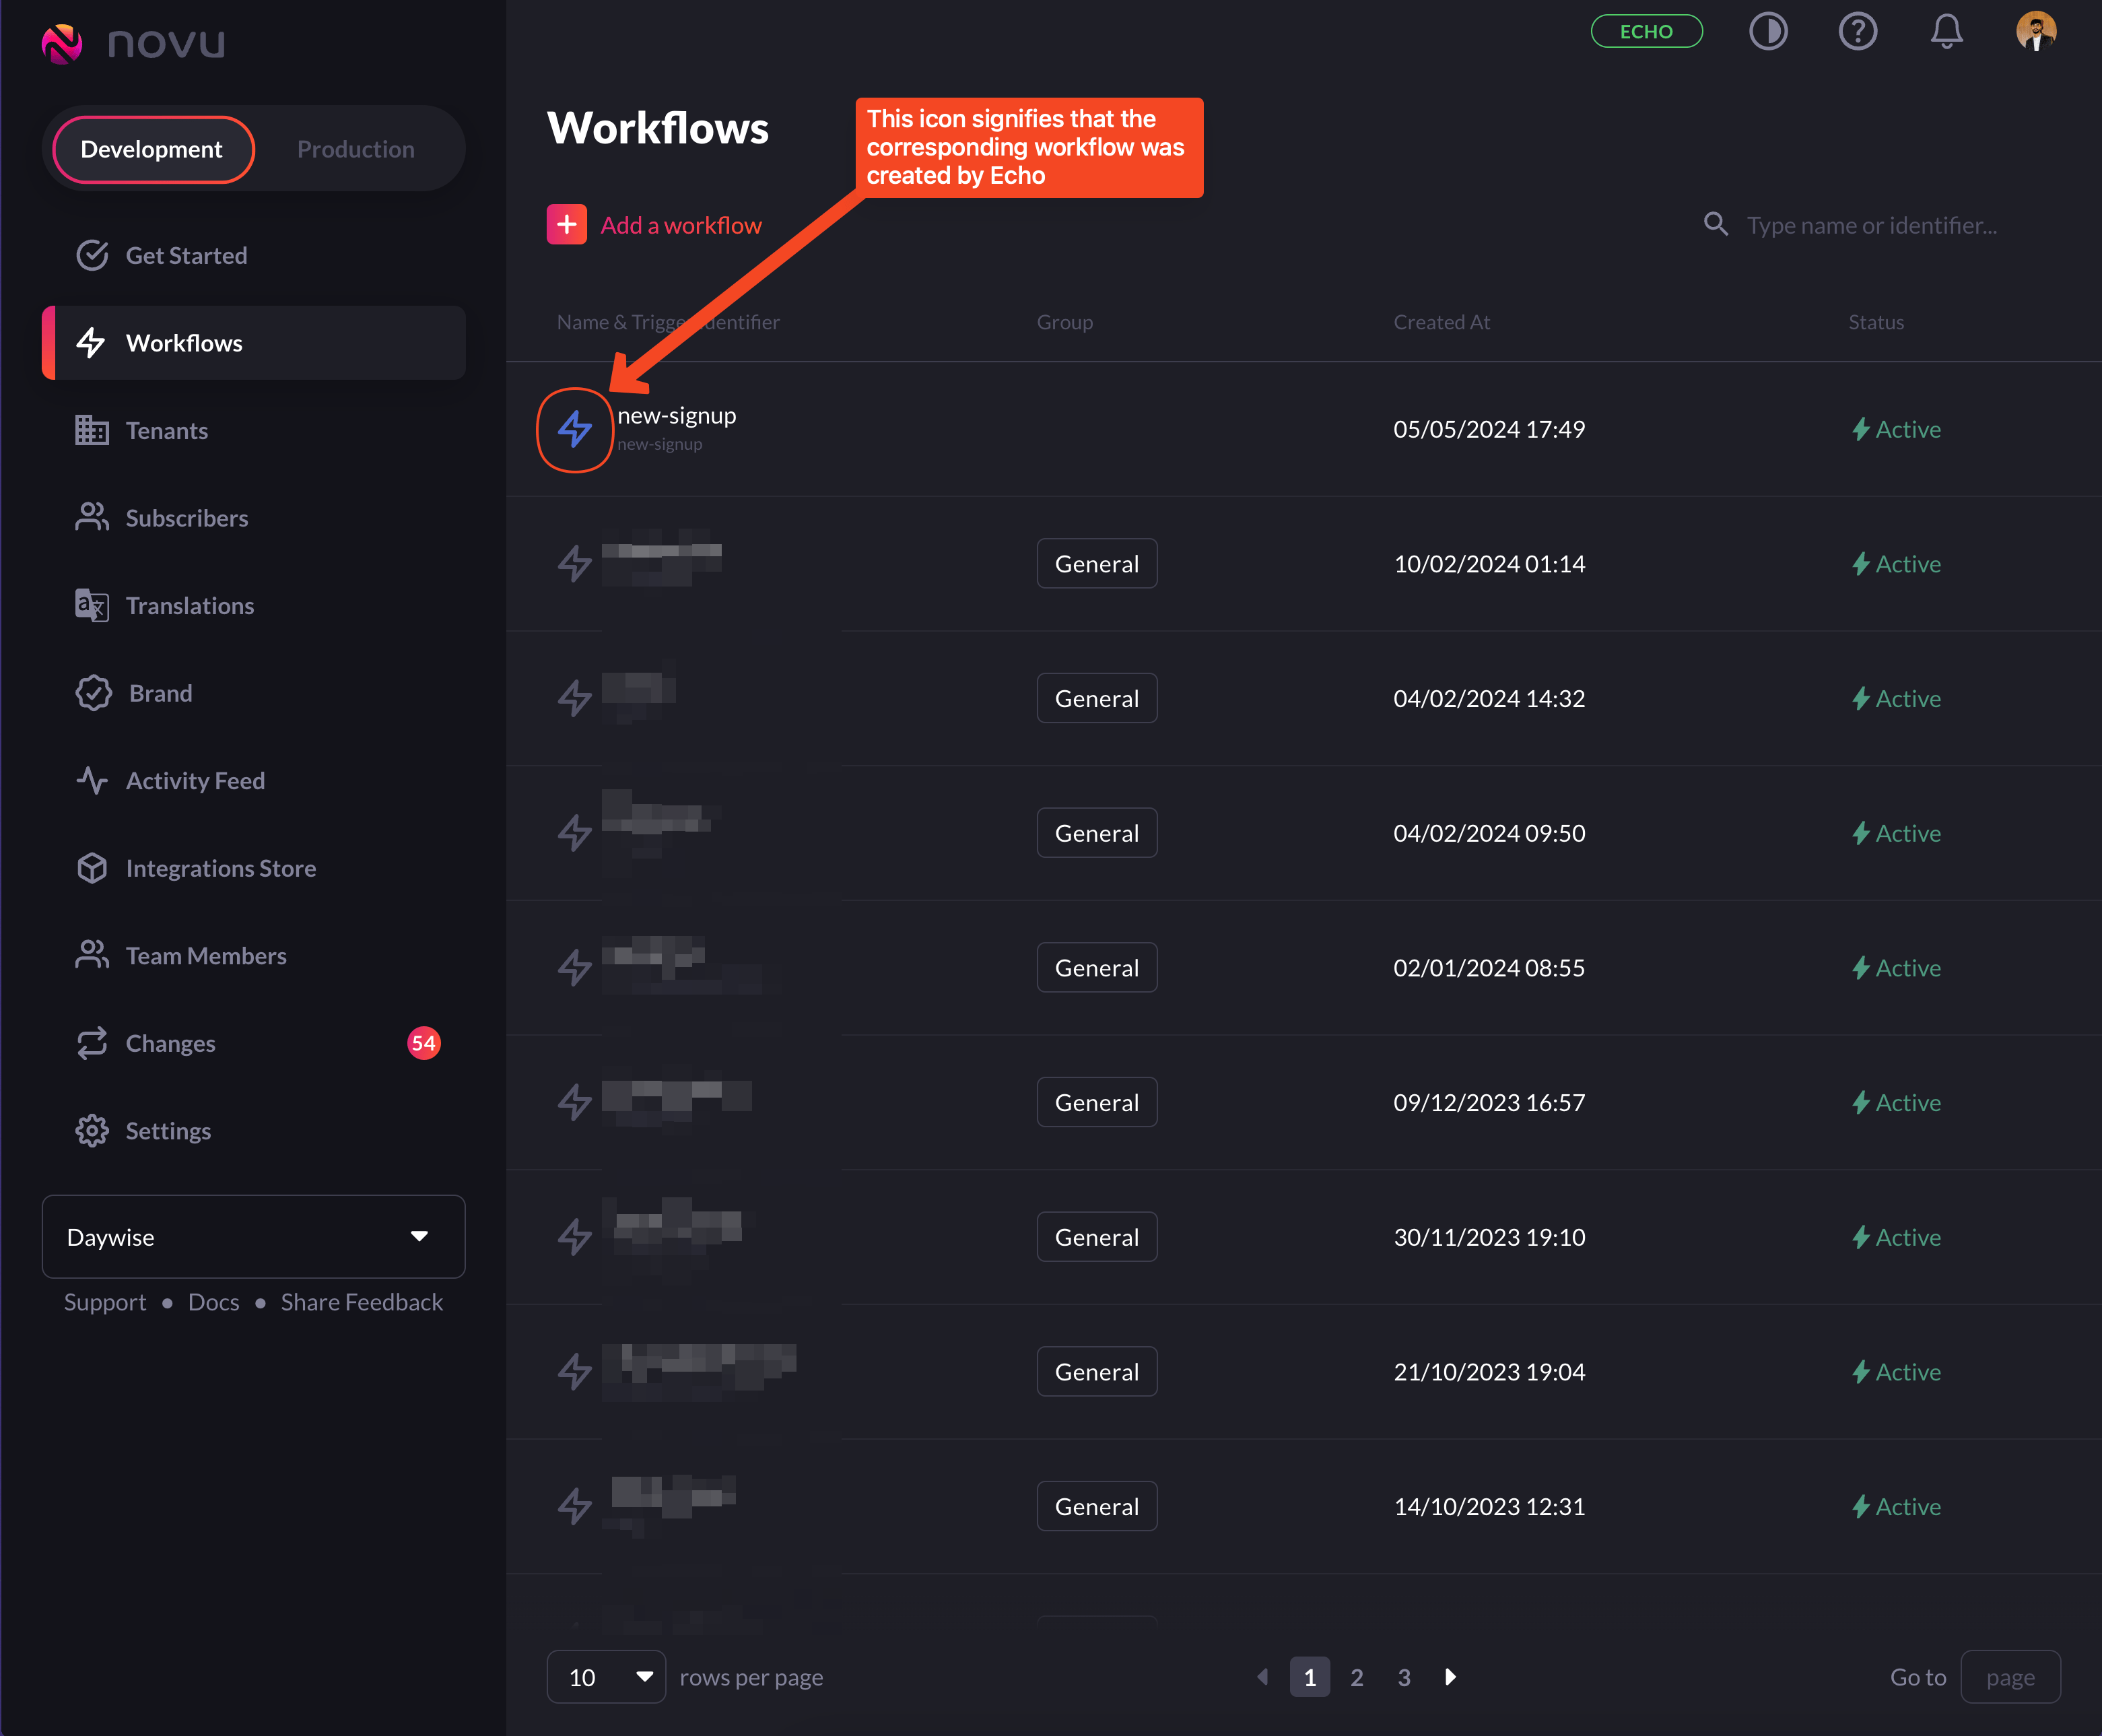
You'll see the workflow created using Novu Framework with the blue lightning bolt icon
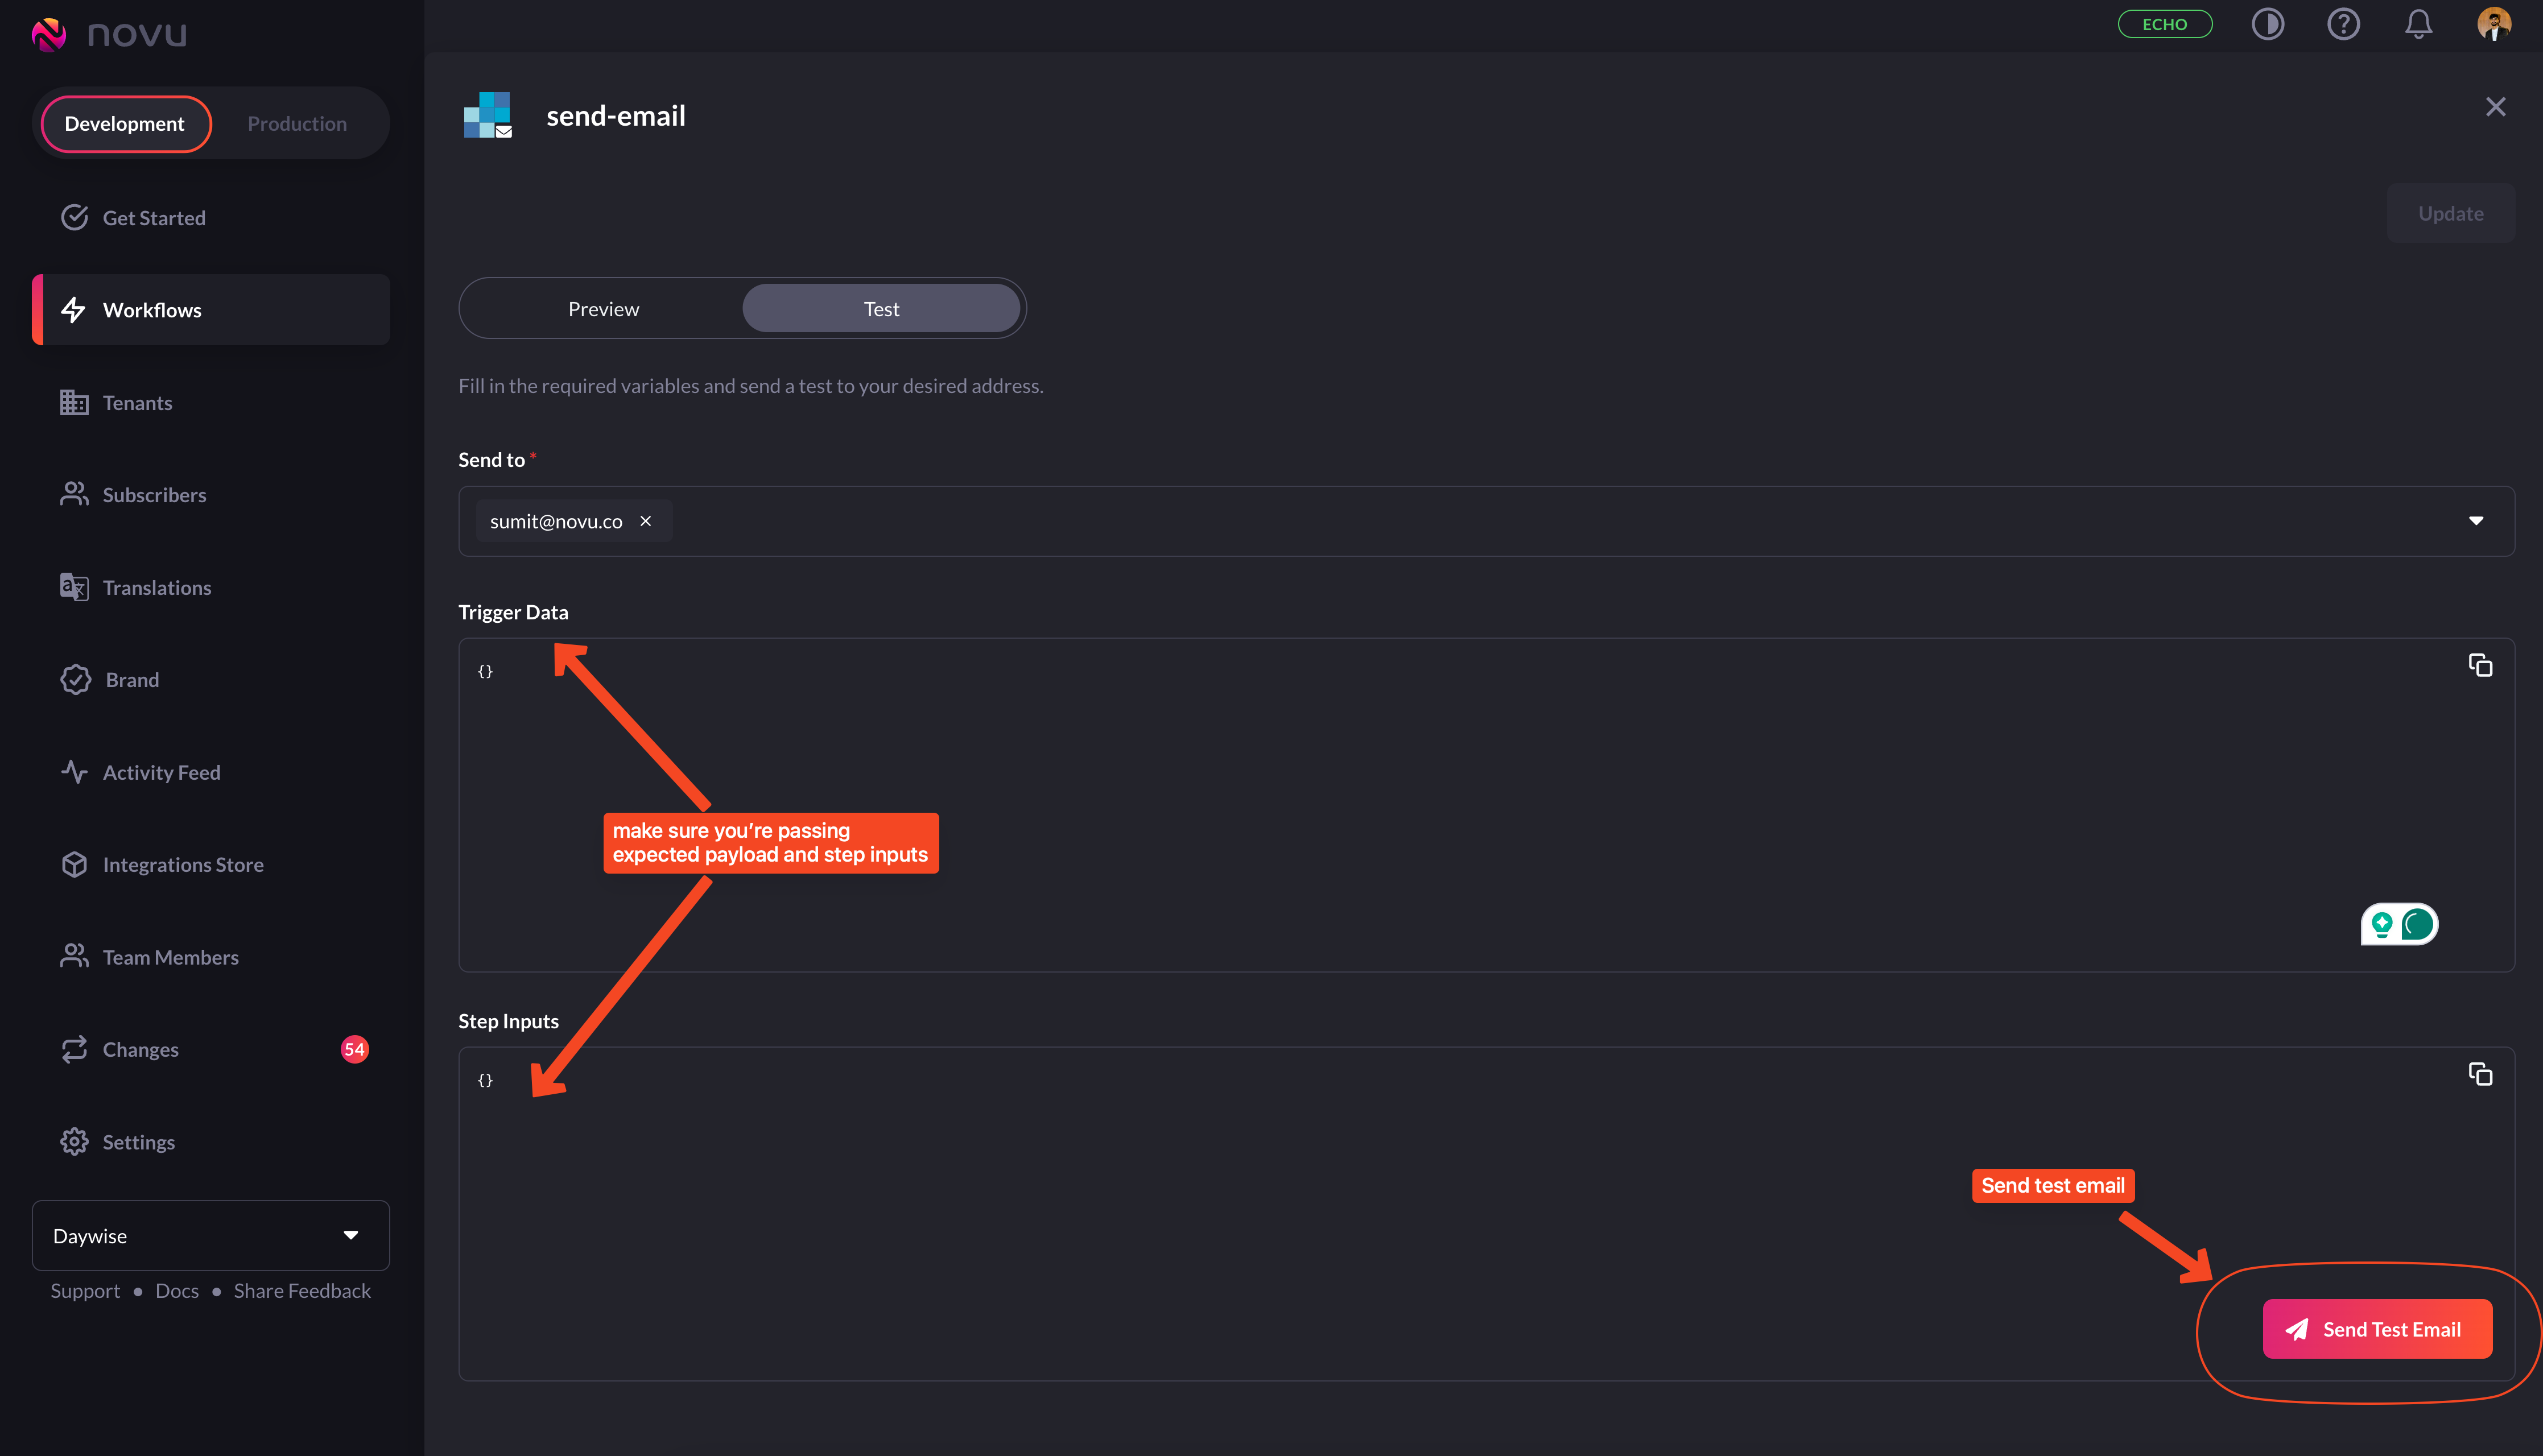
Enter the respective data and test your workflow
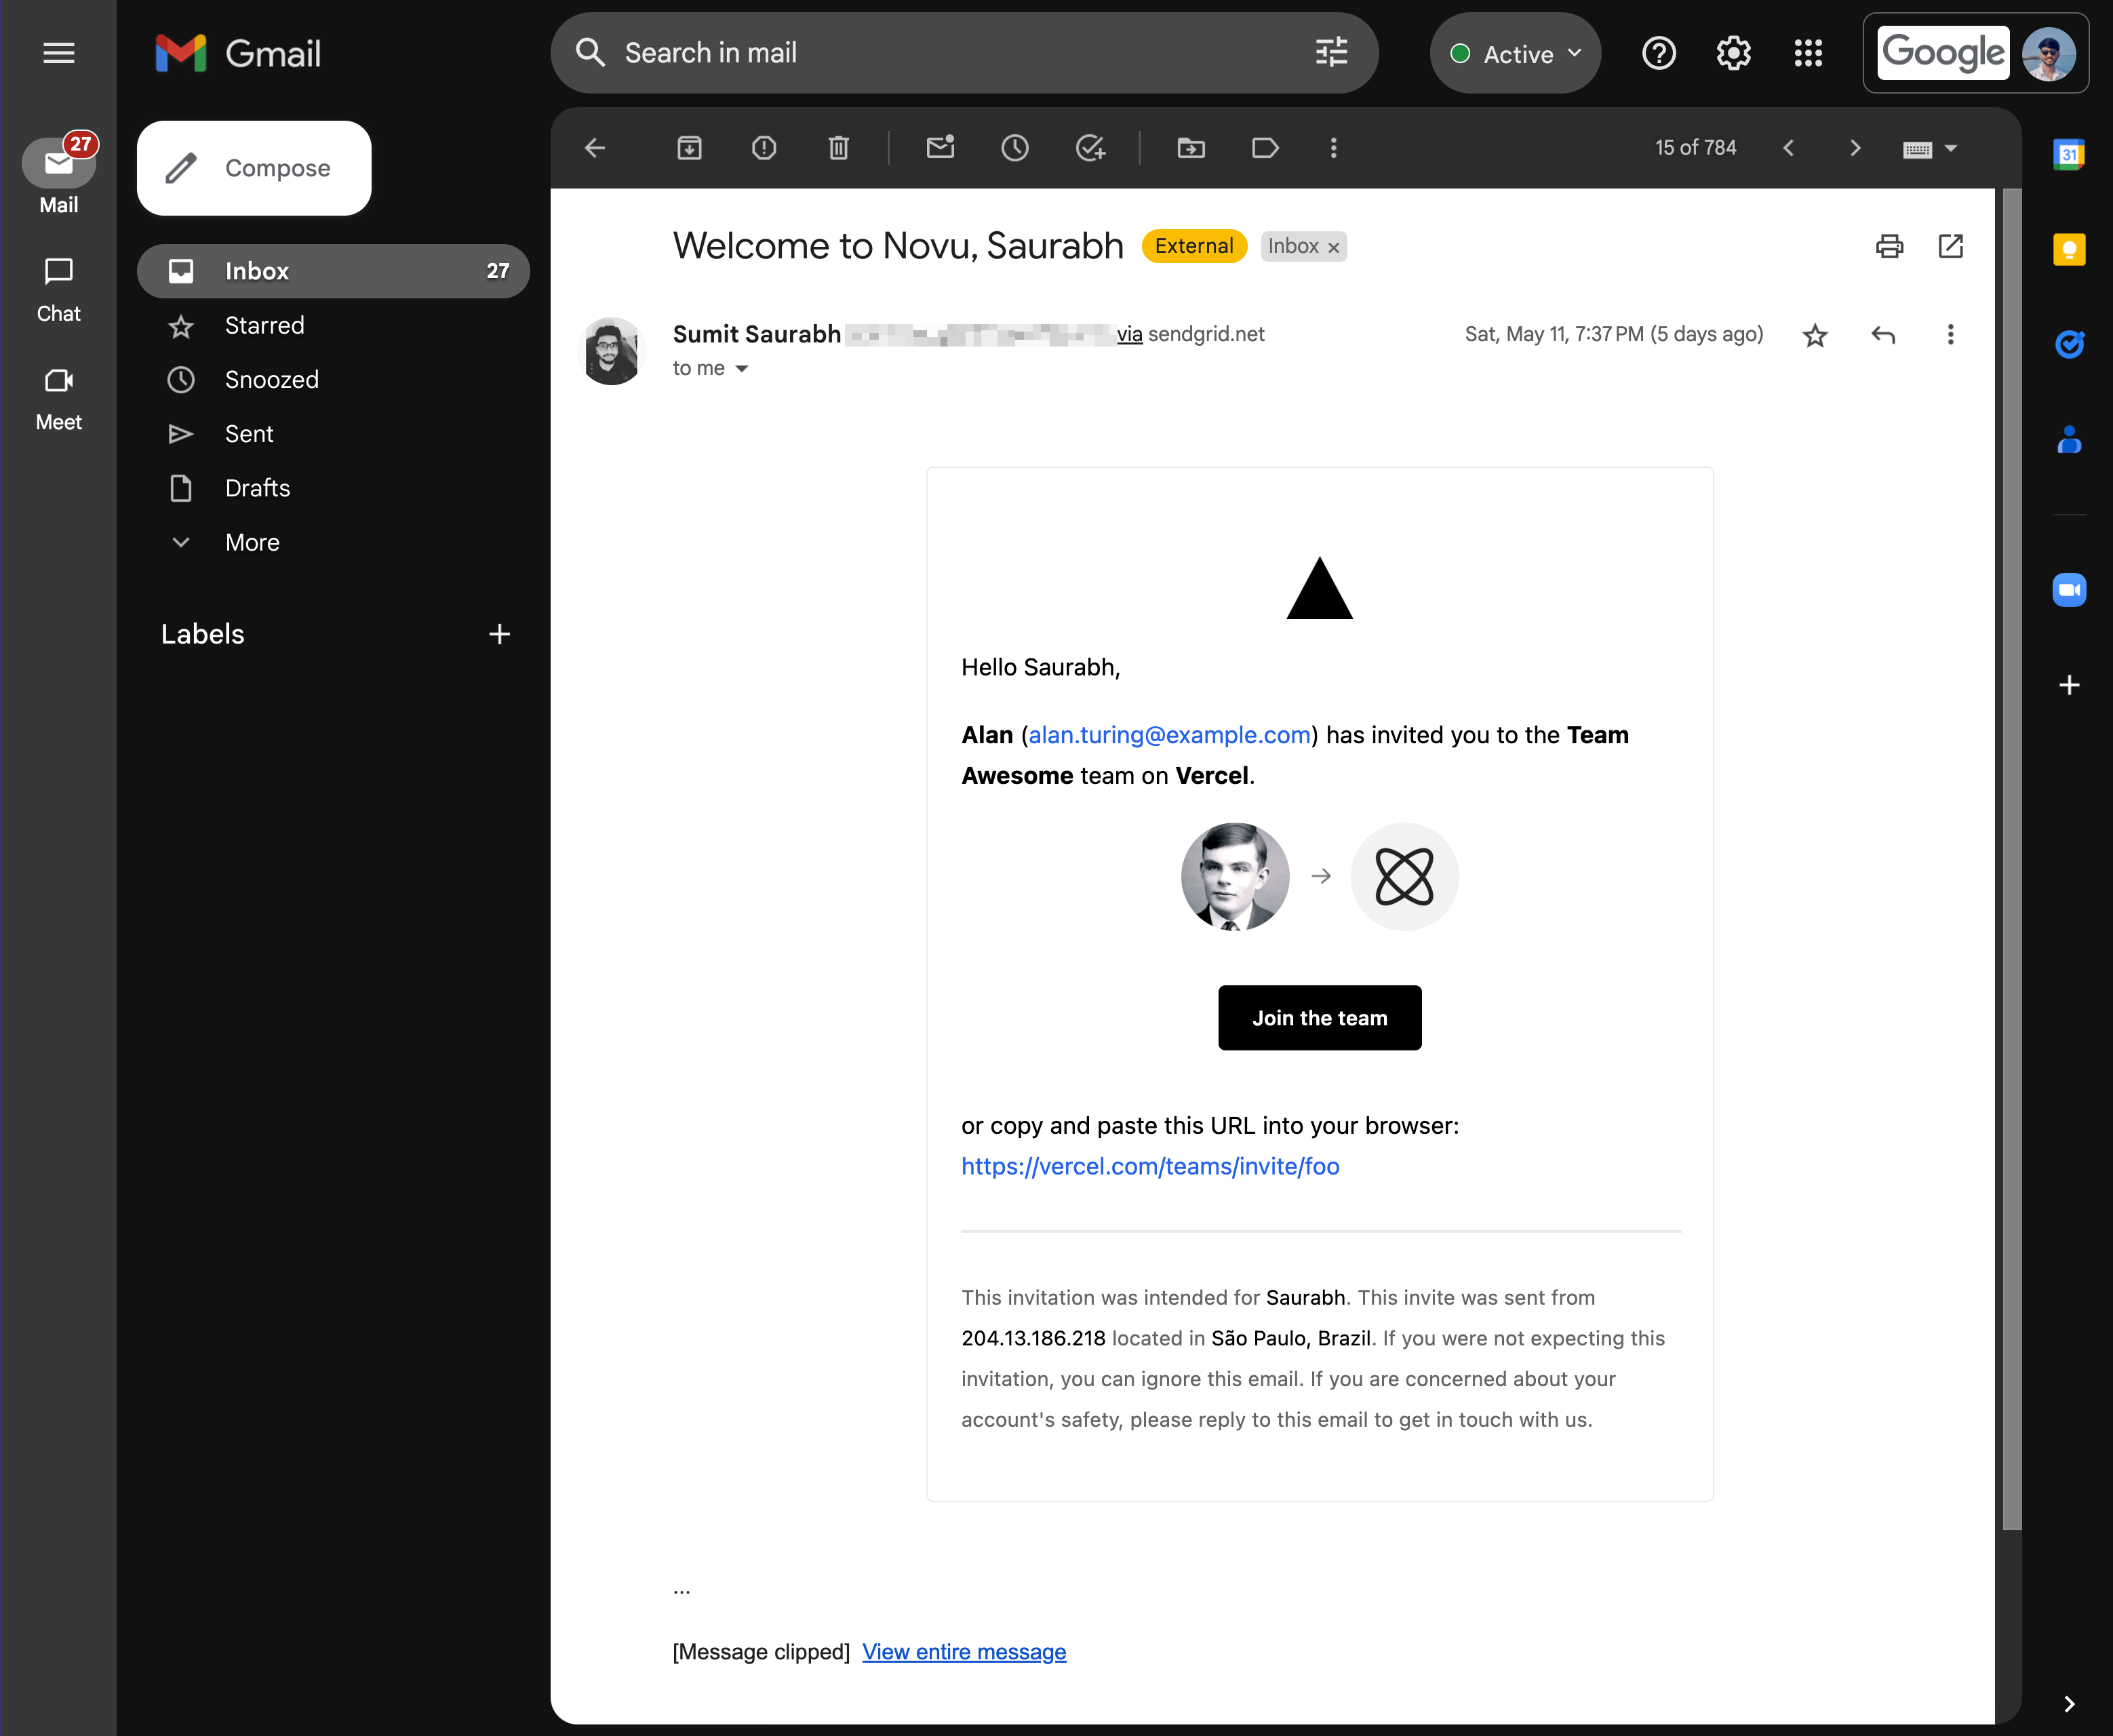
Workflow test email in my inbox
submit event fires:
Here’s a simple replication of the stipulated scenario:
More workflow examples
Creating workflows with Novu Framework is a breeze. Here are a couple of other examples from React email docs created with Novu Framework:- AWS Email verification example
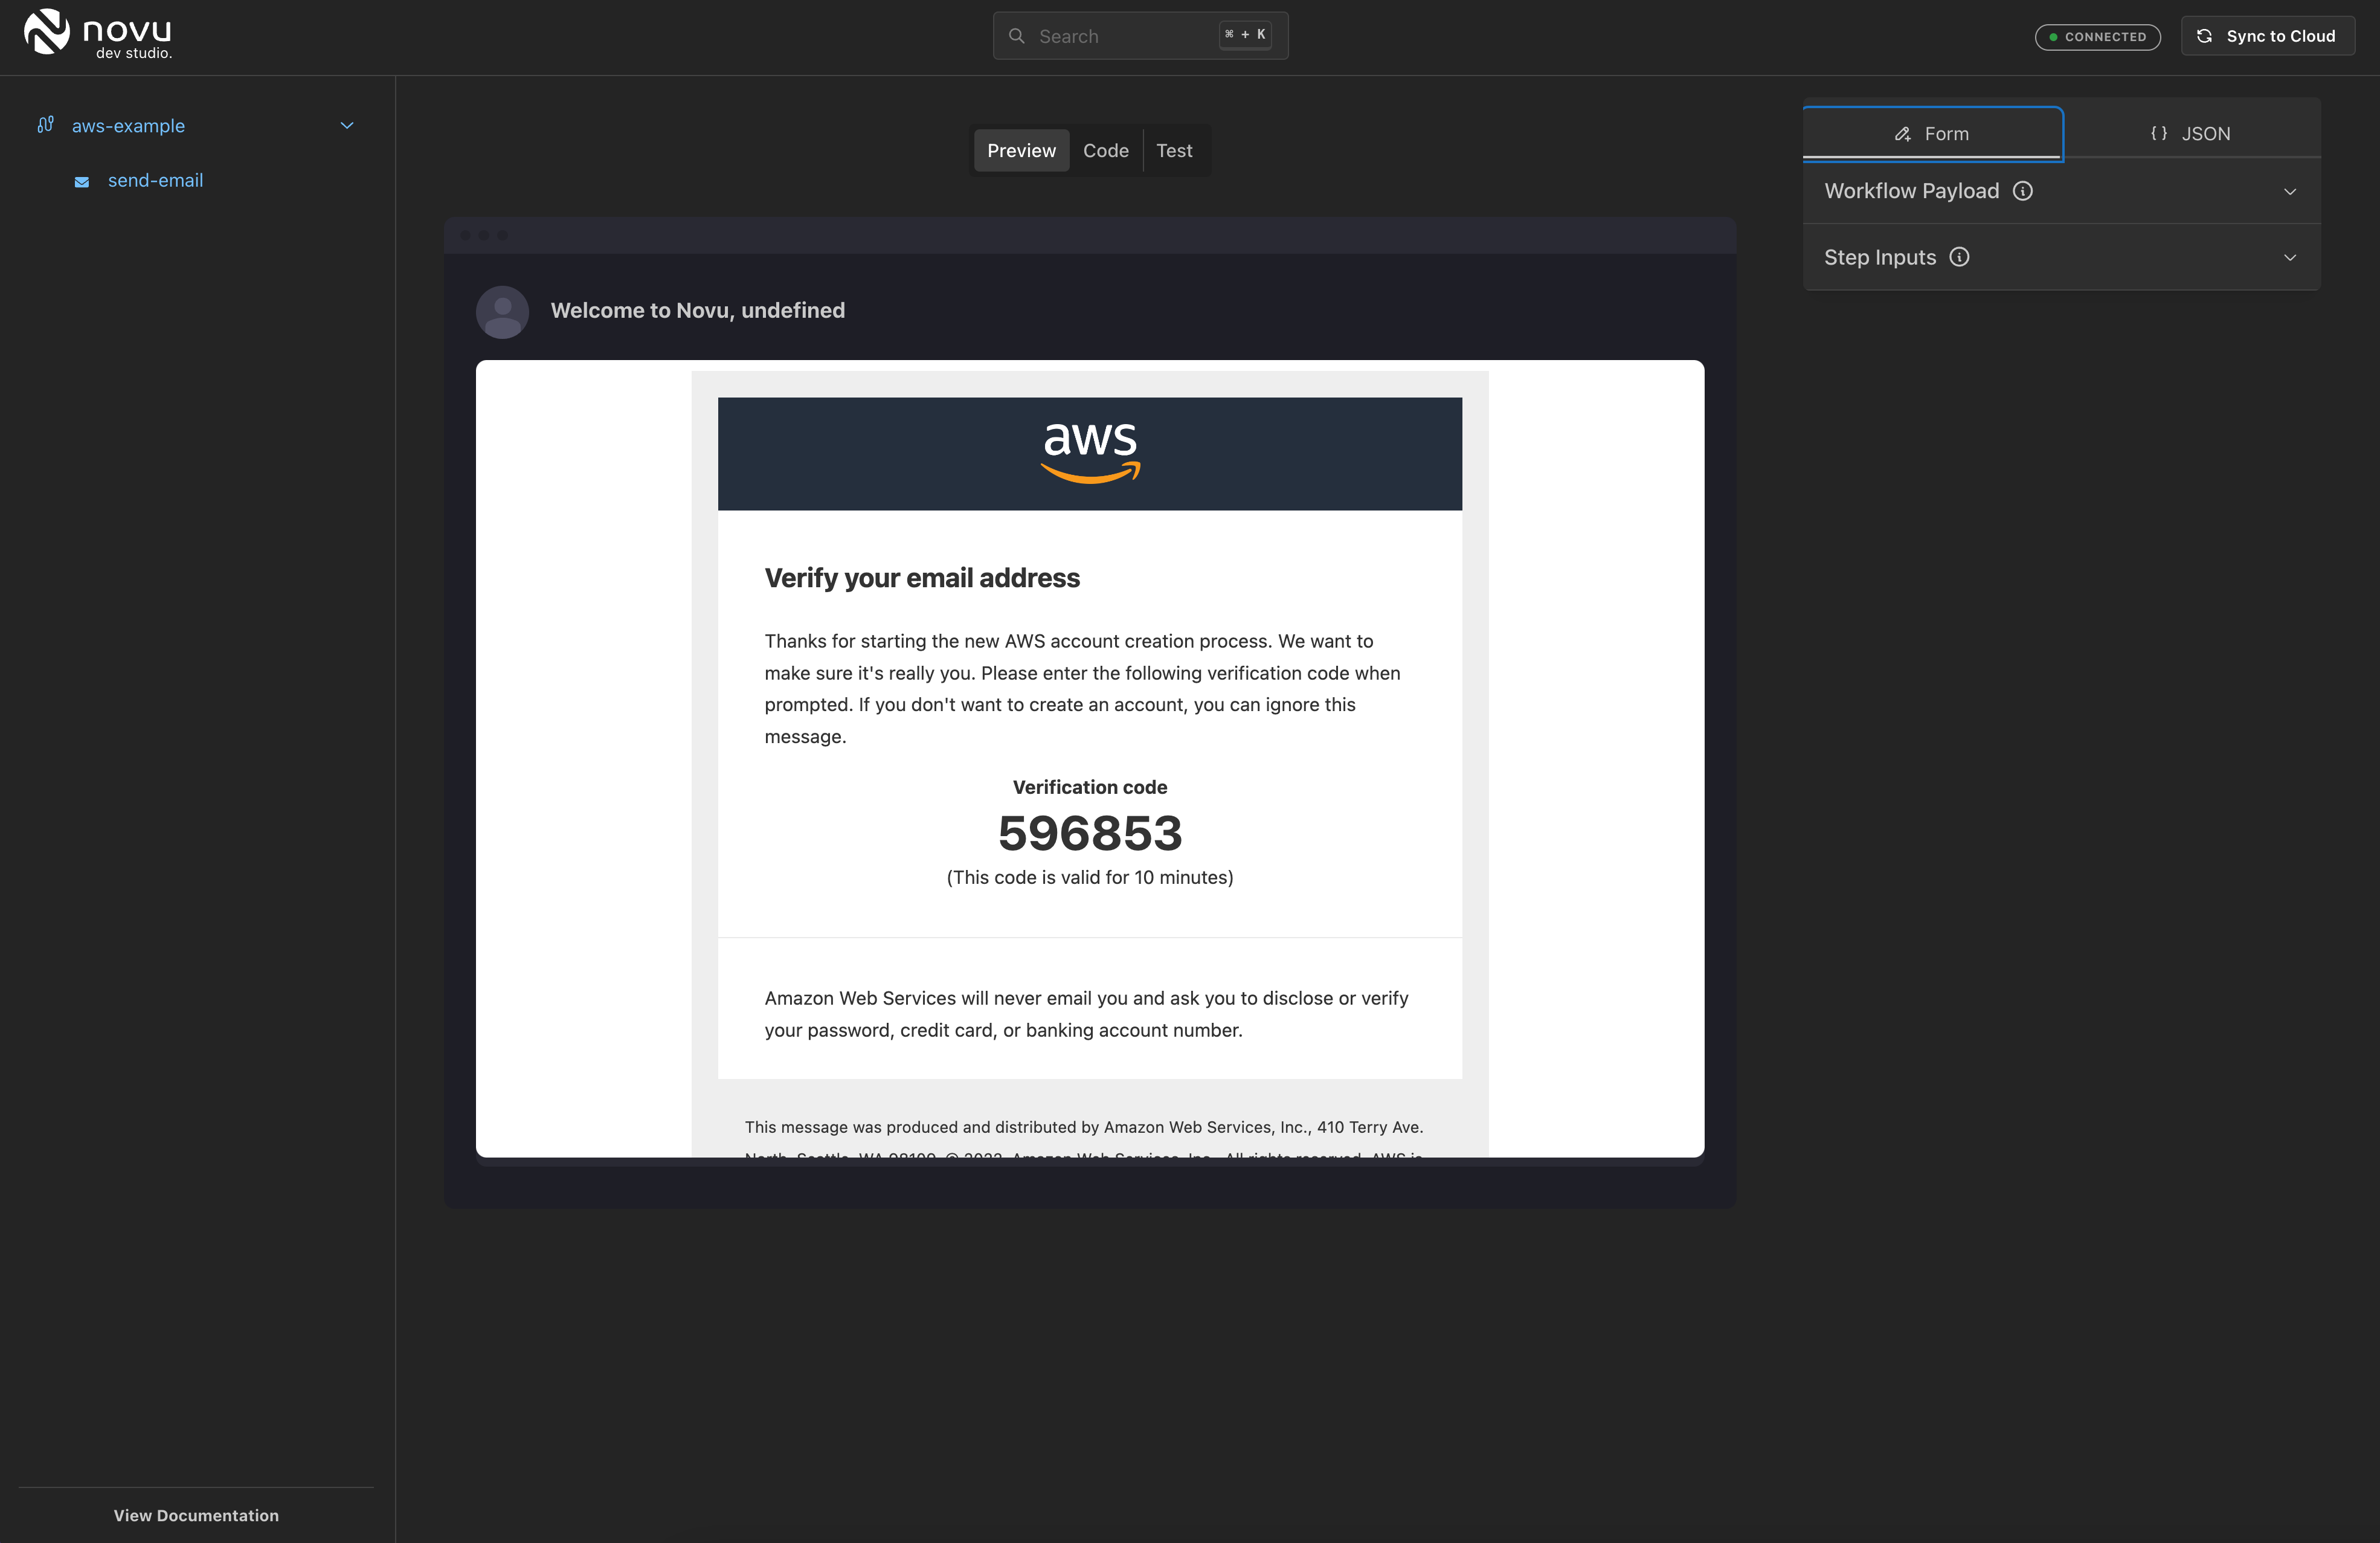
AWS verification example
- Apple invoice email example
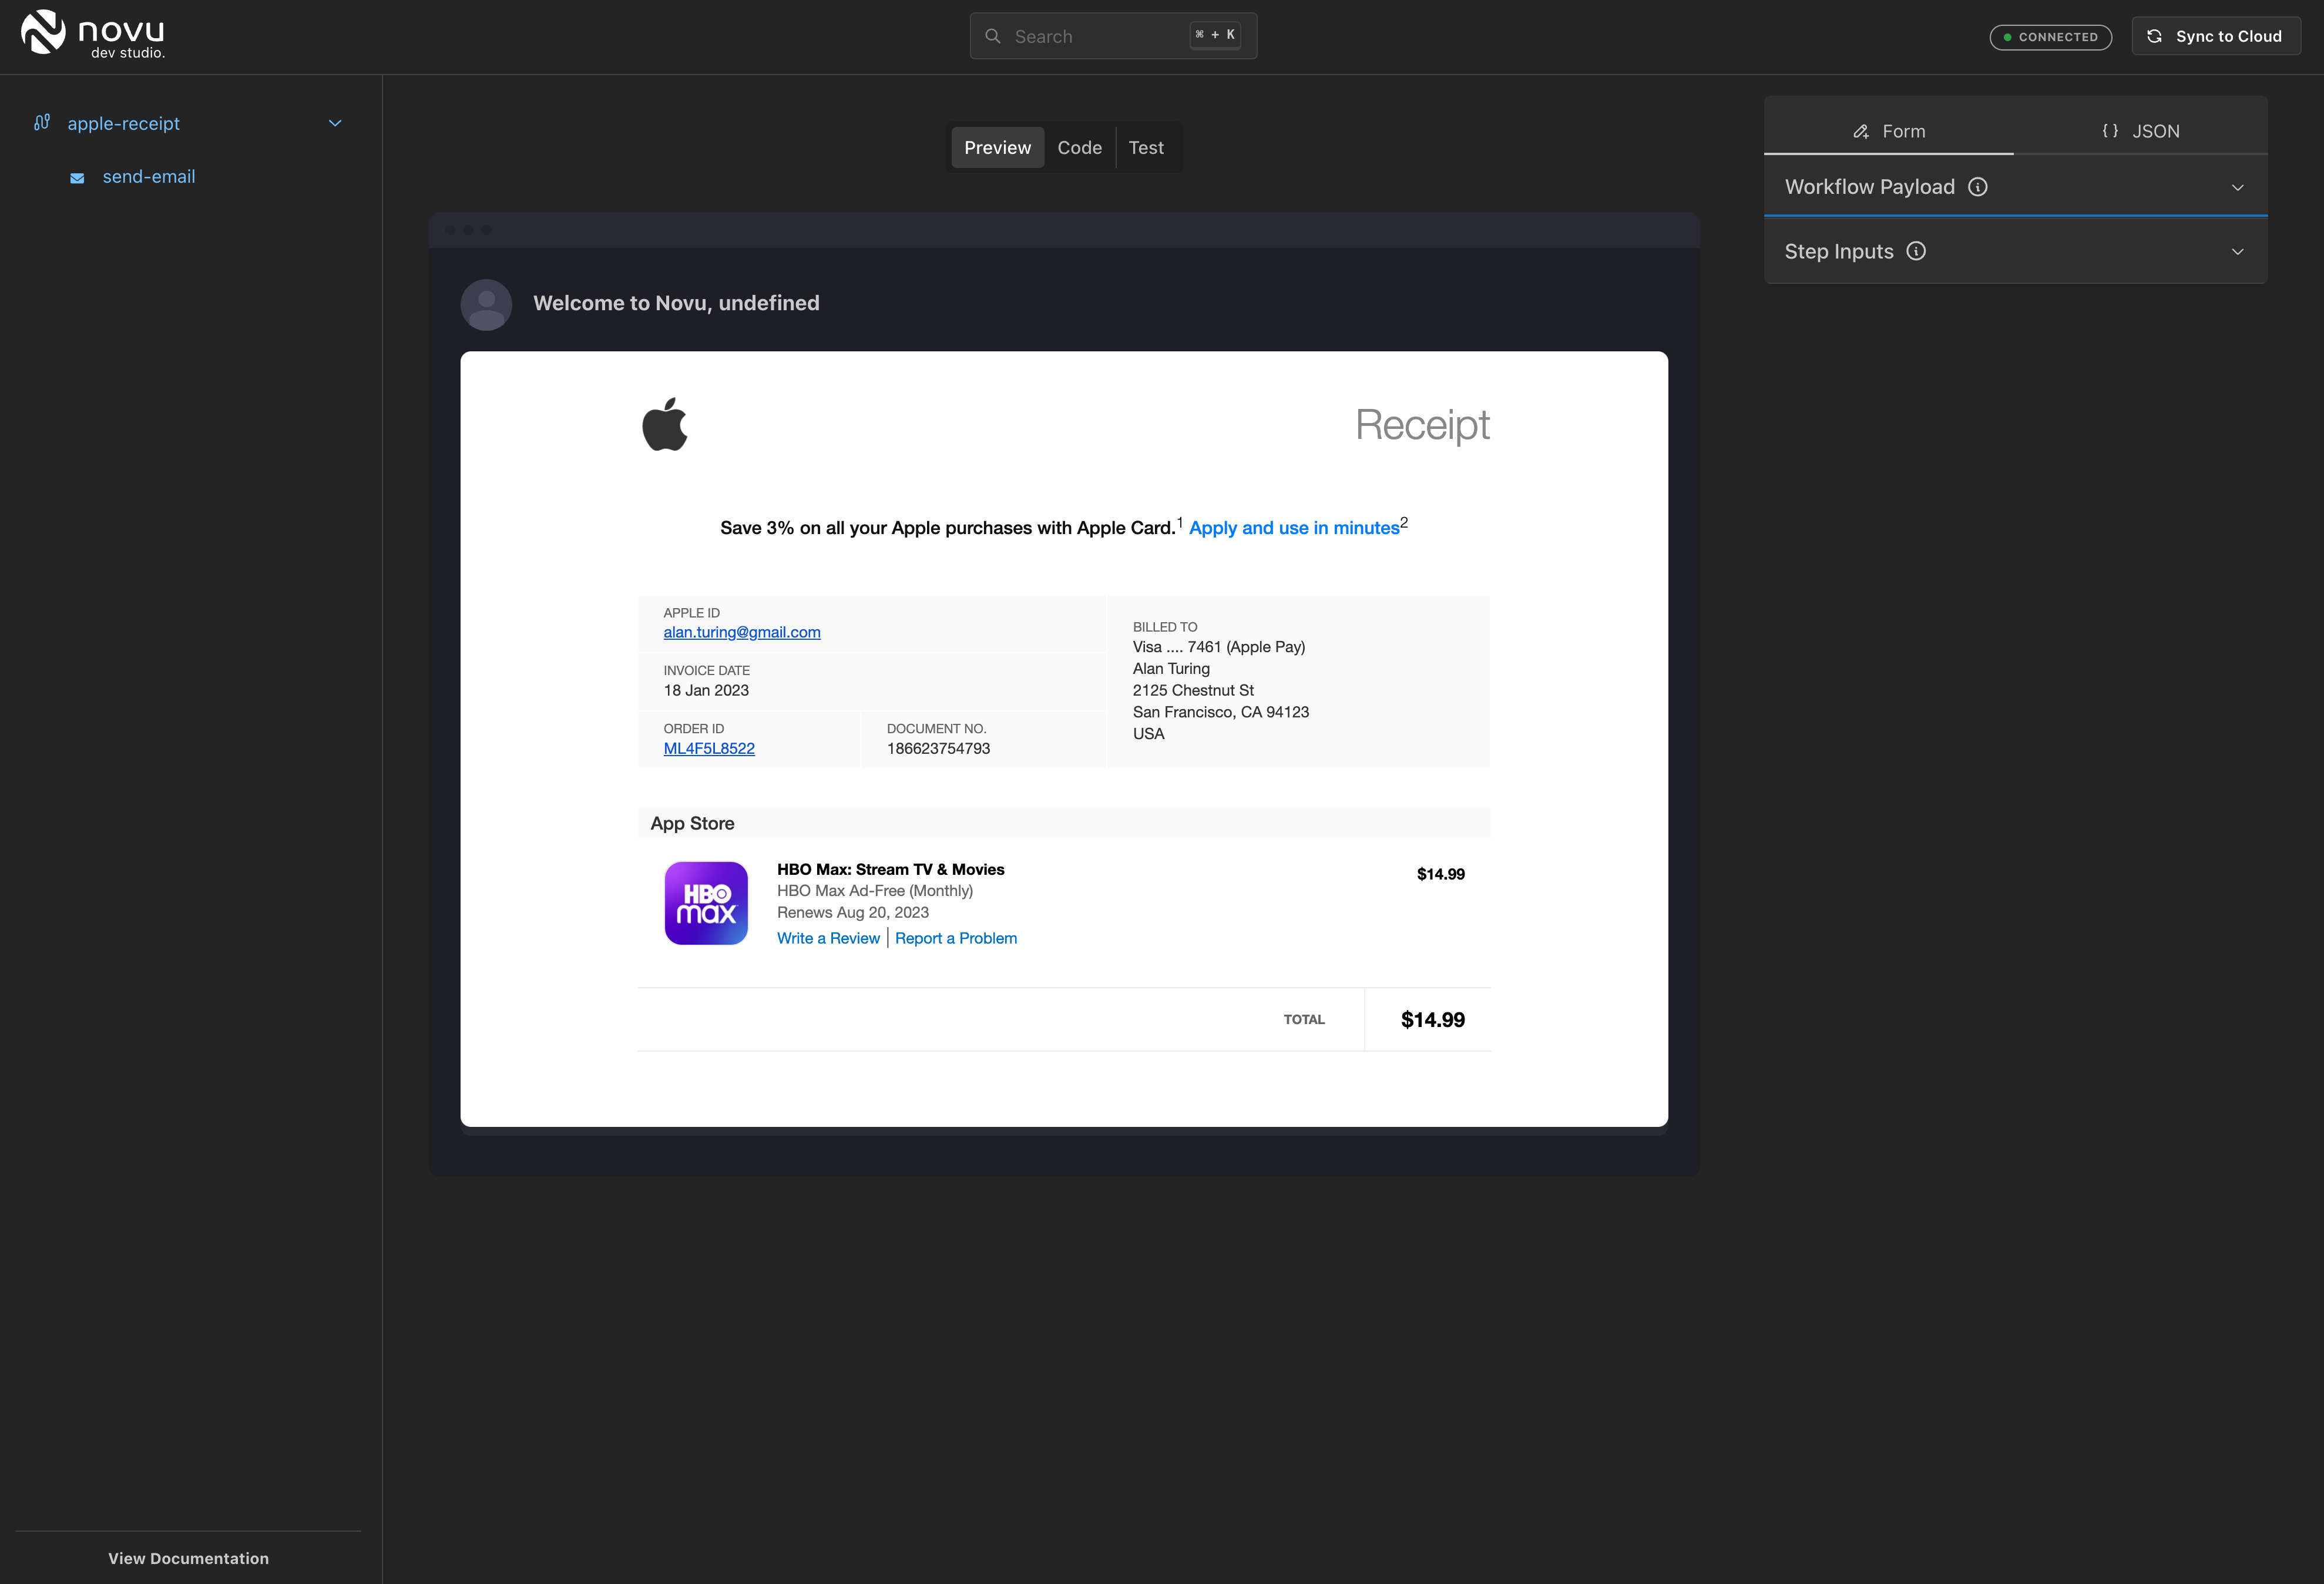
Apple invoice email example
Conclusion
So there you go! This is how you create workflows using Novu Framework and deploy your changes seamlessly to the Novu cloud. You can check out the code for a sample demo app. Once you’ve built the workflow, you might want read one of our other guides on how to empower product teams to manage notification workflows.Don’t forget to share your workflows with us and as always, hit us up on Discord with any questions you might have!