

Introduction
In this guide, you’ll learn about how to use the headless version of our notification center. The headless version is useful for scenarios in which a lightweight solution for integrating notification functionality into a web app that is completely unstyled (so that you can style it as per your wish) is required.You can find the entire code ( front-end as well as back-end ) of this app here.
What is the headless notification center
The headless version of Novu’s notification library package provides users with a lightweight solution for integrating notification functionality into their web applications.With just the essential API methods, users can easily incorporate our notification system into any framework or vanilla JavaScript project, without being constrained by our default UI or dependencies. This gives the users of the headless notification center greater flexibility and control over what the end-users of a product see and experience.
How to use the headless notification center
To get started with this you need:- A Novu account. Sign up for free if you don’t have one yet.
- A working dev environment in the framework of your choice (or vanilla JS). Here, we’ll use a React environment
Workflow set up in Novu
Once, you have signed up for Novu and have a dev environment, follow the steps below:- Head over to the Novu Dashboard.
- Click
Workflowson the left sidebar of your Novu dashboard. - Click the
Create Workflowbutton on the top right:
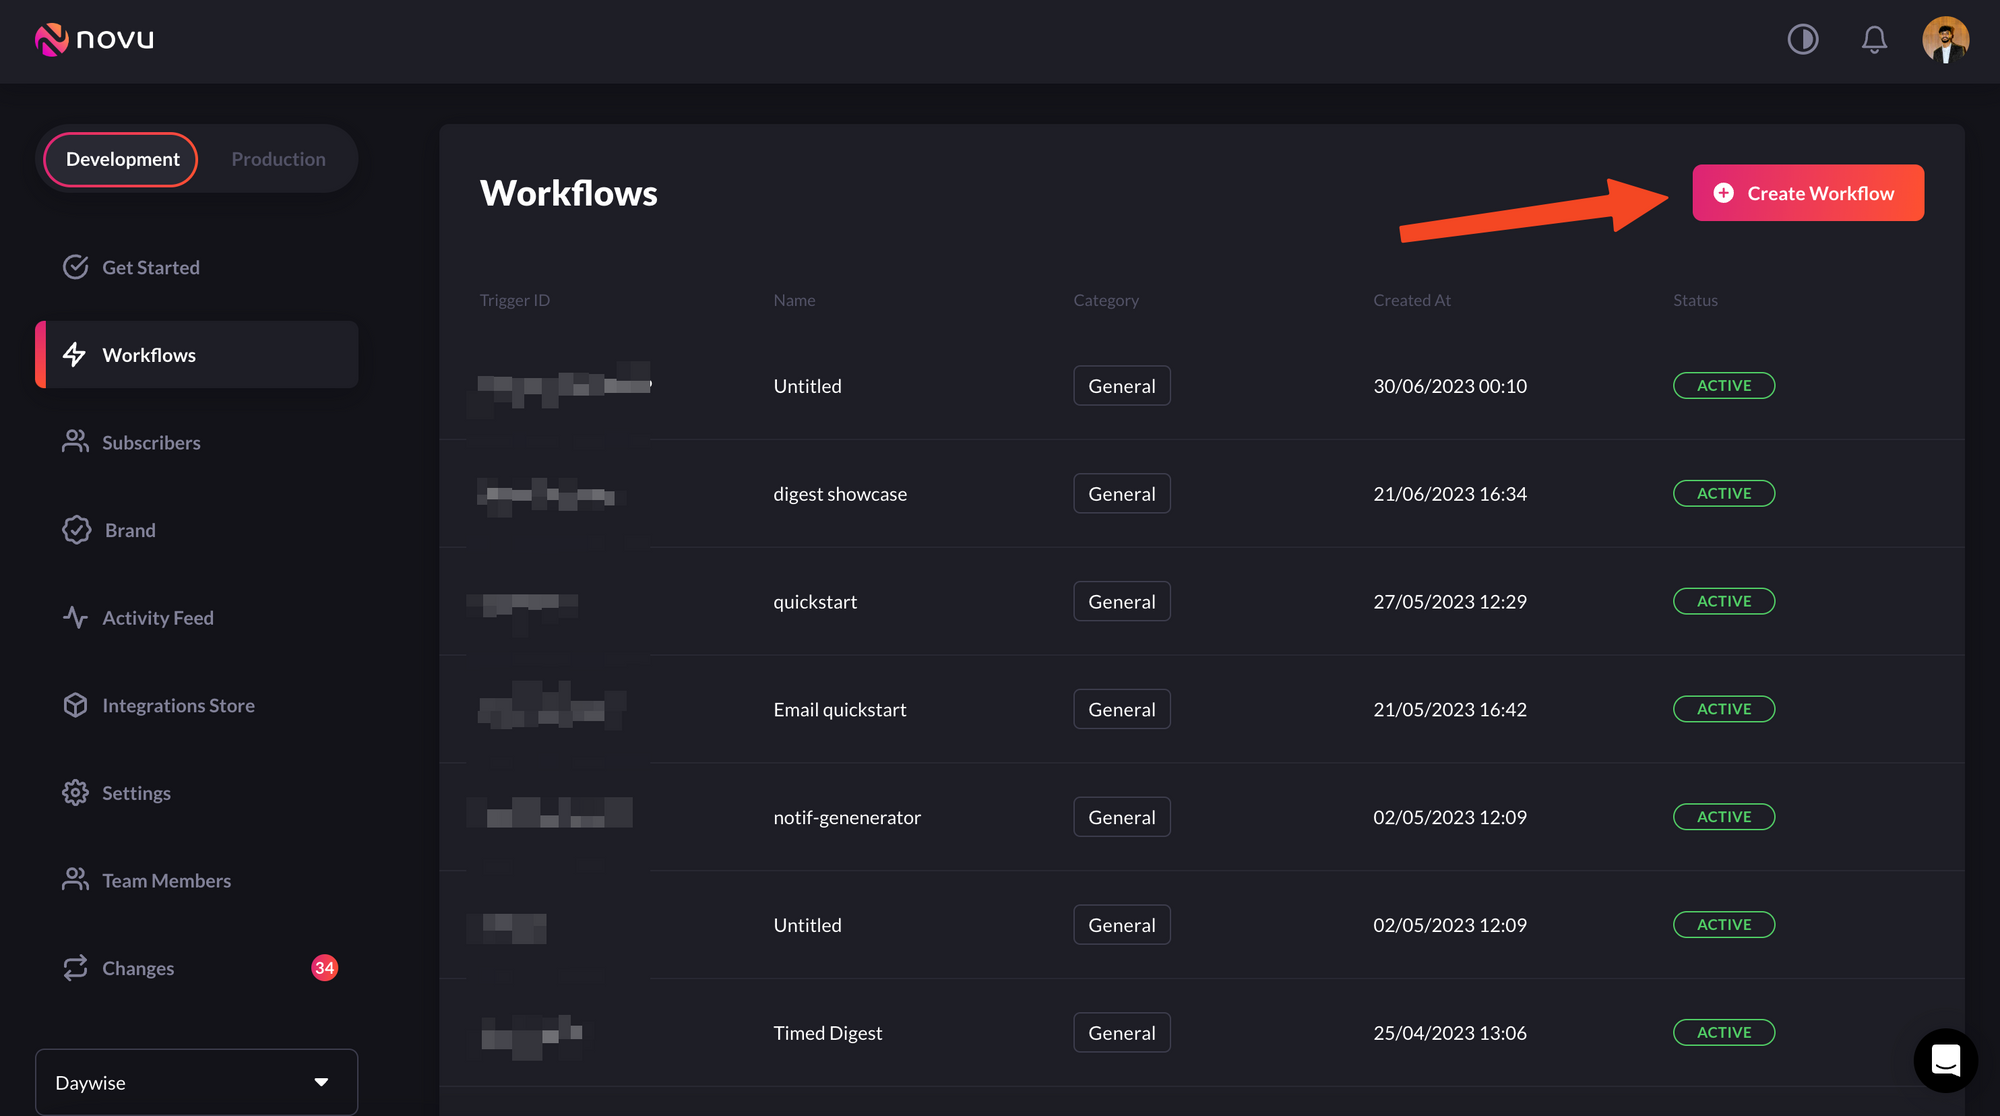
Creating workflows is simple
create workflow button, you’ll see a dropdown. Select blank workflow from the dropdown:
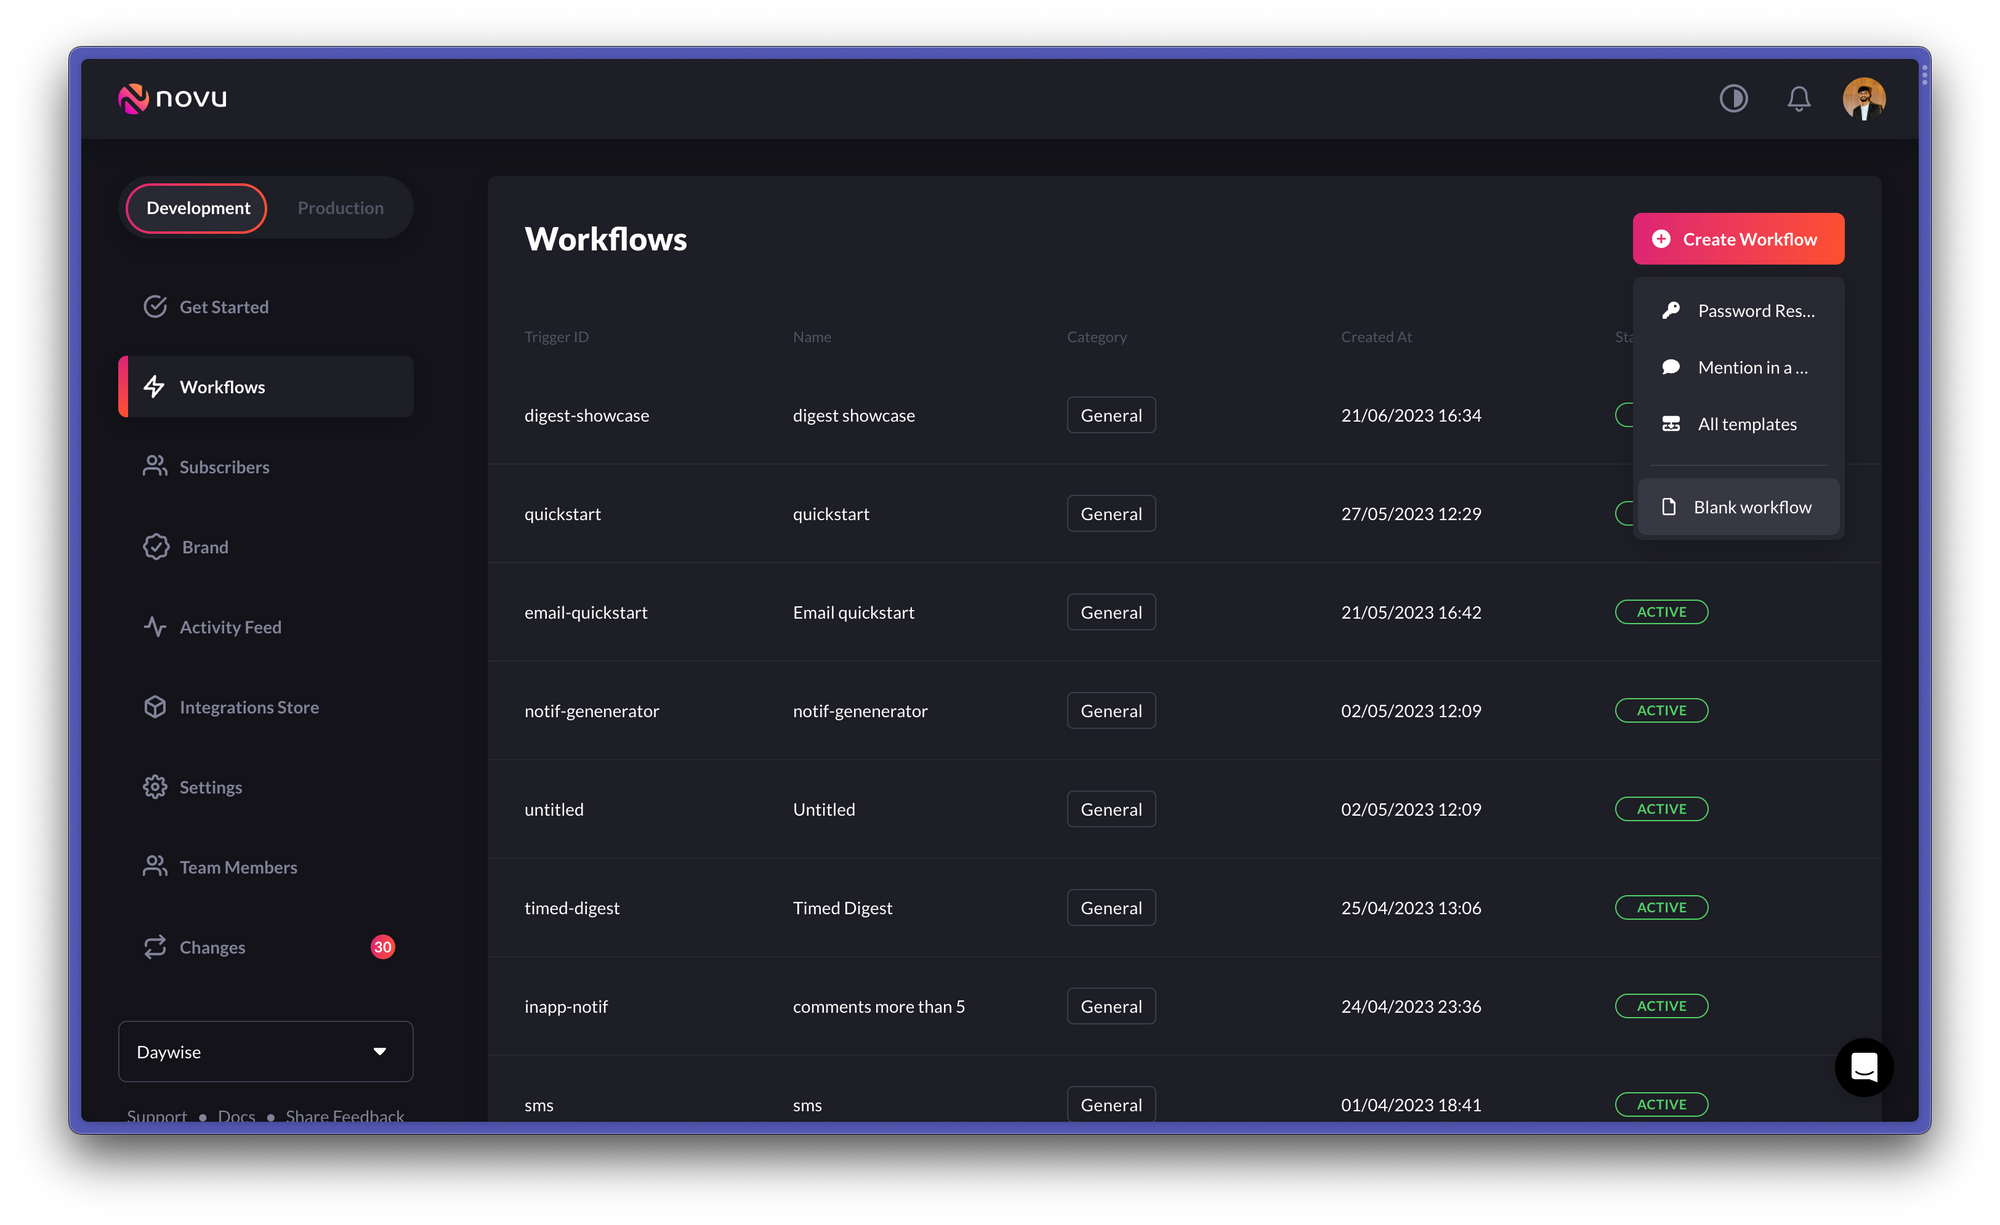
Select blank workflow from the dropdown
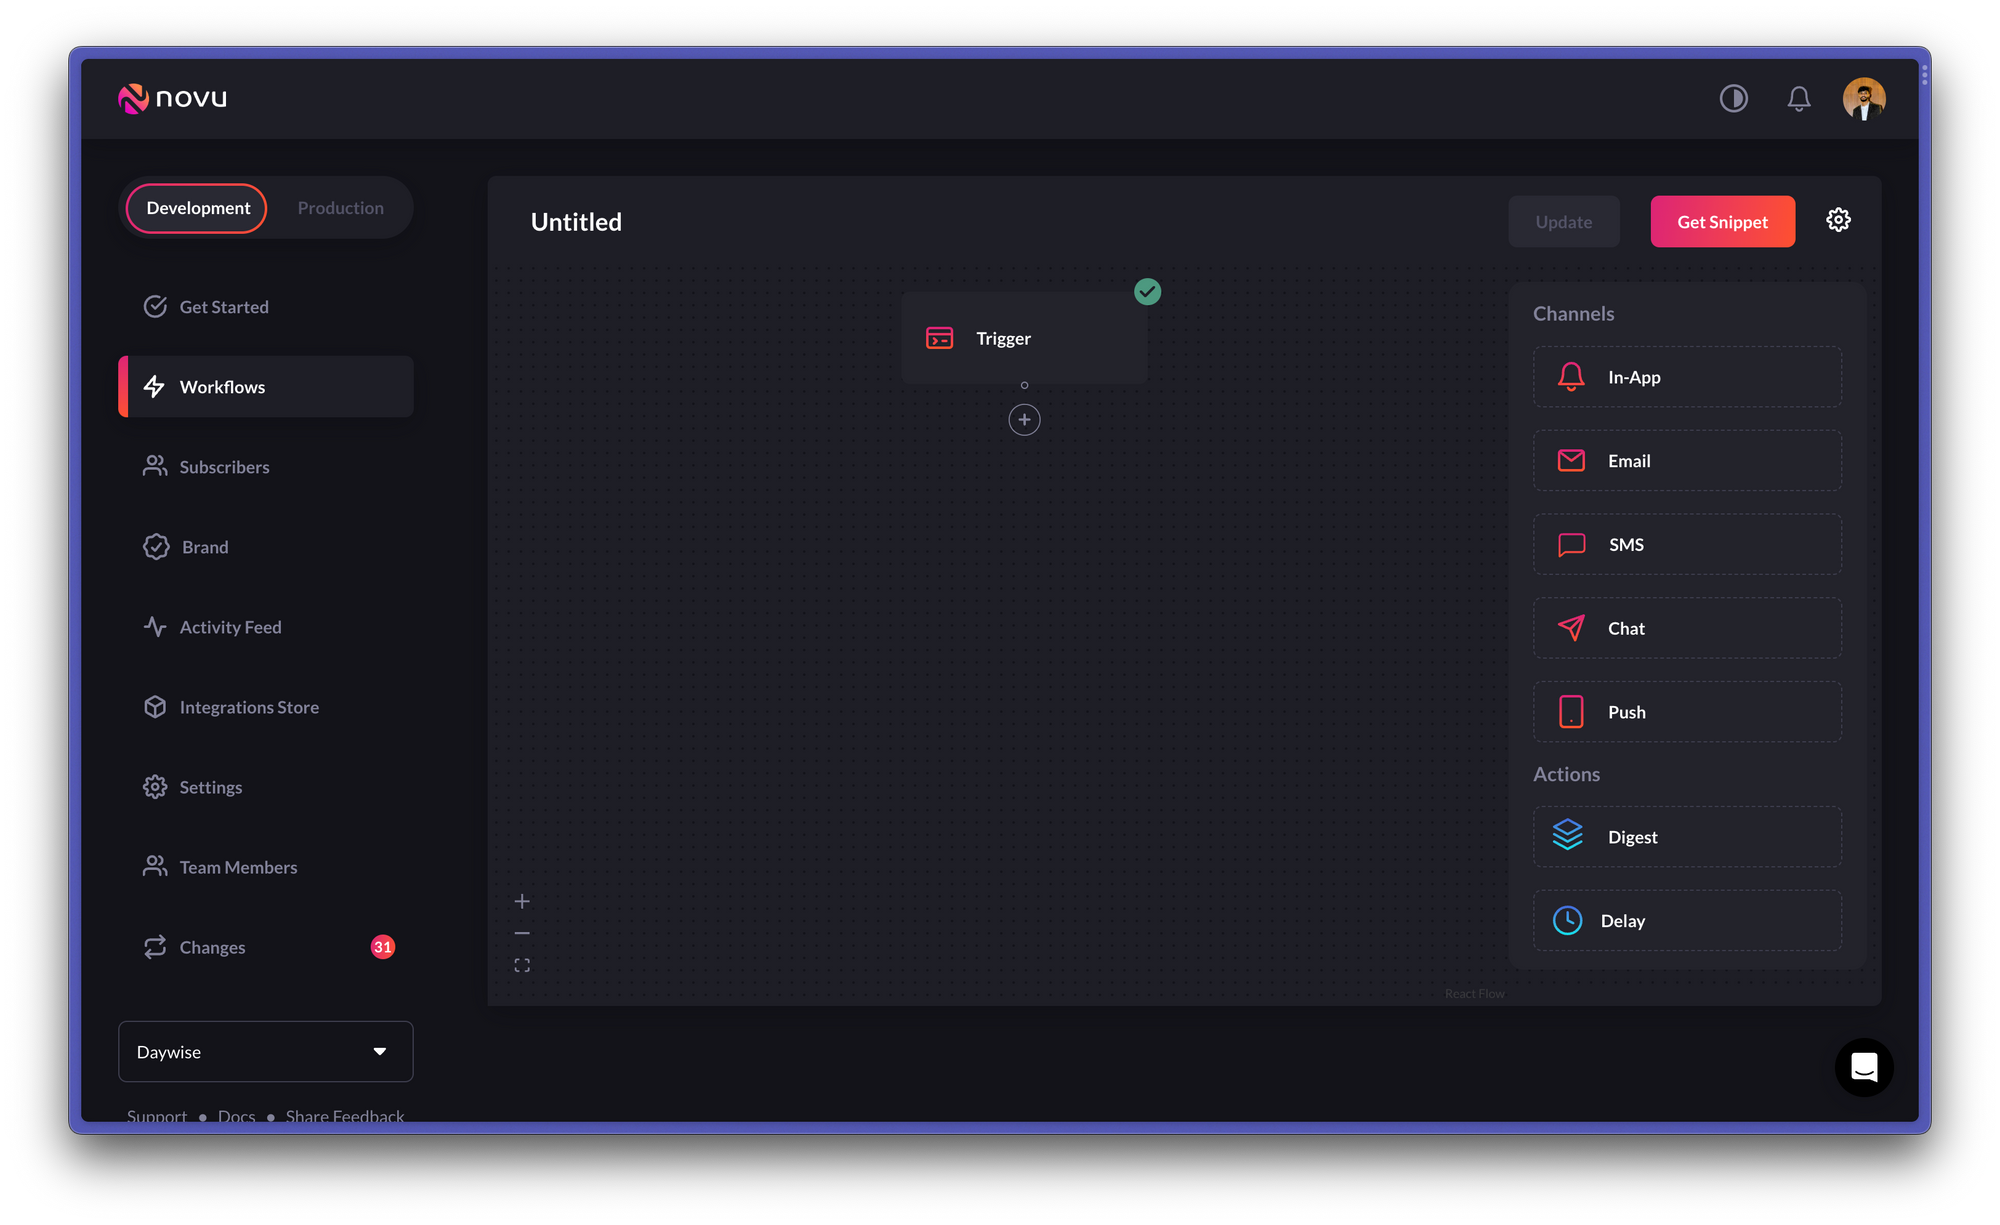
Workflow editor allows you to create and edit workflows
In-App channel.
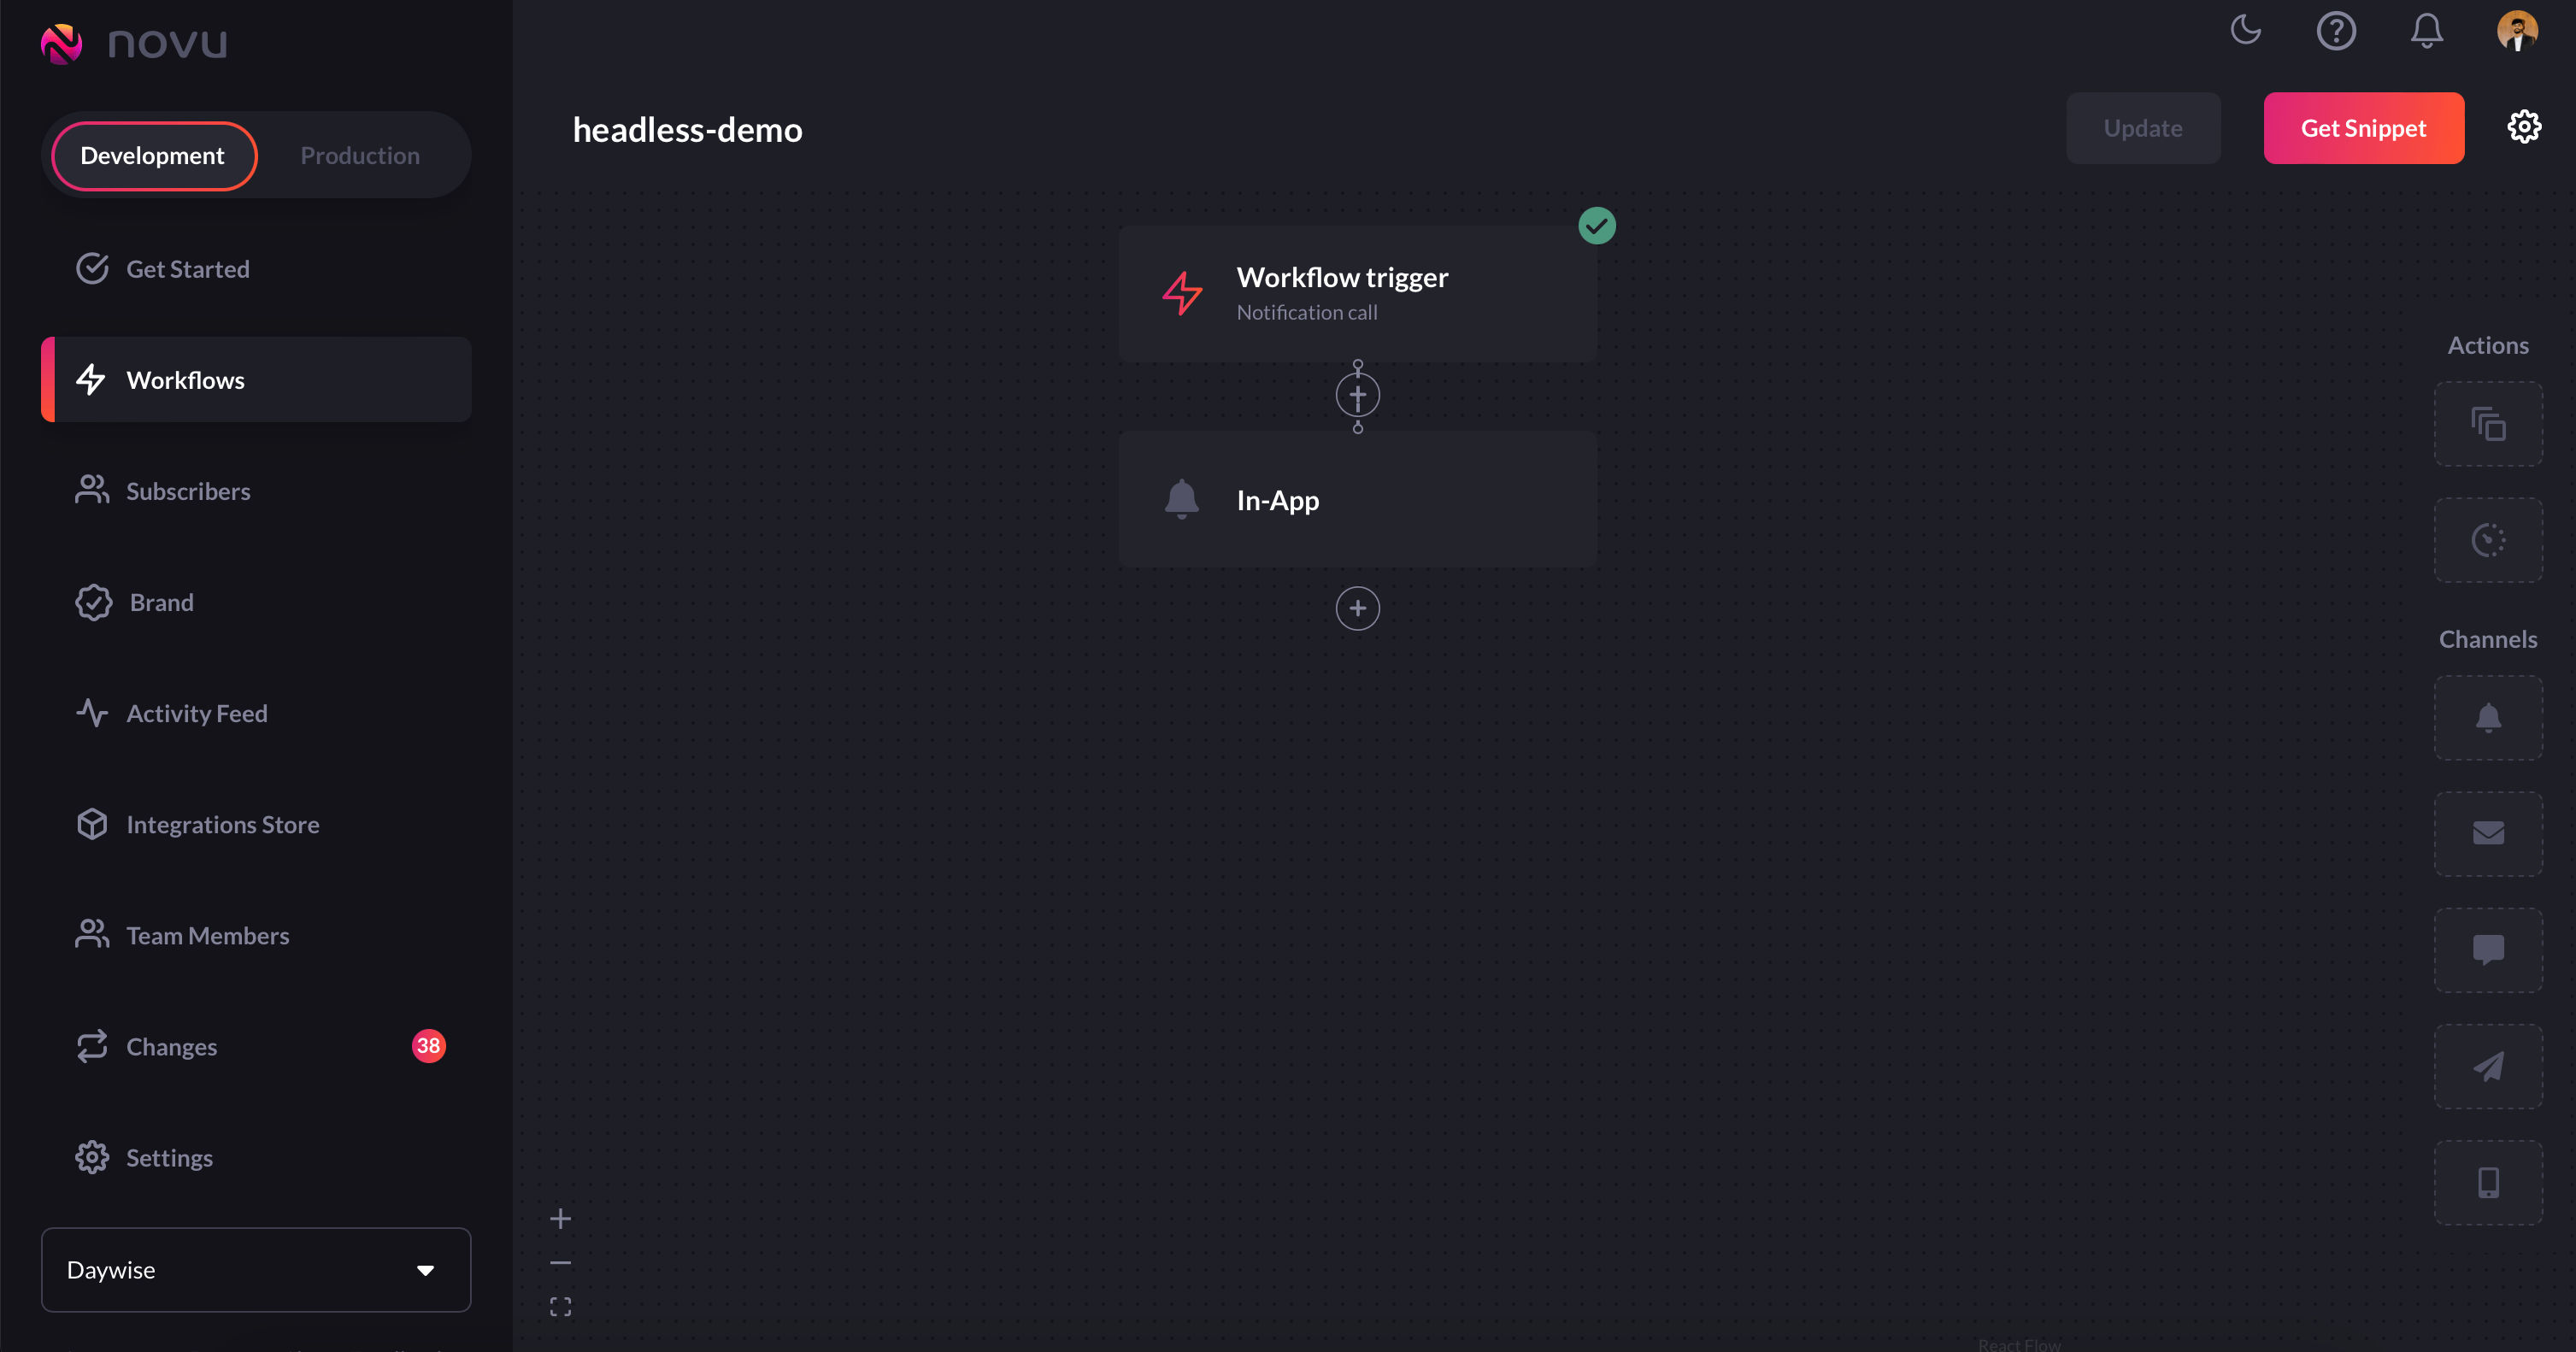
The headless demo workflow that we'll be using
In-app node allows you to further customize the notifications that will get sent, as per your need. In our case, it is a simple description, which will contain the text that will be entered from the front end. Here’s the in-app node for your reference:
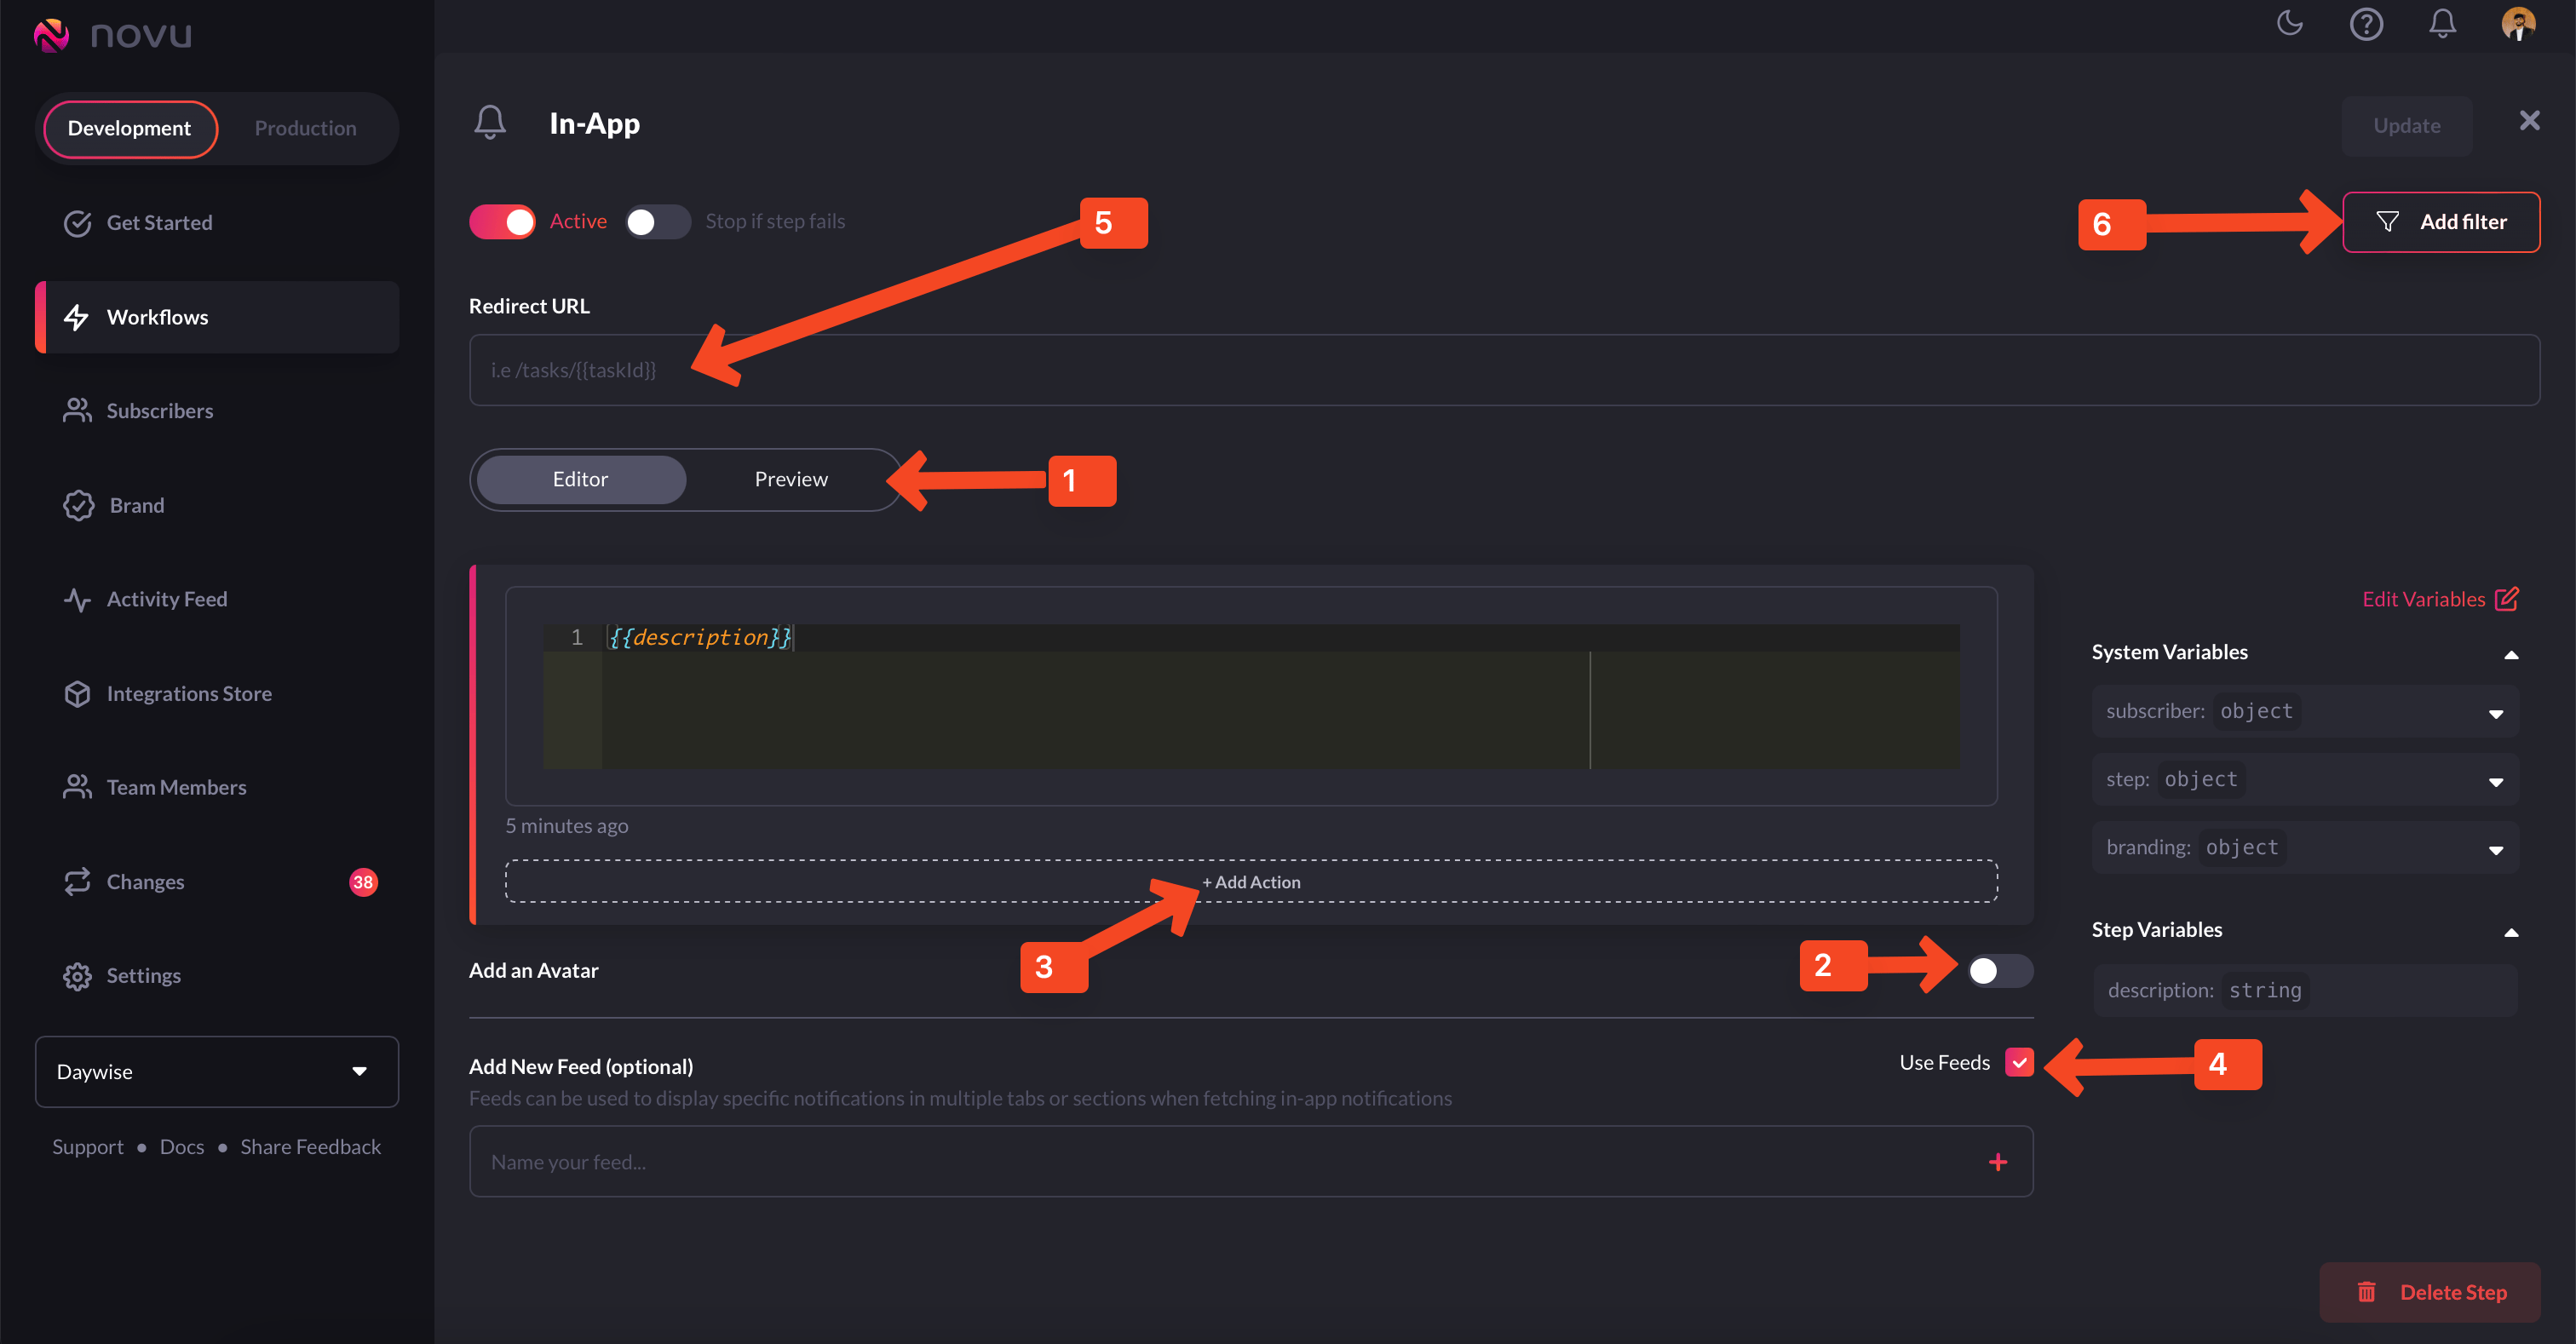
The in-app node can be customized as per the need
- 1-Preview: This shows you a glimpse of what each notification item will look like in the Notification Center UI.
- 2-Avatar: If turned on, each notification item will show the avatar of the subscriber.
- 3-Action: With this, you can add a primary and secondary call to action button to each notification item.
- 4-Notification Feeds: This displays a stream of specific notifications. You can have multiple feeds to show specific notifications in multiple tabs.
- 5-Redirect URL - This is the URL to which a subscriber can be directed when they click on a notification item.
- 6-Filter - This feature allows you to configure the criteria for delivering notifications. For instance, you can apply a filter based on a subscriber’s online status to send them an email if they were online within the last hour.
update button on the top right. It’ll automatically create a trigger code that you can use in your app. To get it, click on the get snippet button on the top right and copy it:
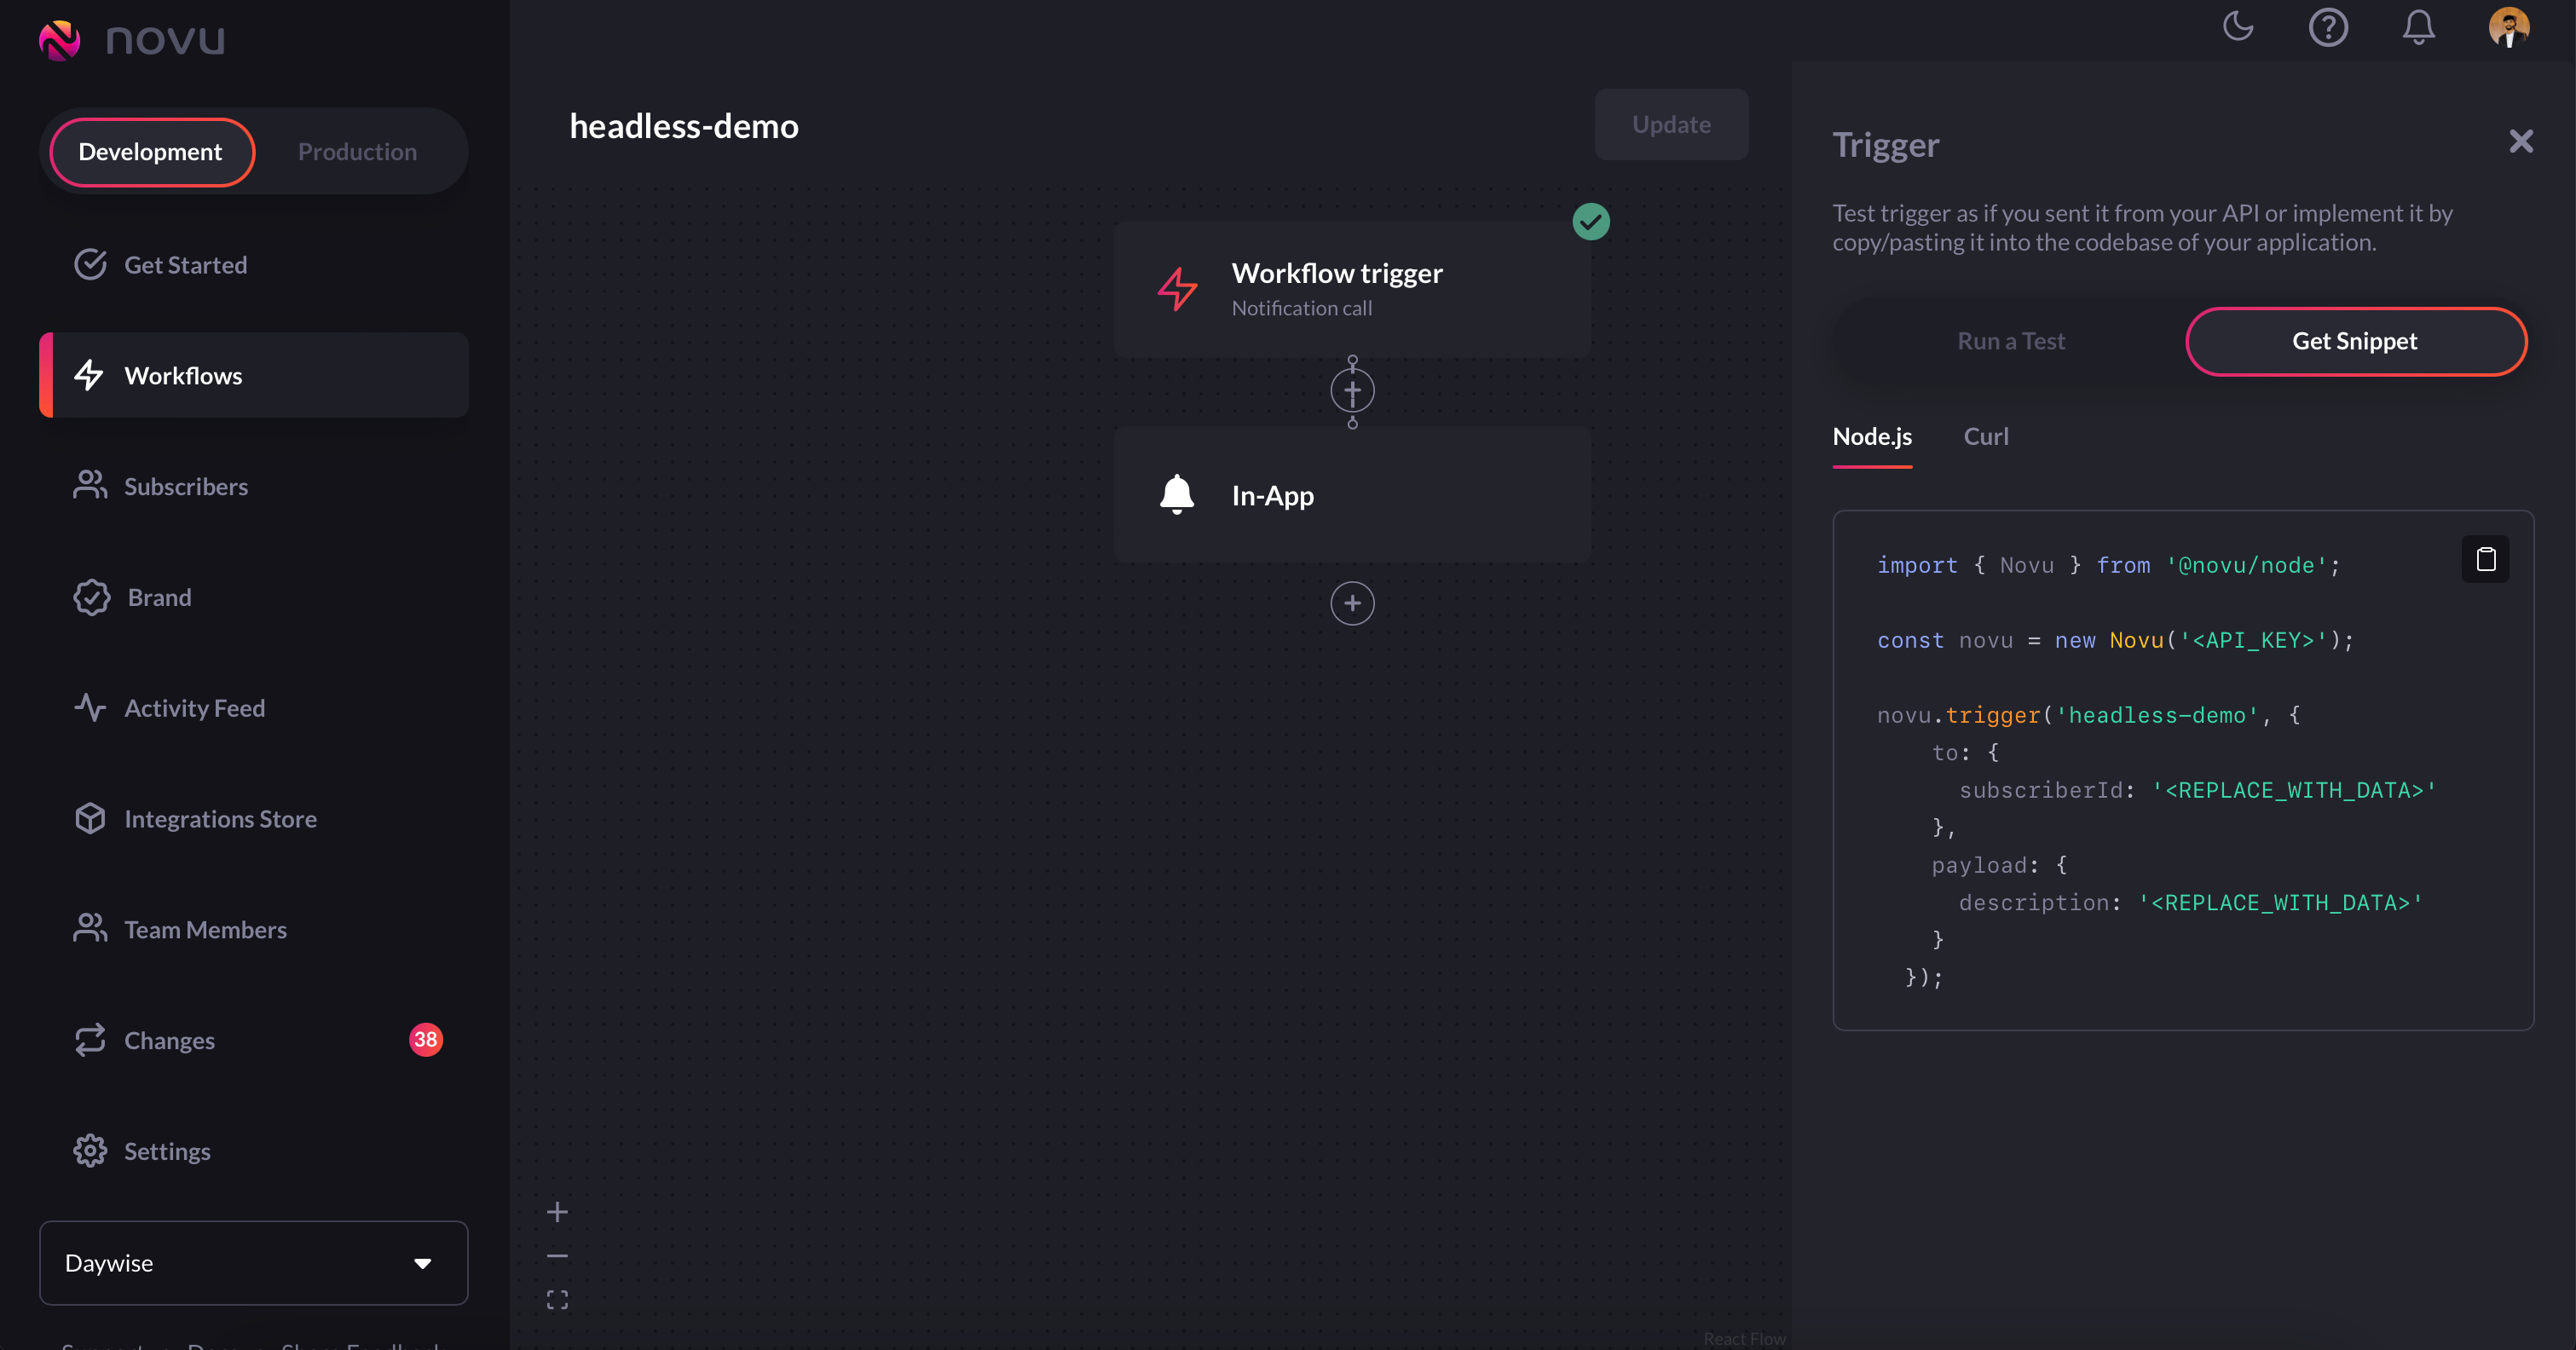
Click on the get snippet button on the top right and copy it
Let’s now see how to add it to our app!
Pre-requisites:
To be able to use the headless notification center, you’ll first need the following:applicationIdentifier: You can find this from thesettingsmenu in the Novu web dashboard.subscriberID: In most real-world apps, you’ll get this from a database. It is used to uniquely identify the entity to whom a notification will be delivered. In our case, we’re assuming thesubscriberIDto be12345.
Setting up the back end:
For our demo app, we’re setting up the back end as follows:- Install the Novu package. Open your terminal and run the following command:
Replace the
<NOVU_API_KEY> value with the authentic key from the API Key section of your Novu Dashboard.🔑 Please do not hardcode your credentials in a file in production. Use environment variables instead.
Setting up the front end:
In the front end, install the headless package:fetchNotifications function inside a useEffect because we want the effect to run whenever the fetchNotifications executes. Here’s the fetchNotifications function for reference:
fetchNotifications to optimize performance and passed pageNum in a dependency array so that it reruns when the page number changes.
You can refer to the entire context here for a better understanding. We’ve also used several methods related to the Headless Notification Center package. You can find the complete list here. The methods that we’ve used in our app are
markNotificationsAsRead, deleteNotification, and markAllMessagesAsRead. They are as follows:
You can view the entire API reference here and pick up the methods that you’d like to use for your specific requirements.
Coding the UI up:
On the UI front, we have a simple form with a submit handler function and a couple of components:appBar component which includes a bell icon, which can show notifications in a modal when clicked. The modal is displayed when showModal is true, and the modal can be closed by clicking outside of it. The component interacts with the notification-related functionalities provided by the useNotification hook:
NotificationModal which is what gets displayed when the user clicks on the bell icon.
The beauty of using the headless version of the notification center is that you can customise exactly how it looks and which functionalities you need in it.
NotificationModal component is as follows:
Conclusion
If you’ve followed everything till here, you’ll end up with an app like the following: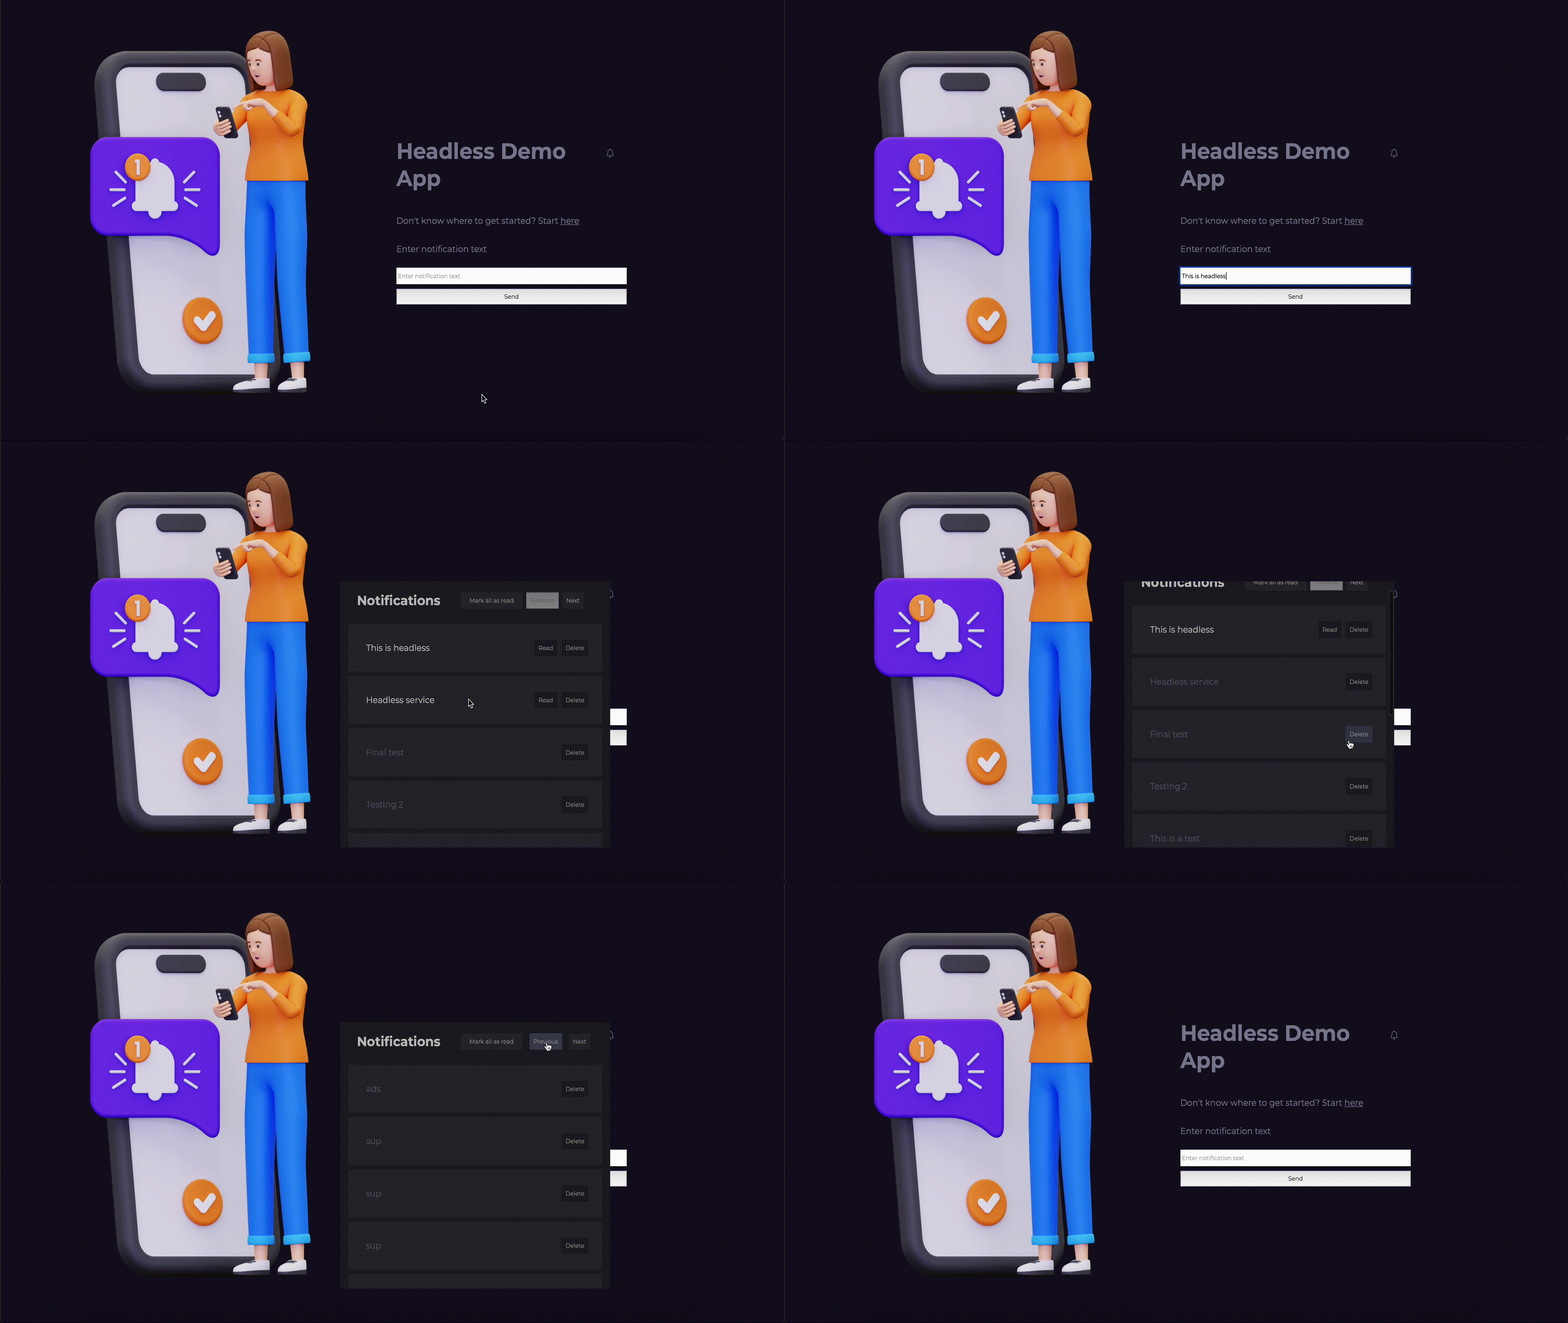
The headless app in action