The feature is only available for Novu Cloud users with Business or Enterprise plans.
Introduction
The Translation Management feature allows you to seamlessly adapt your workflows to different languages and automatically apply them based on your customers’ locales. It enhances engagement, personalizes the user experience, and allows you to expand your market reach. To understand how Translation Management works in Novu we need to review its main pillars:- Translation Groups
- Translation Files
- Localized Message Content
- Subscribers locale
Translation Groups
Translation Group allows you to efficiently manage translations for diverse languages with shared business significance. For example, the Branding translation group can hold the content related to your company identity, while the Marketing translation group can exclusively house content related to your marketing campaigns. You aren’t obligated to divide your translation content, you can manage it all within a single translation group. To create the Translation Group navigate to theTranslations page from the main navigation and click on the “Add group” button.
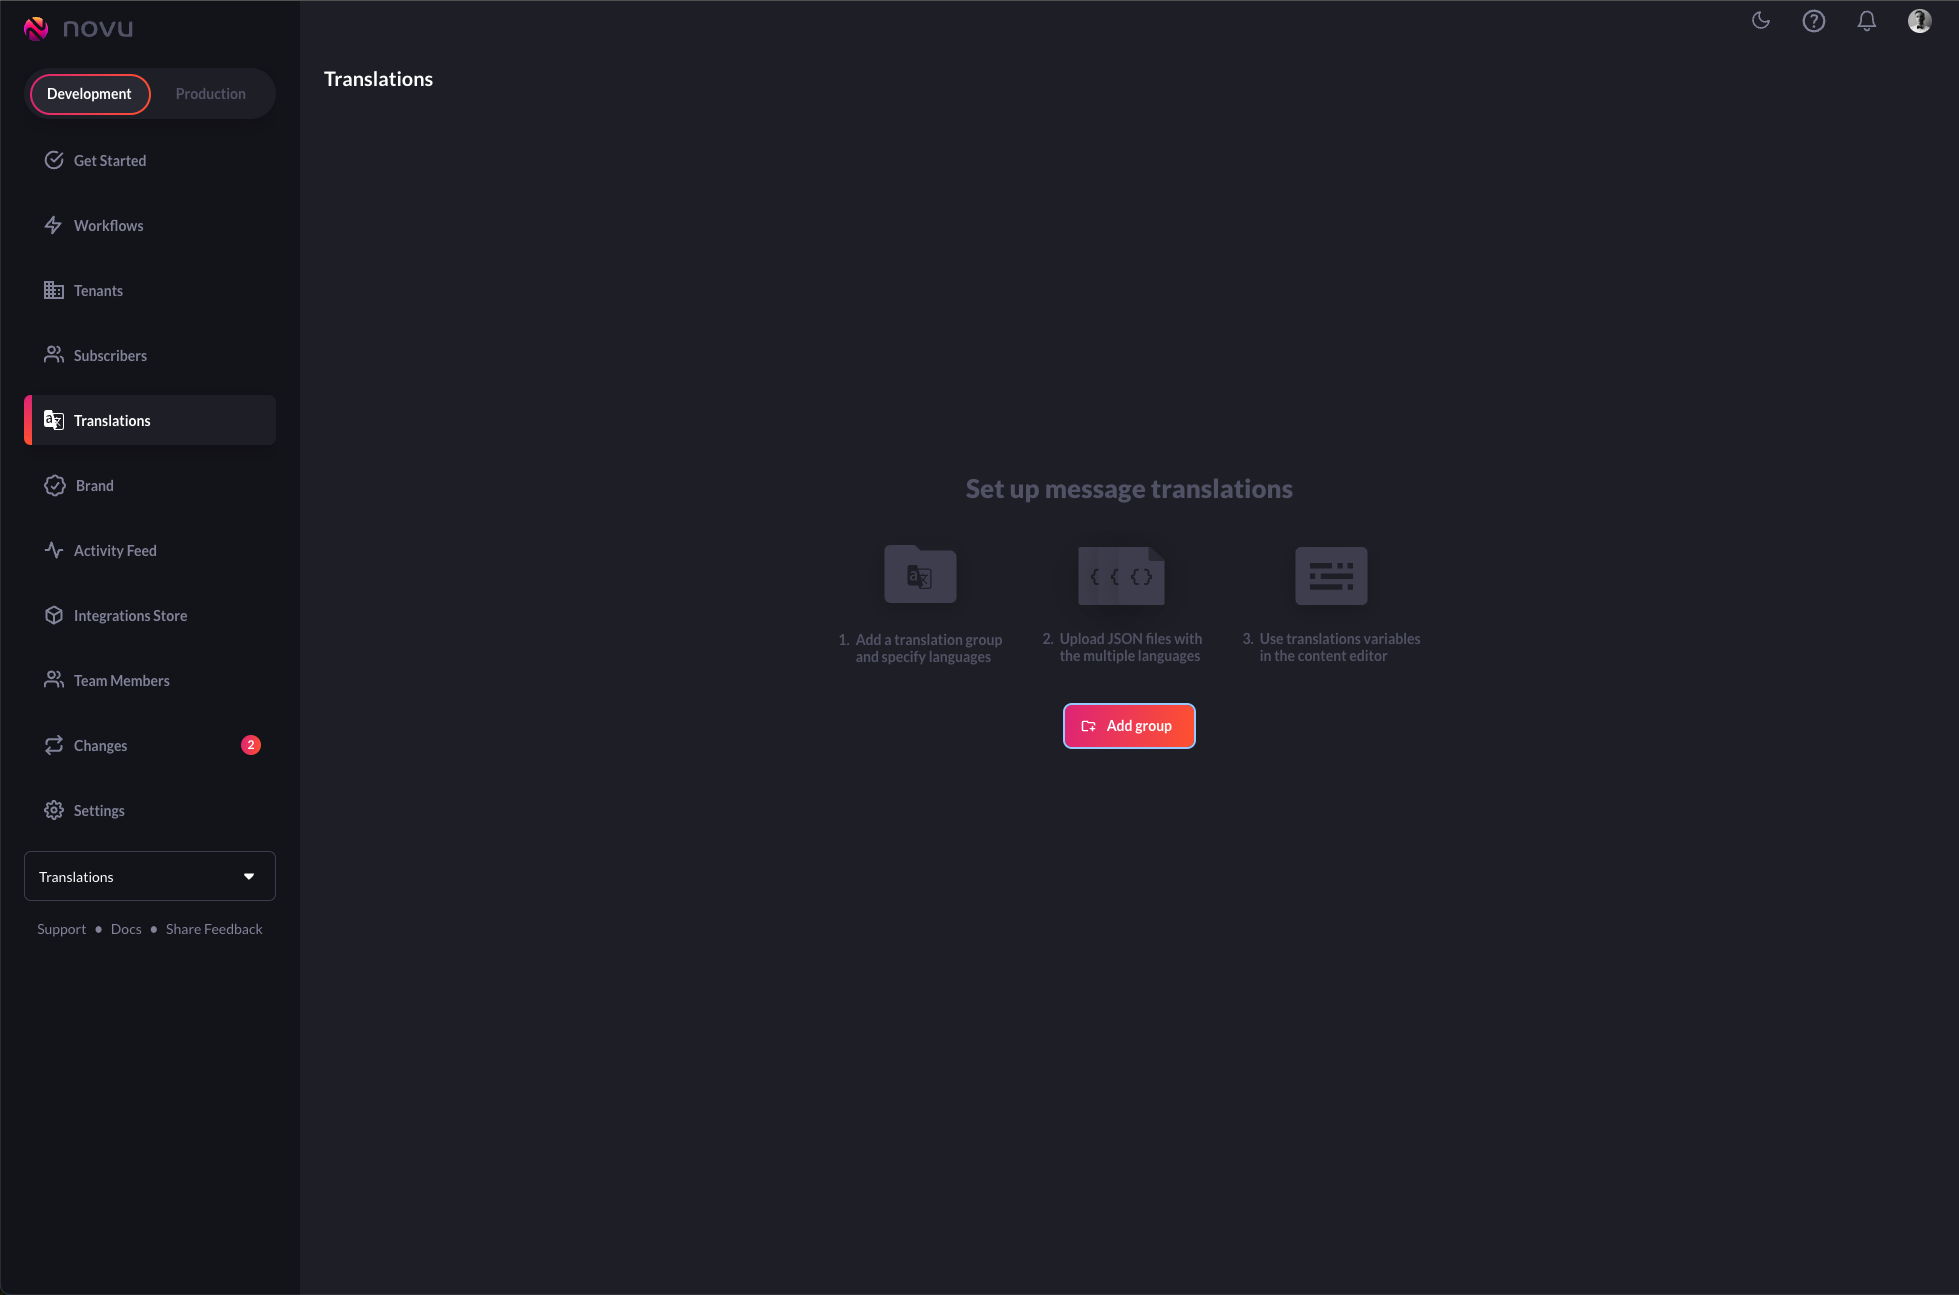
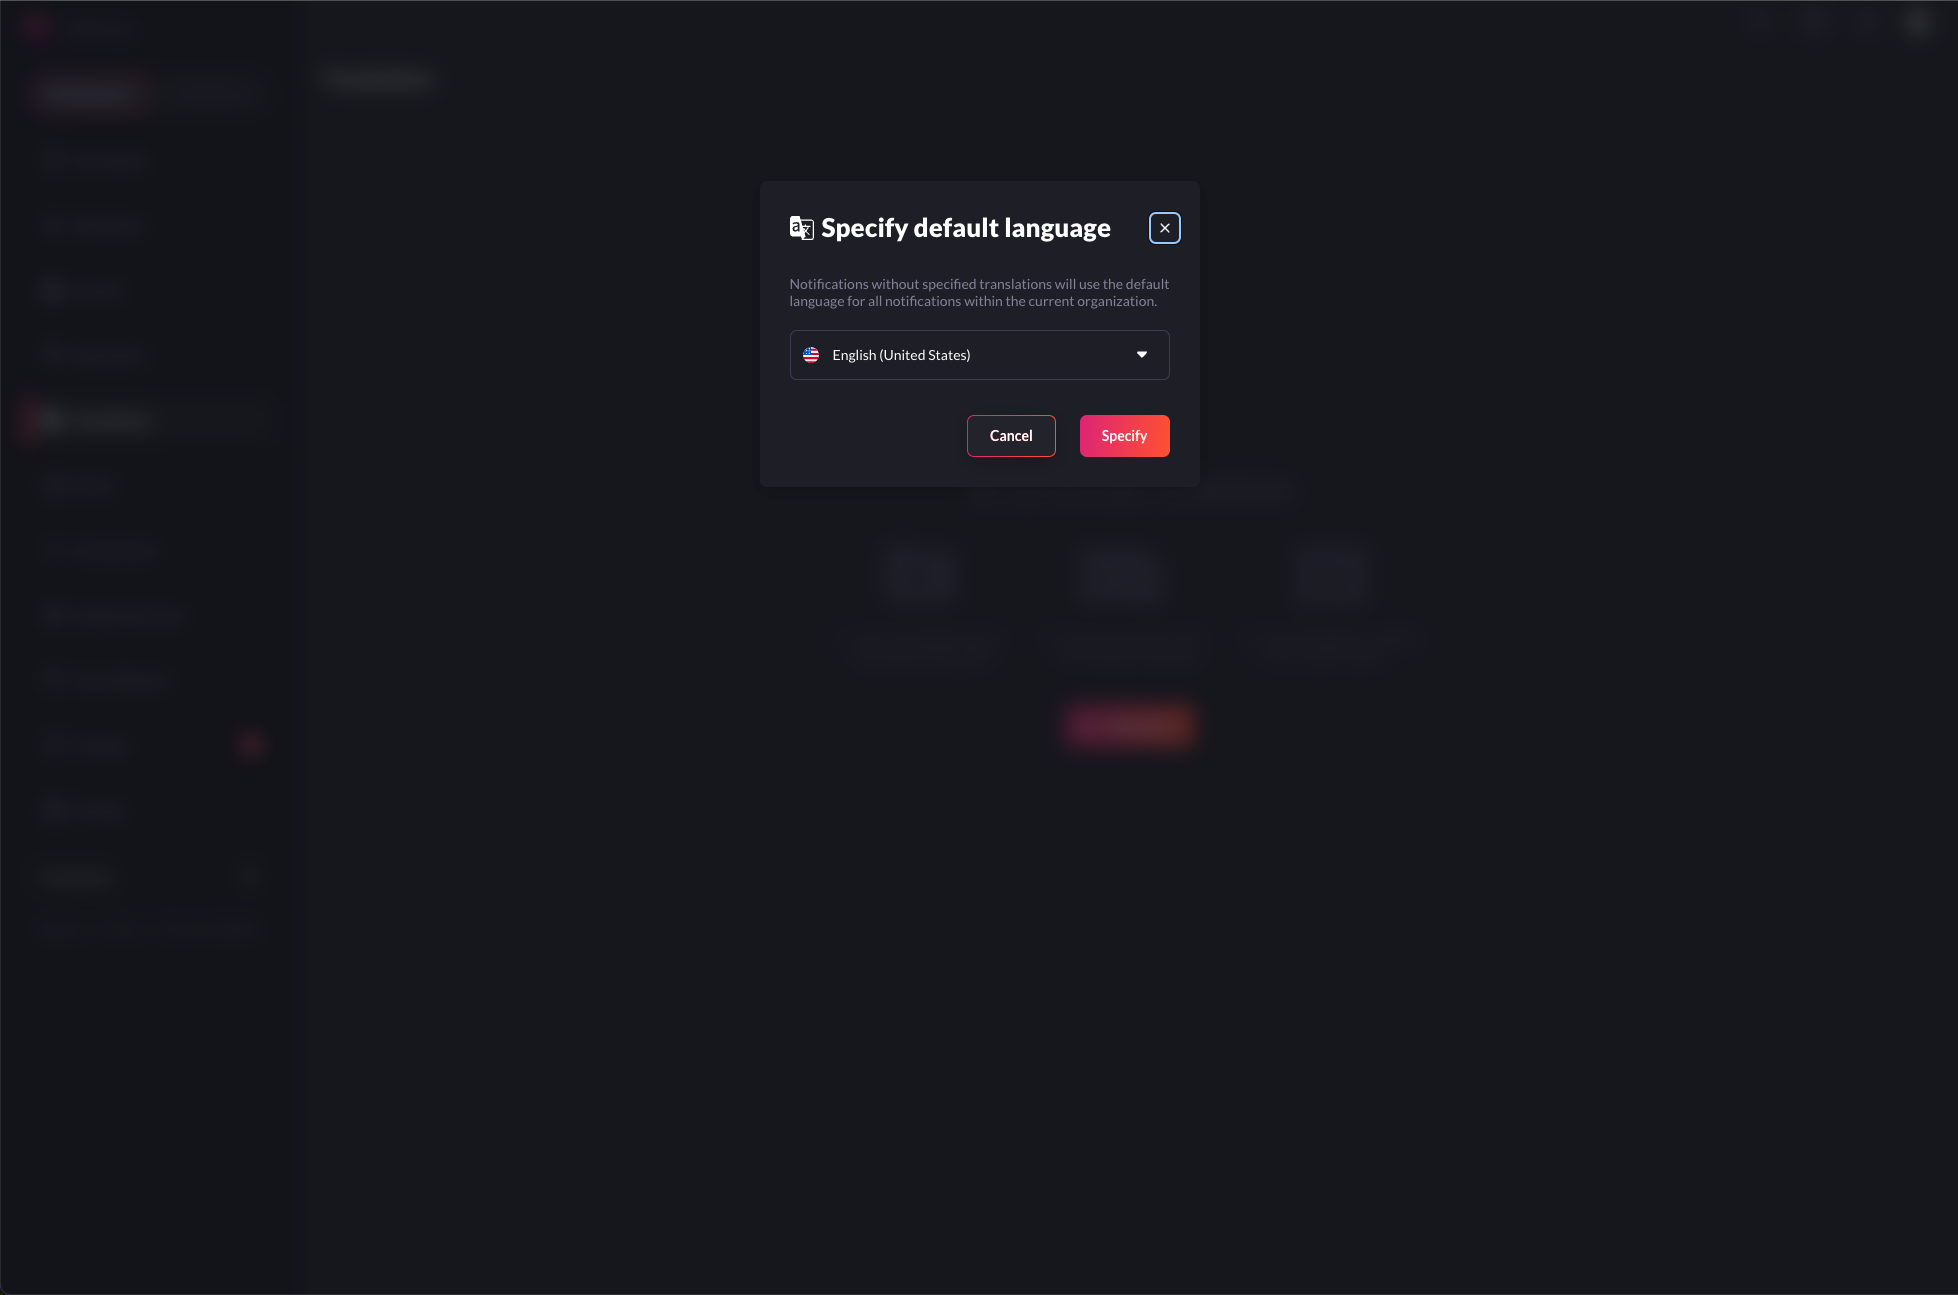
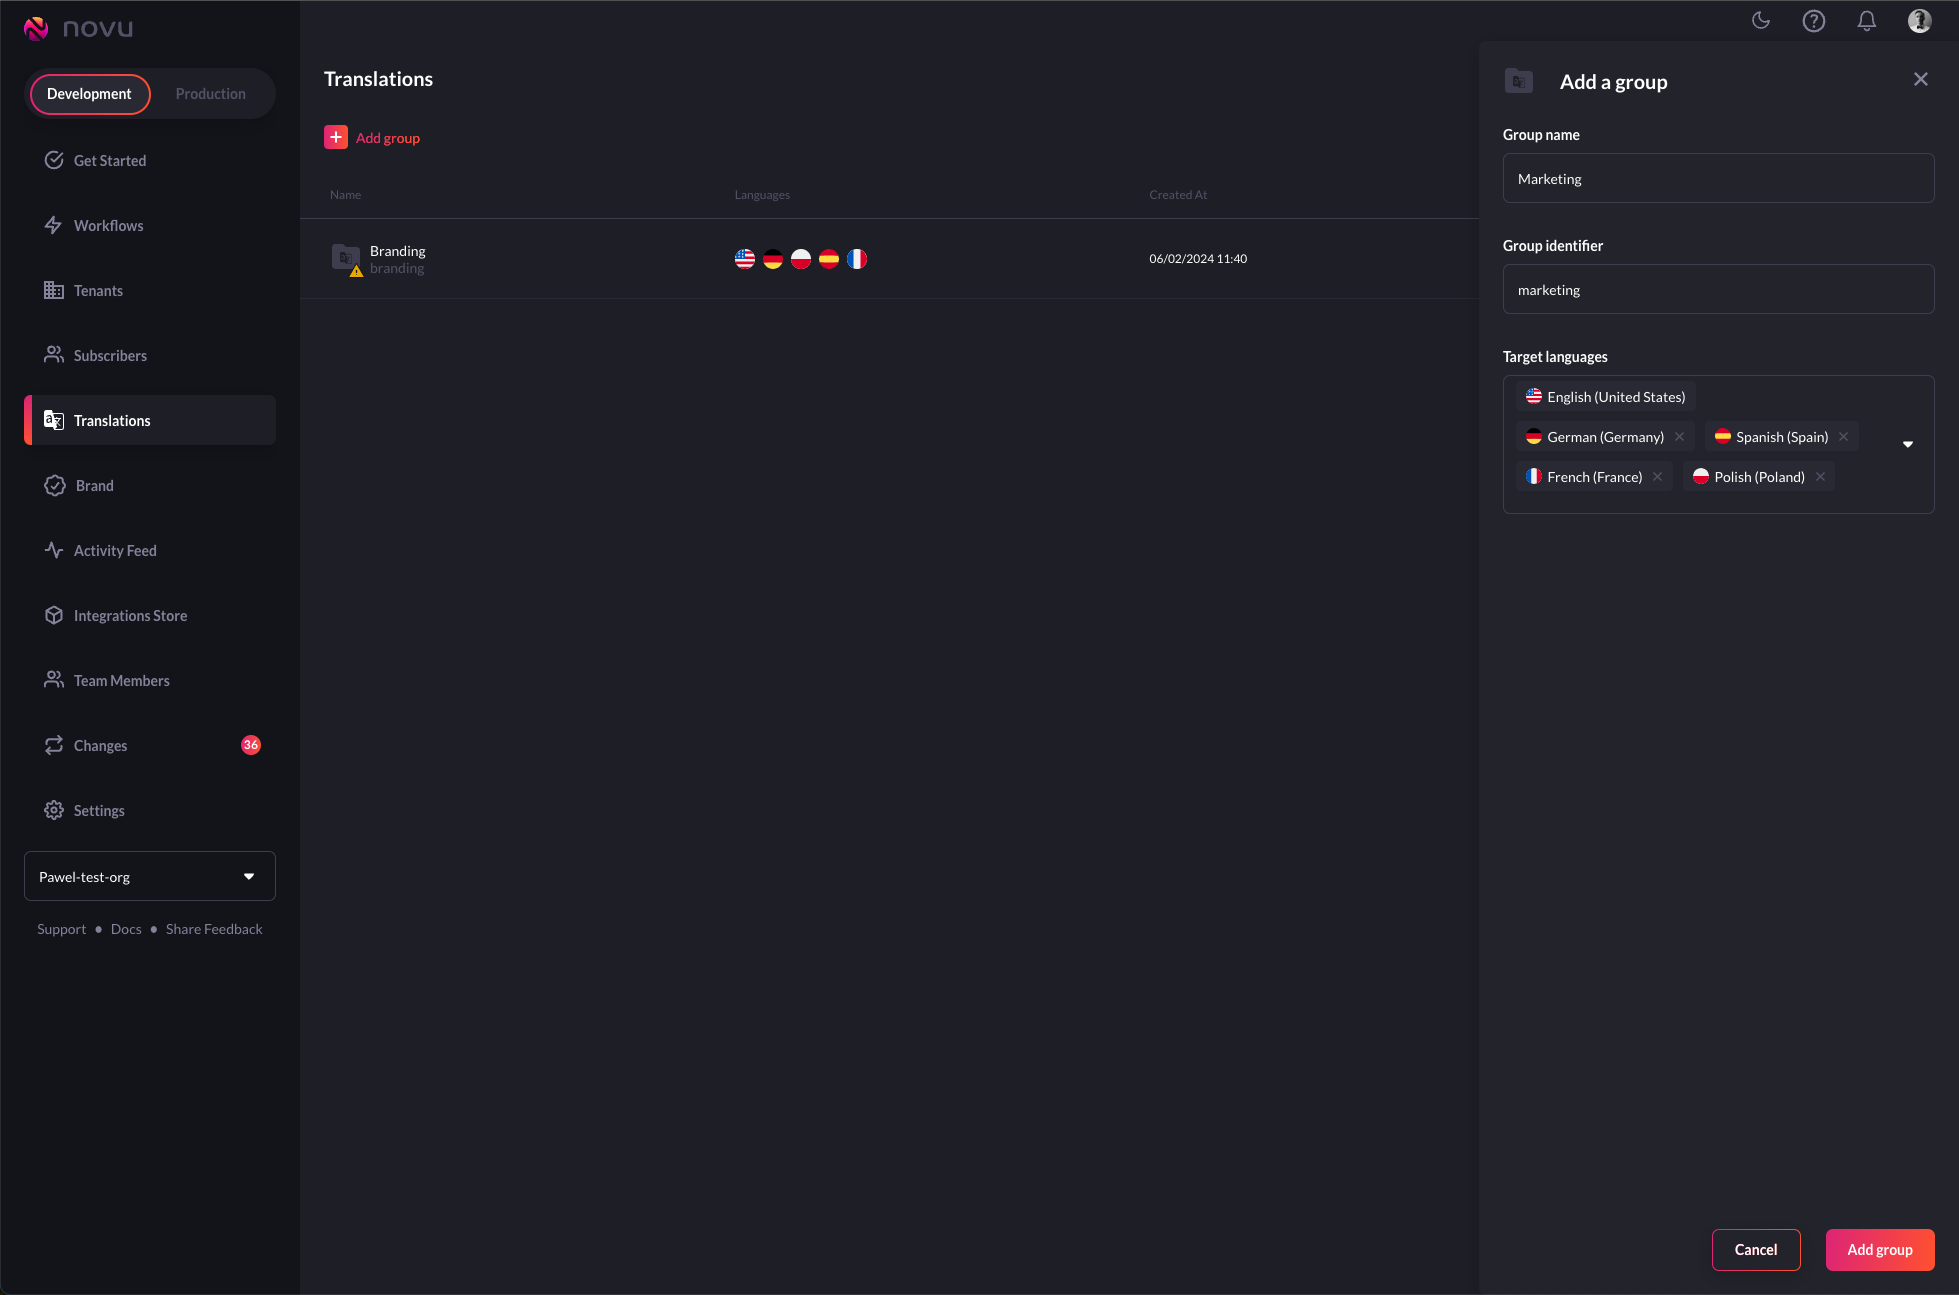
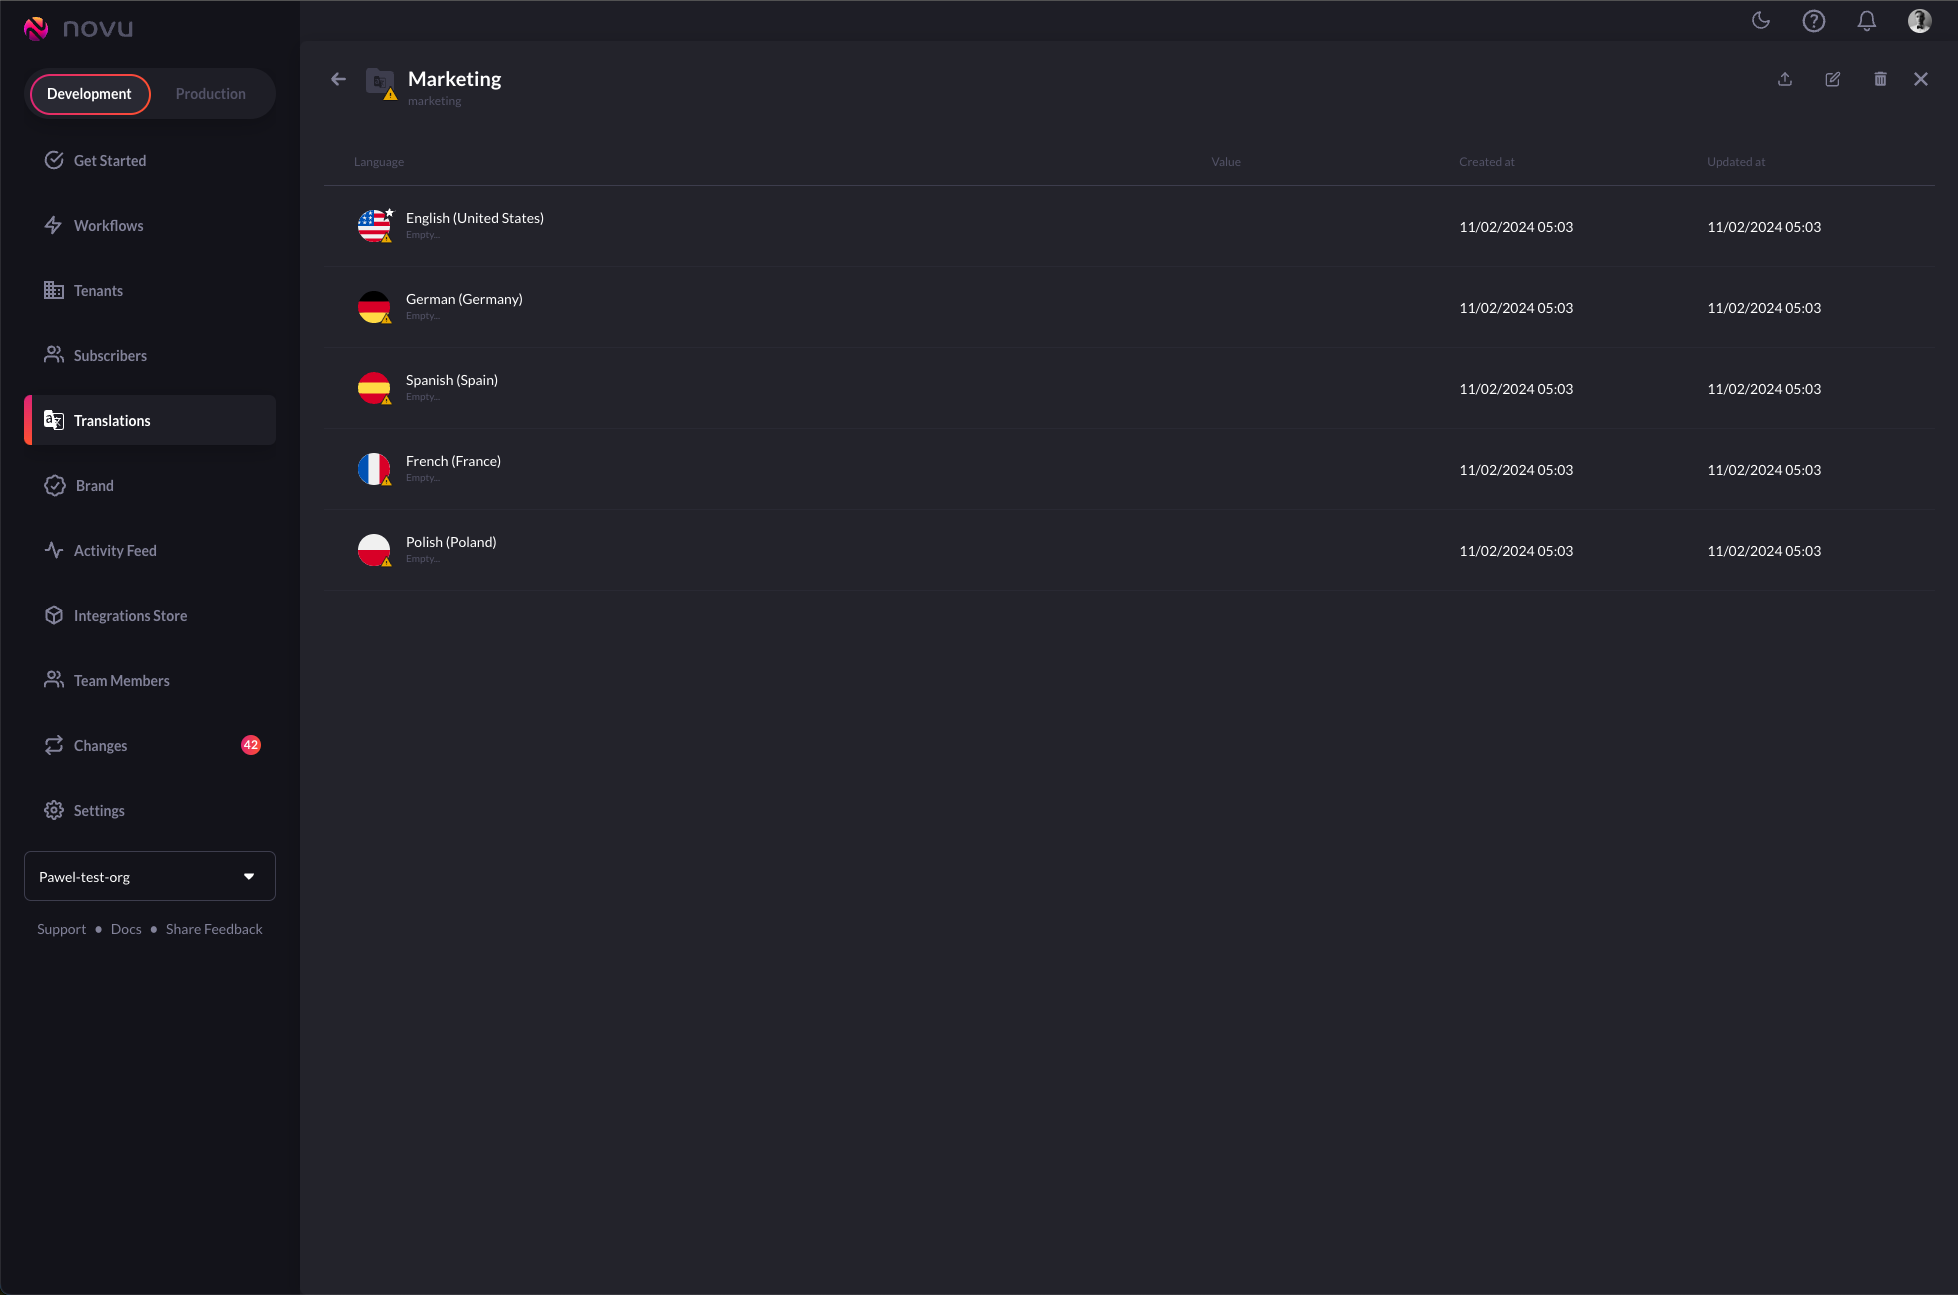
Translations
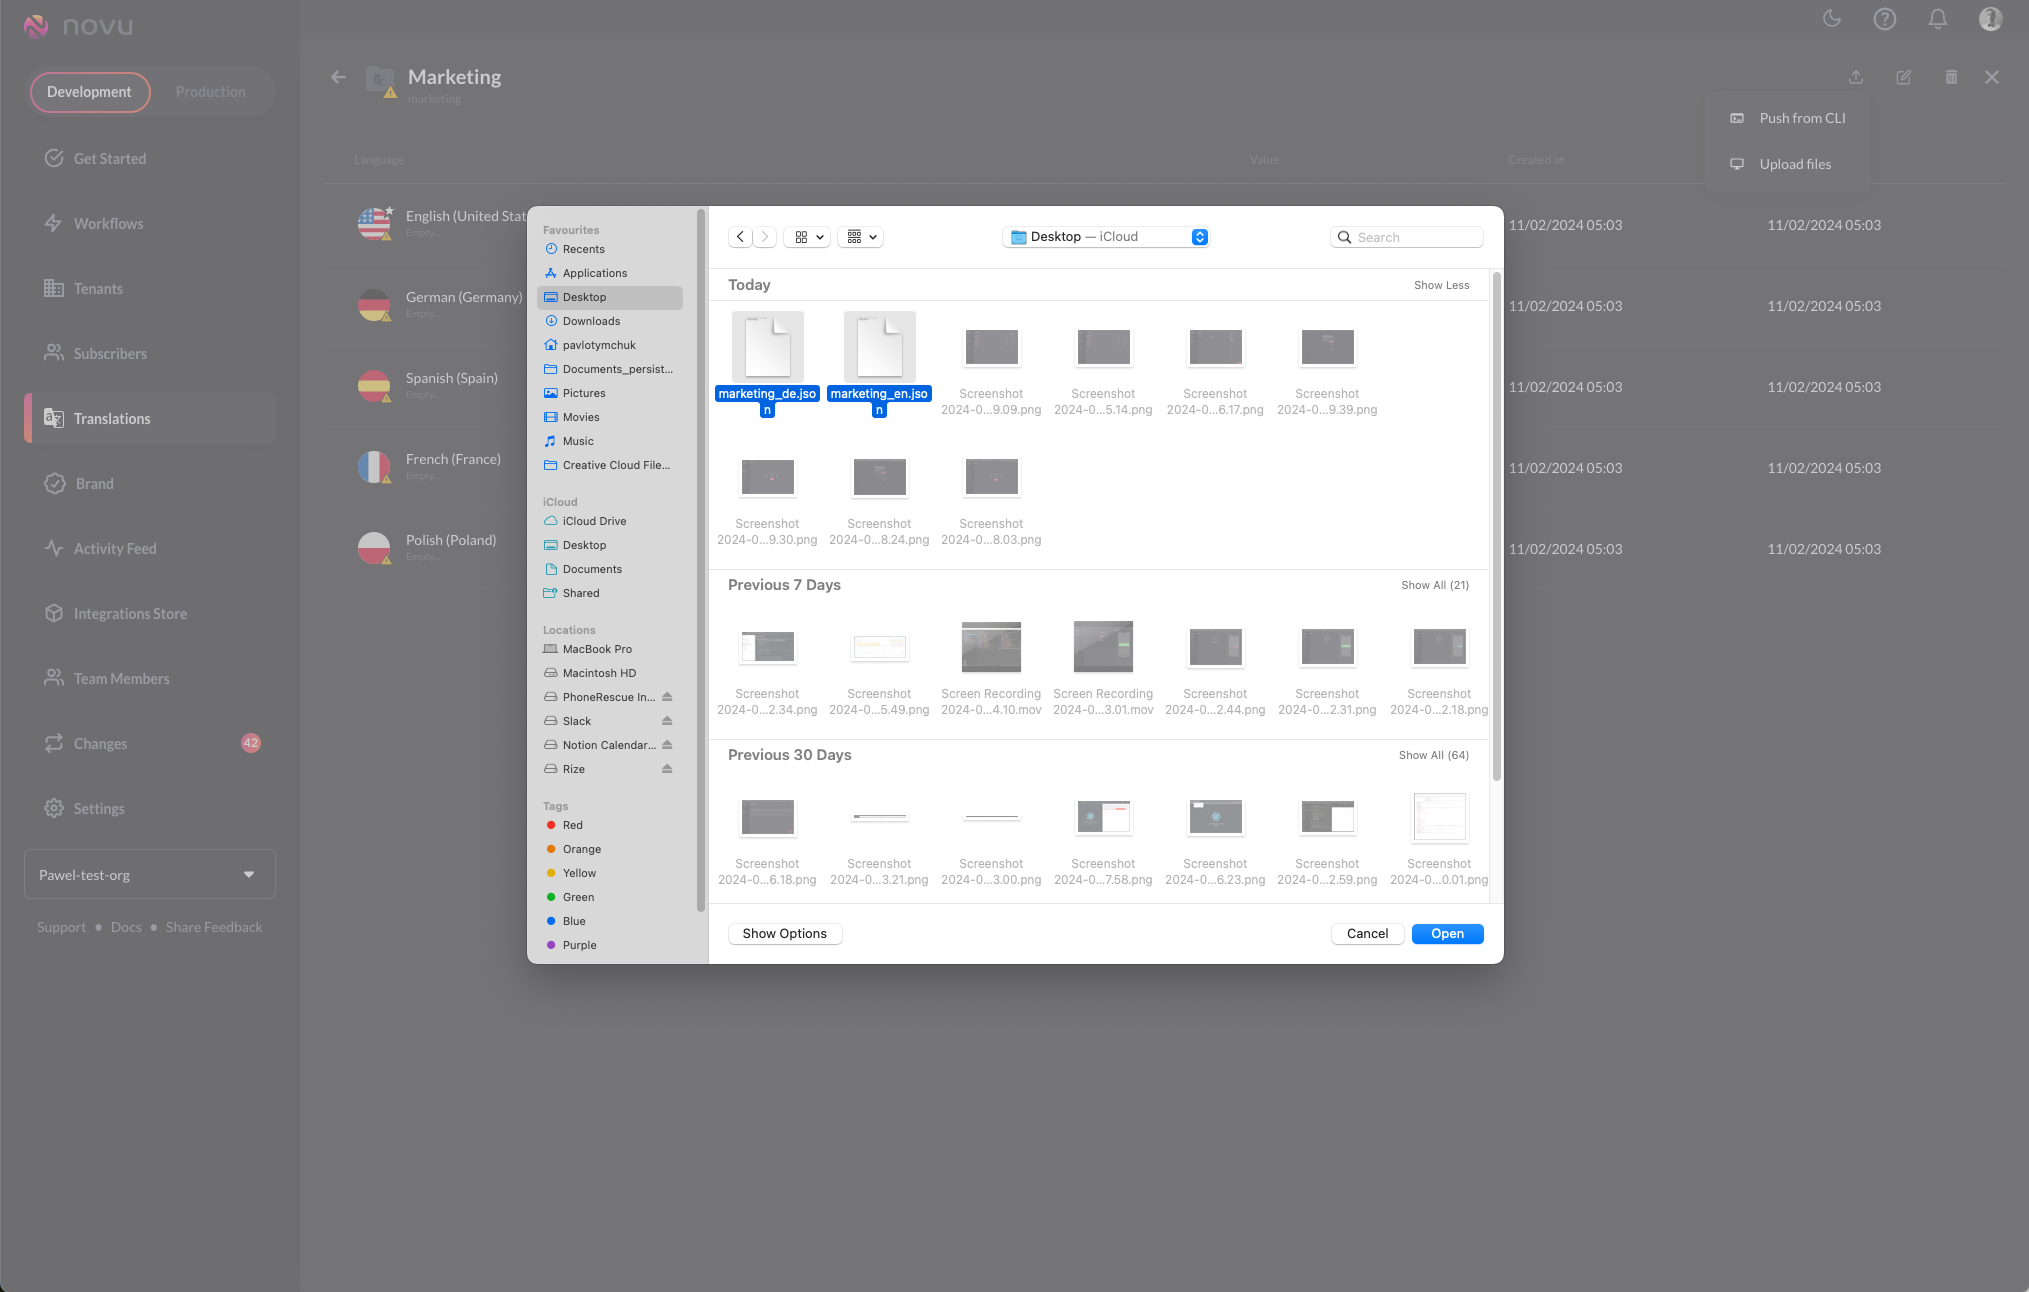
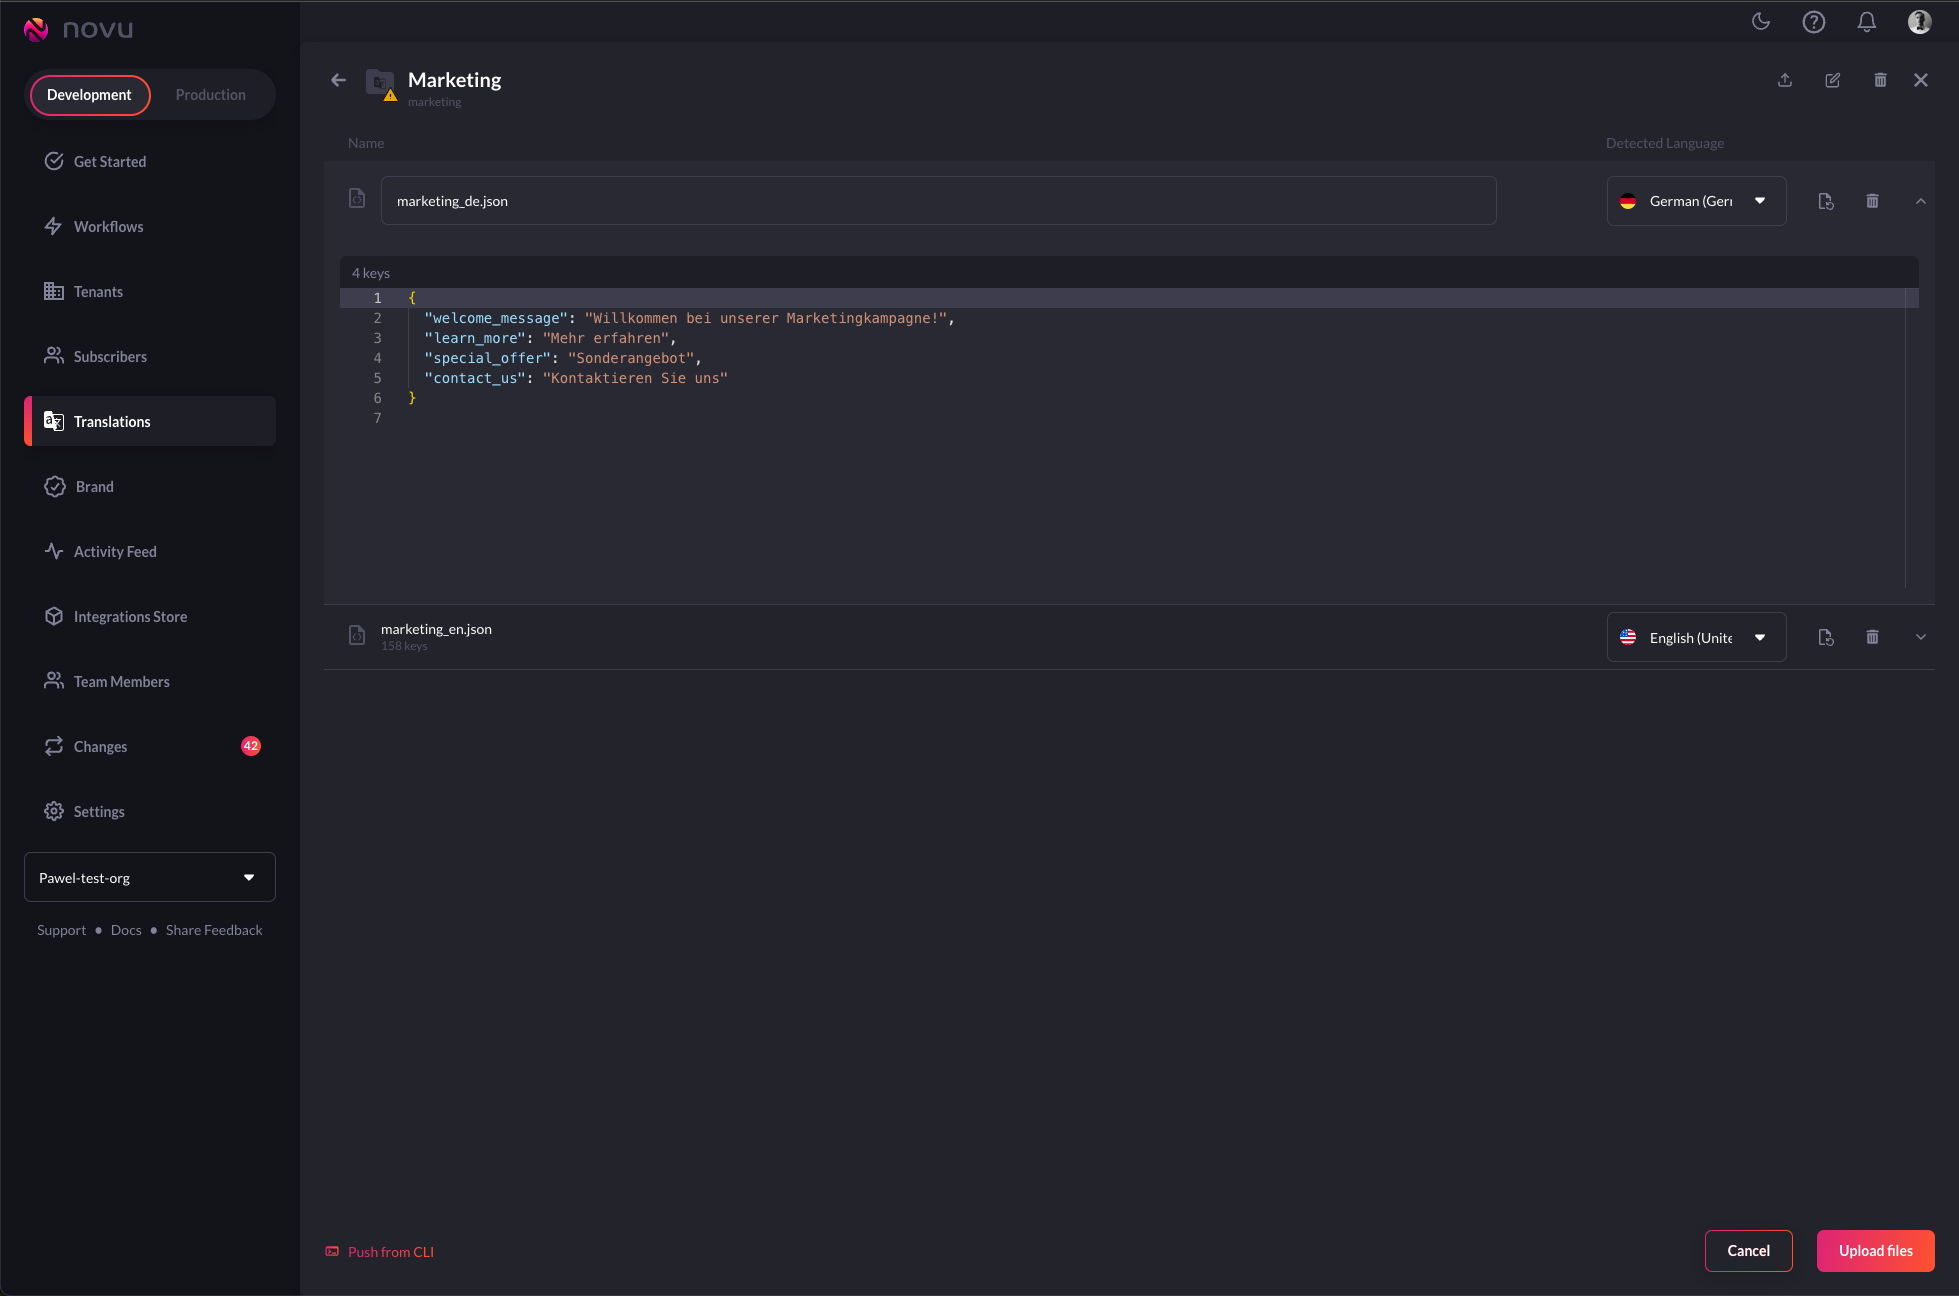
Translations are JSON files that contain the content of your messages in a specific language. For example, if you created a Marketing translation group with two target languages English and German, then your translation JSON files might look like this: English (en.json):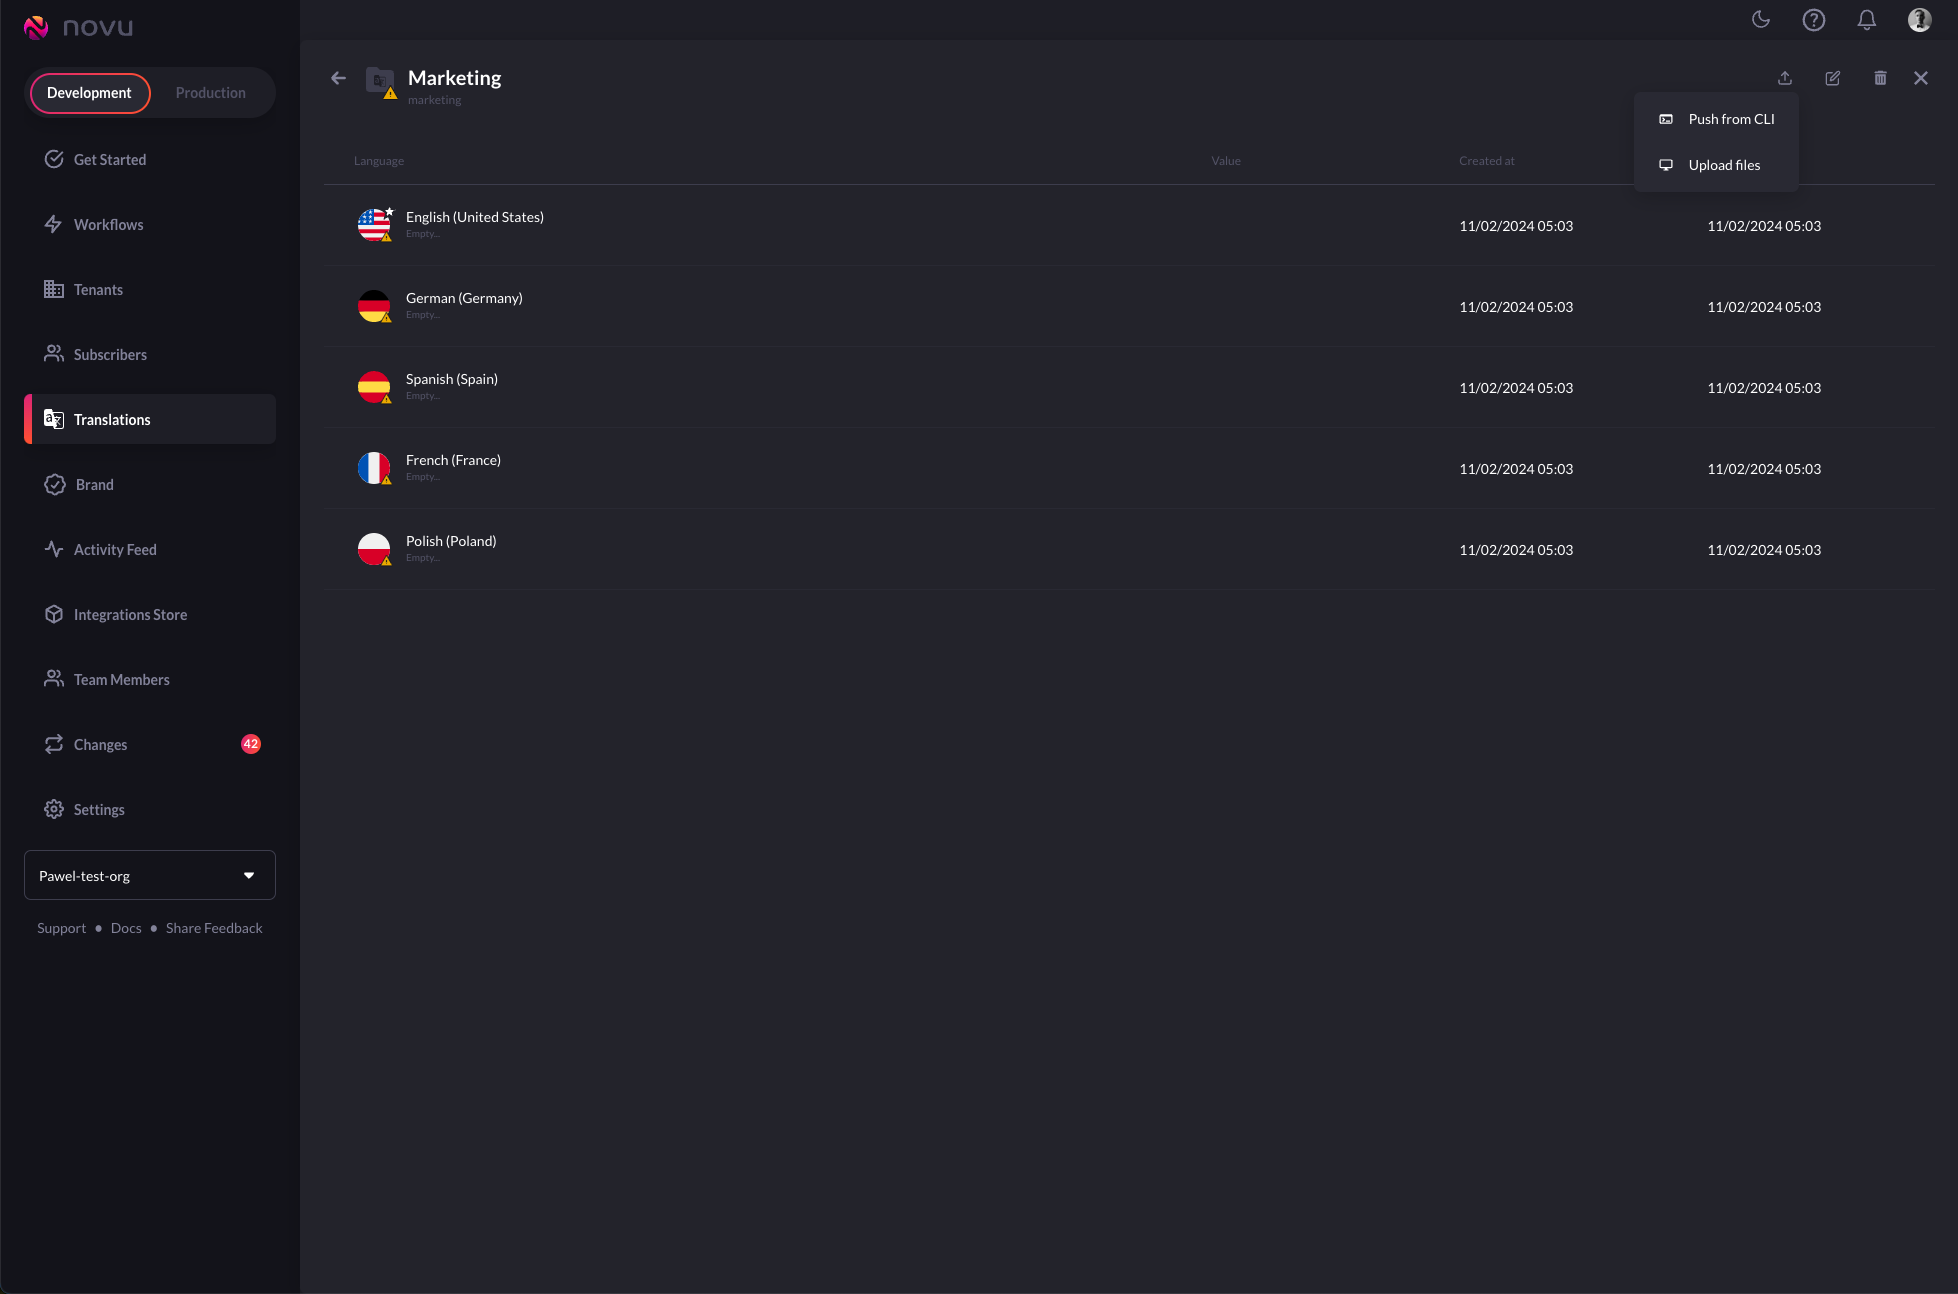
Localized Message Content
To localize your message content, you need to use the translation variables in the editor. The variables allow you to reference the values from the translation files. It consists of thei18n handlebar helper and path to the translated value.
Let’s take a look at the example: {{i18n "marketing.welcome_message"}}.
i18nis the handlebar helper that tells Novu that you would like to use the Translations"marketing.welcome_message"is the path that is composed of the Translation Group identifiermarketingand translation JSON file keywelcome_message
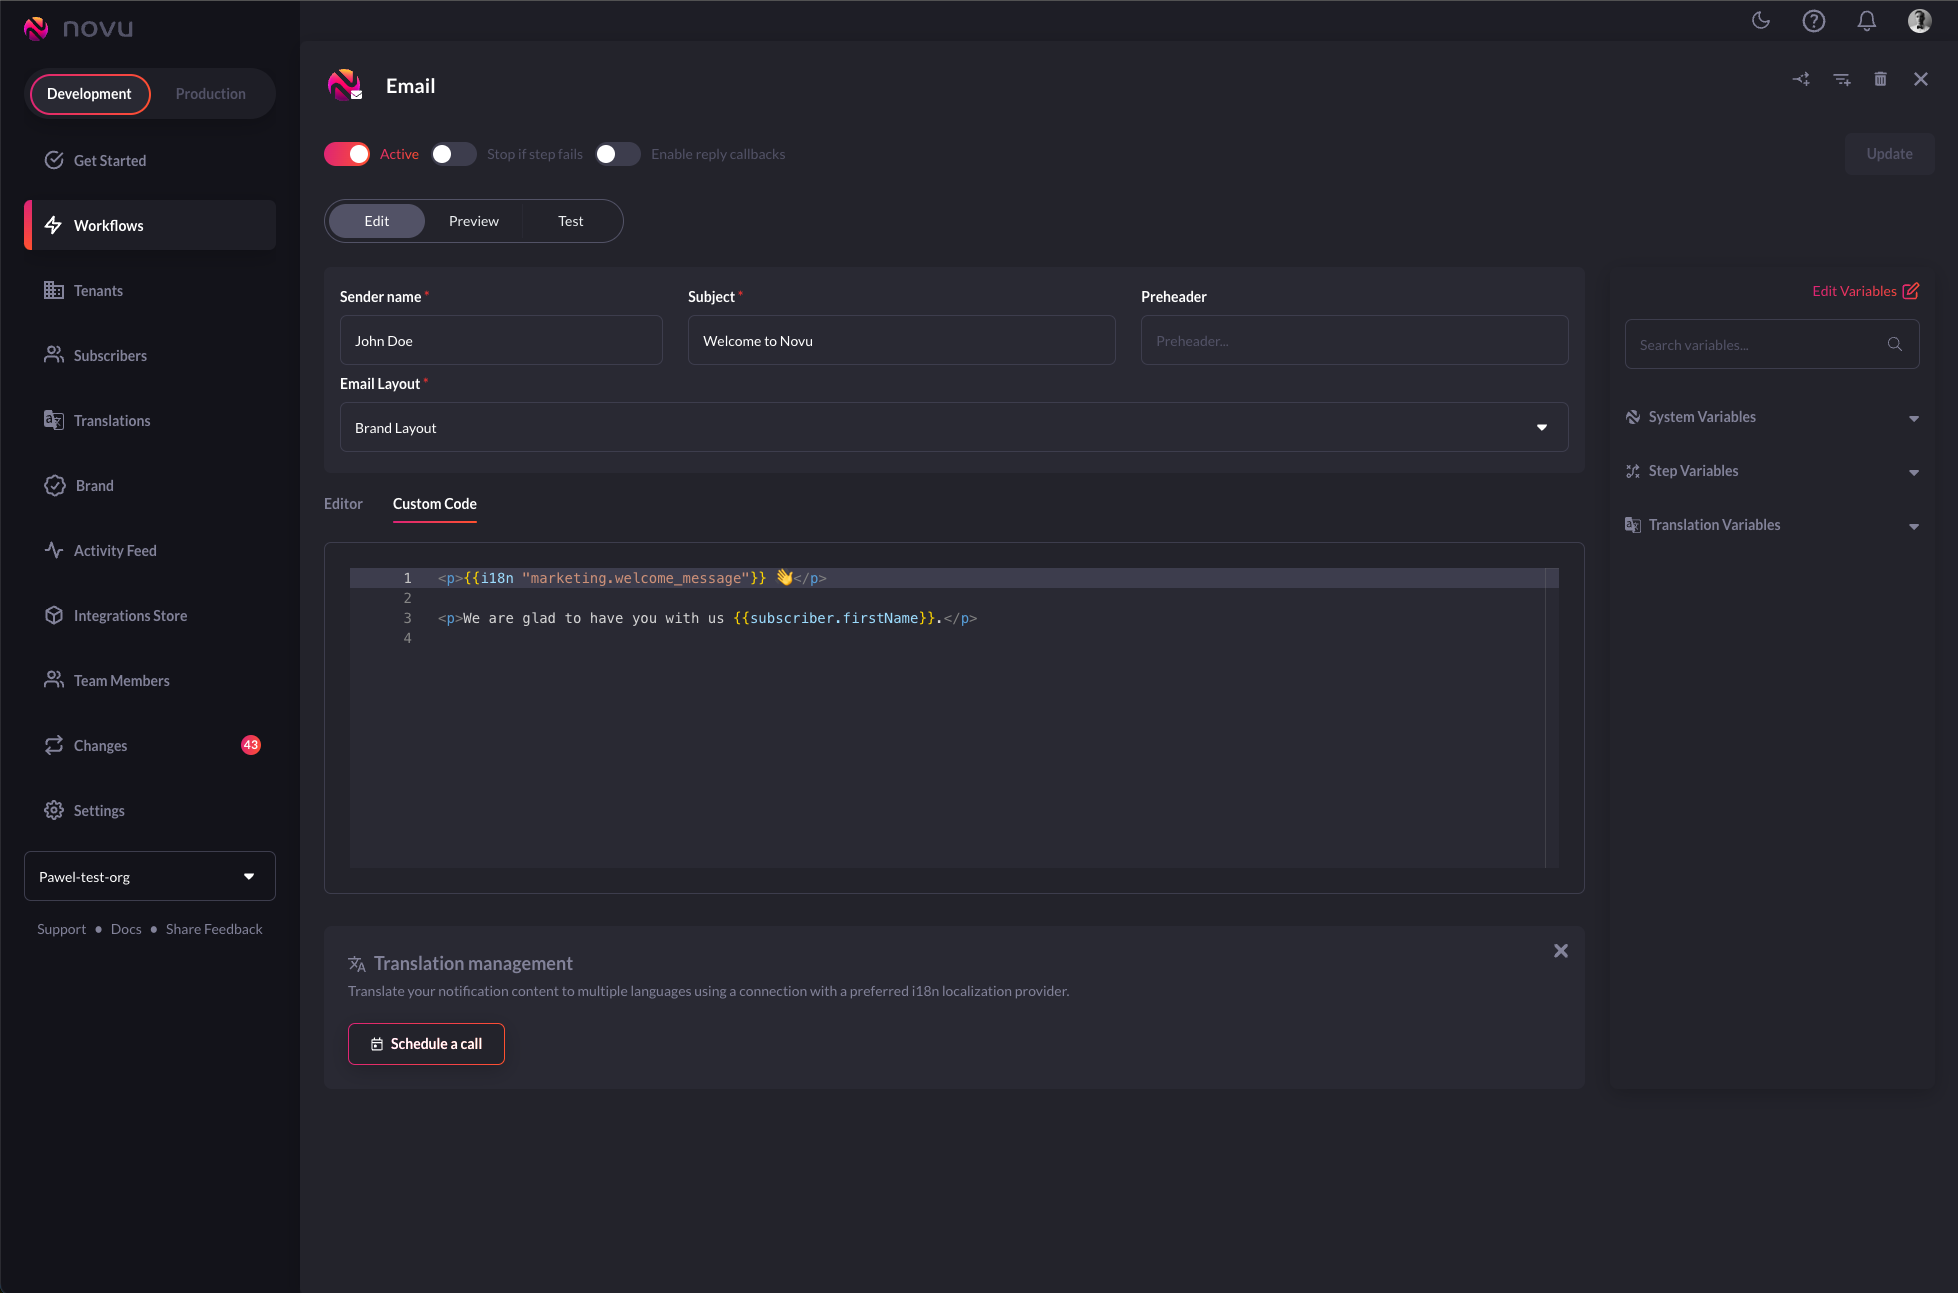
i18n variables can be used in
subject and preheader fields of the email step.Subscribers Locale
The subscribers locale defines in which language the message should be delivered to that recipient. When the locale is not specified it will fallback to the default locale set for the organization. The locale format includes ISO language plus the region, for examplede_DE language German and region Germany.
To update the locale you can use Novu API or any of our SDKs, more information can be found here.
Editor Examples
Variables
It is possible to include variables in your translation strings, they should be wrapped in double curly brackets. Their value could be set as a string or as a variable - either a system variable or a variable sent through the payload.Context
By providing a context you can differ translations. Eg. useful to provide gender specific translations. For example:A boyfriend. Not adding any context will output A friend.
Plurals
To distinguish between plural translation options.7 items